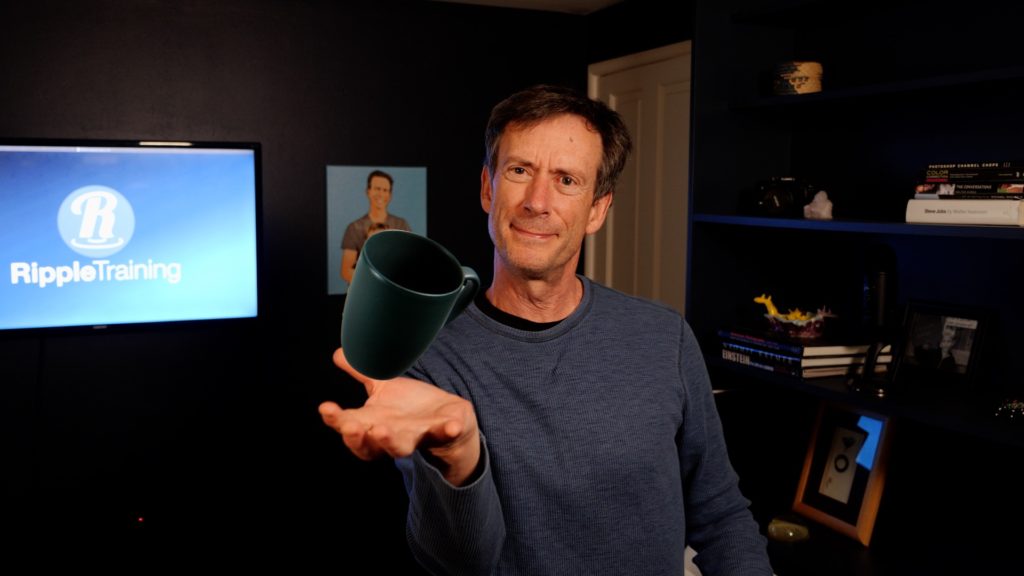
This week on MacBreak Studio, I show you how you can use Motion to create a levitation effect.
This tutorial is based on a similar one created by Zach King who showed how to do the same thing using After Effects. Both After Effects and Motion can be used to create an amazing variety of motion graphics and visual effects, and almost anything you can do in one of these apps you can do in the other, so for those folks who may be more familiar with Motion, or want to understand what you can do in Motion, this one is for you.
Like most visual effects, the process starts with a good production technique so you don’t have to spend a lot of time “fixing it in post.” In this case, I shot a coffee mug in front of a circular, collapsable silk – usually used as a diffuser but in this case it made for a quick and dirty white background. I made sure my object was dark, and I suspended it from a white coat hanger – better than string in my opinion because the object can twirl around on the string but is more controllable at the end of a stiff wire. You could also shoot your object against a green or blue background and that’s really the preferred approach because it’s easier to remove in post, but I worked with what was available.
In Motion, I removed the white background with a Luma Keyer. Note that Final Cut Pro X has the exact same Luma Key filter as Motion’s, and you could create this same visual effect directly in Final Cut, but Motion makes it easier thanks to three specific tools that I demonstrate in this video: the Matte Magic filter which is great for cleaning up a key; tracking via the Match Move behavior to track the garbage matte and cut down on the amount of manual key framing; and cloning which lets you retime a masked clip without affecting the mask timing.
Check it all out above, and if you want to get deeper into Motion, we’ve got you covered.

Filmtools
Filmmakers go-to destination for pre-production, production & post production equipment!
Shop Now


