https://www.youtube.com/watch?v=NGM3JyD5Yb4&feature=youtu.be
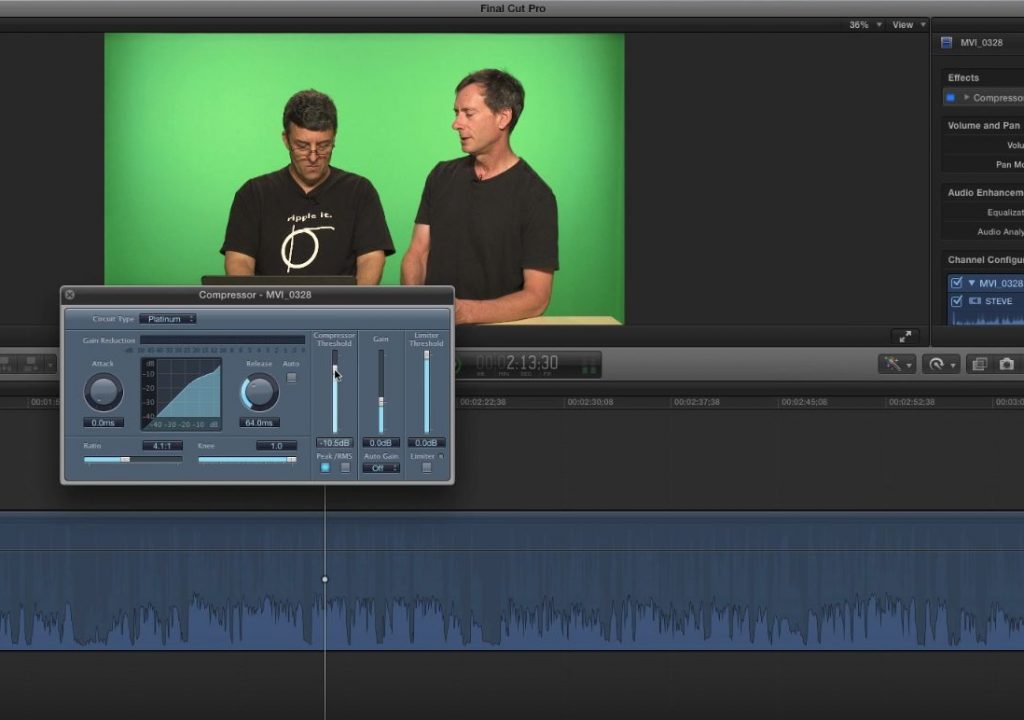
This week on MacBreak Studio, Steve Martin from Ripple Training shows us how he uses a compressor in Final Cut Pro X.
In a this “meta” episode, Steve show us how he edits audio on our very own show. To get started, he shows how even though the audio is shot with two separate lav mics going to two separate channels into his Canon C100, it appears in Final Cut Pro X by default as a stereo file. Selecting dual mono from the pop-up menu in the inspector reveals the two separate audio channels/components. In the timeline, expanding audio components now reveals each separate mic, making it very easy to adjust each audio source independently – great from removing mic bumps or breaths or other problems by substituting the other mic for that duration using the range tool (assuming the mics are close enough enough to pick up on each other).
From there, Steve collapses the components in order to apply a compressor effect on the clip as a whole, which applies it to a mix-down of the two audio sources. A compressor is a great way to reduce the dynamic range of audio that has too much variation between the highest and lowest volumes, and Steve walks us through how he approaches adjusting the settings. He likes to start by removing any influence of the compressor, then adjusting the ratio and the threshold to find what works best for him.
From there, he takes advantage of Final Cut’s ability to save effects as presets – in fact, he combines the compressor with and EQ in the saved effect, so for future shows with similar audio, all he has to do is drop the saved effect on a clip and it’s already at a great starting point.
Check it all out above. If you want to learn more about sound editing in Final Cut Pro X, we’ve got you covered.


