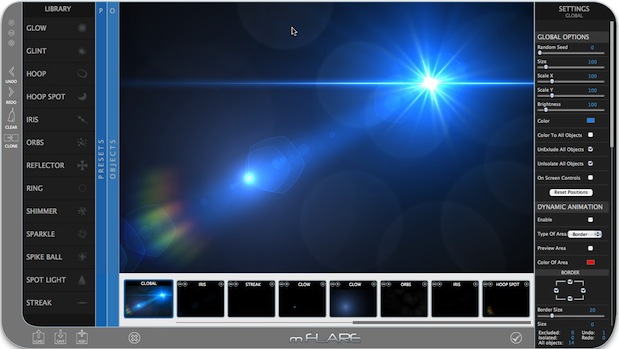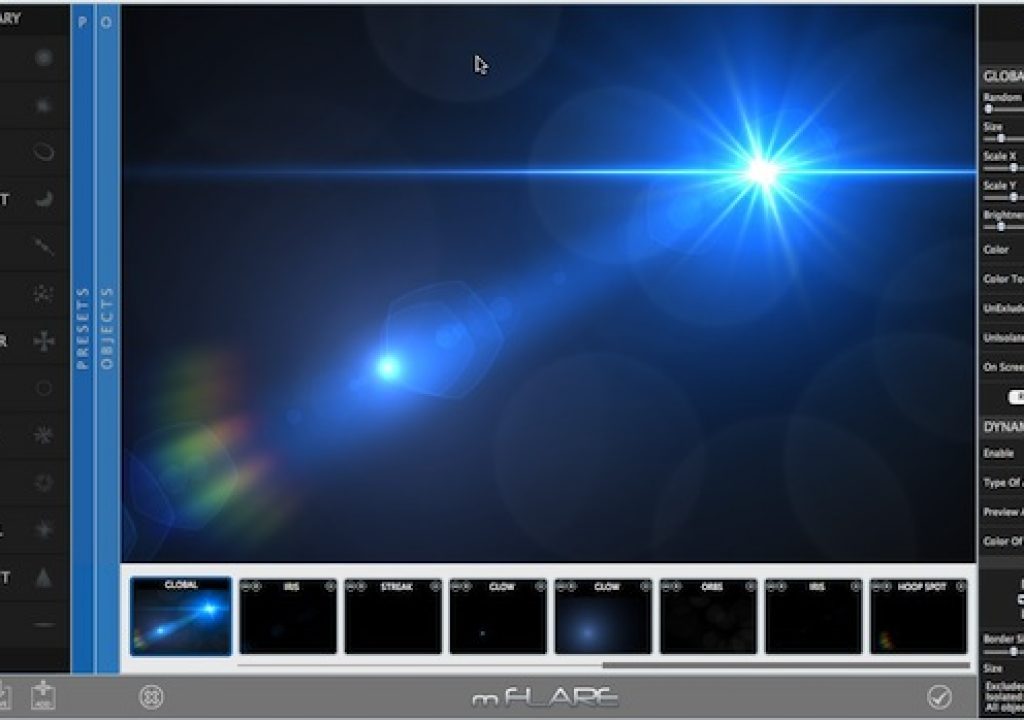
mFlare is a fascinating and deep new product from MotionVFX.com, the site best known for their extensive colleciton of templates for Motion and After Effects.
It’s one more reason that every Final Cut Pro X editor is going to want to have Motion 5 as part of their editing and motion graphics arsenal.
Rather than a straight review, in this article I’ll walk you through a few scenarios for how you might use mFlare in your FCP X projects.
Here’s a shot in FCP X to which I’d like to add a custom lens flare.
The mFlare Application
To get started, you launch the mFlare application. You use the application to do two things: either select from one of the preset flares and modify it if you wish, or build your own flare completely from scratch.
Presets
Clicking the PRESETS bar brings up a library of preset flares. Simply browse them and select the one you’d like.
Once you’ve selected a preset, you can customize in just about any way you’d like with the Settings on the right side of the interface.
Roll Your Own
For me, the variety of presets and the fact that you can customize them gives me all the choice I’ll likely need. But you can also create your own flares from scratch by clicking the OBJECTS bar and picking from the 13 different components (did you know that flares have so many parts?). Each component you add appears as a thumbnail along the bottom bar along with the full composite, and you can customize each independently. You can also set the color to Global so that changing the color of one component changes all of the others. In this case, I’ve added a Glow, Ring, and Hoop Spot. There are a large number of parameters you can tweak for each component, including options for dynamic animation. It’s easy and fun to do.
Creating the effect in Motion
When you are happy with your flare, you can either save it locally by clicking the Save icon at the bottom left, or what I prefer is to choose Save As Preset from the File menu – this way, my custom flare will appear in the list of presets. Once saved, you can create your effect in Motion. You’re going to use Motion because that’s what Final Cut Pro X uses for all of its effects – and by effects I mean all the content effects browsers, which includes effects, titles, transitions, and generators. Before launching Motion, however, you need to install the mFlare plugin – and you do that right from the mFlare application via the Motion 5/FCP X Plug-in menu.
Now you can launch Motion and choose to create a new Final Cut Effect. I like to use the largest HD preset; the duration and frame rate don’t matter.
In Motion, the mFlare plug-in is available in the LIbrary under Generators in the motionVFX folder. Add it above the Effect Source placeholder and change its blend mode to Add in order to knock out the background.
As you can see in the HUD, there are a lot of parameters you can adjust. Clicking the EDIT button will launch the mFlare application right from within Motion, where you can select your new preset.
Publishing to Final Cut Pro X
Now for this new flare to appear in Final Cut Pro X, we need to publish it. Before doing so, we can also choose some parameters to publish so that the flare can be modified directly inside Final Cut Pro X. While you could do this from the HUD, it’s best to use the Filters Inspector, which shows all the parameters. Just use the Animation menu to publish whatever you like – important parameters include Light, Center, Size, Scale X and Y, Brightness, and Color. Also, you’ll definitely want to check the Publish OSC checkbox.
Once you’ve published the parameters you want, select the Project in the Layers List and go to the Publishing pane of the Project Inspector where you can verify, adjust, rename, and reorder your published parameters.
Now choose File > Save and give your Template a Name, a Category, optionally a Theme, and Publish it. You don’t need unused media and you don’t have to make preview.
Applying the Flare in FCP X
Back in Final Cut Pro X, your new flare preset should appear in the Effects Browser, in the Category you created.
Drag it onto your clip in the Timeline and select the clip. In the Viewer, you should see two onscreen controls: one to adjust the location of the light source and the other for the direction of the elements that spread out from the light – in our case, the “hoop spot”.
In the Video Inspector, you’ll find all the parameters you published. So, you can change the color and size for example. And, importantly, you can set keyframes to animate the Light and Center parameters if there is camera movement in your shot.
If you want to modify the look of the flare beyond what you can accomplish using the published parameters, you can always right or control-click the effect in the Effects Browser, choose Open in Motion, and from Motion launch the mFlare application in order to modify the preset or choose a completely different one.
So that’s one workflow example of how to create and apply a lens flare to a clip in Final Cut Pro. But even though you can keyframe the flare, sometimes you need a more precise way to have the flare follow an object. And that’s where tracking comes in.
Tracking a lens flare with mFlare
Here’s another clip in Final Cut Pro X that might benefit from a lens flare – but in this case, we want the flare to precisely track the motorcycle wheel.
In order to track this shot, once again we need to use Motion. Now, since you cannot “send” this clip from FCP X to Motion 5 the way you could with legacy versions of these applications, you have to manually load the clip into Motion.
Launch Motion, create a new standard Motion Project with settings that match your FCP X project, and in the File Browser, navigate to the Final Cut Events folder that contains this event (by default, it’s located in ~/Movies). From there you can add the same clip to the Motion project.
Now add the mFlare generator above the video clip, and set its blend mode to Add. Click the Edit button to choose the preset you want and modify as you like. Use the Edit Positon tool to place the flare in the Canvas.
We want to track the Light parameter, so in the Filters Inspector, use the Animation menu to apply the Track parameter behavior to the Light parameter.
Now in the Behaviors Inspector, drag the video clip into the Source well.
A red tracker appears in the Canvas – move it to the point you want to track. Hold down the Option key to have Motion identify good candidates. Identifying a good tracking point and getting a successful track is not alway simple and is beyond the scope of this article; the Motion Help has some good information. It can help to crank up the Look Ahead Frame value all the way, and to increase the Search Size. Then click Analyze.
Once your track is complete, you can adjust the position of the Light and Center parameters for the flare, and it should still follow the track.
To get your tracked lens flare back into Final Cut Pro X, you’ll need to export a rendered movie from Motion. Choose Share > Export Movie and use the current project settings. If you save the movie to the same Event folder (in Original Media), it should appear in that event in Final Cut Pro once you quit and relaunch.
Back in Final Cut Pro X, you’ll need to import this movie into an Event, and then drag it to the current clip and choose Replace.
Your FCP X clip now has a custom flare that tracks the shot. Very nice.
Conclusion
While it may take quite a few steps to add a customized flare that tracks your video clip, mFlare is an incredibly powerful and versatile tool for enhancing your shots in Final Cut Pro X. mFlare has many other features that I haven’t touched on here, like the ability to track objects in 3D space in Motion, dynamic animation, and others. Check out the demos and the tutorials at motionvfx.com. The developer says they plan more features in future updates.
FTC Disclosure: I was provided an evaluation copy of the software in order to test it and write this article.
About the Author
Mark Spencer is a freelance producer, editor, teacher and writer based in the Bay Area. He is the author of the Apple Pro Training Series book Motion Graphics and Visual Effects from Peachpit Press and has written for print and online publications including DV Magazine, EditWell, ProVideo Coalition and kenstone.net. He maintains www.applemotion.net, a resource for Motion. His tutorials are available through Rippletraining.com.

