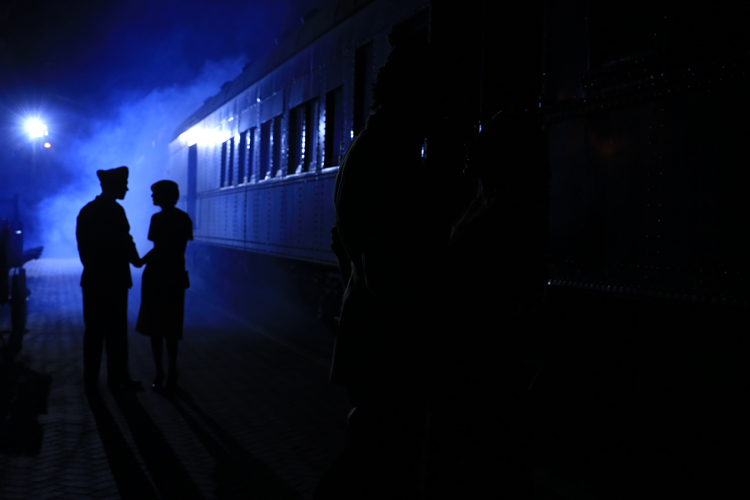
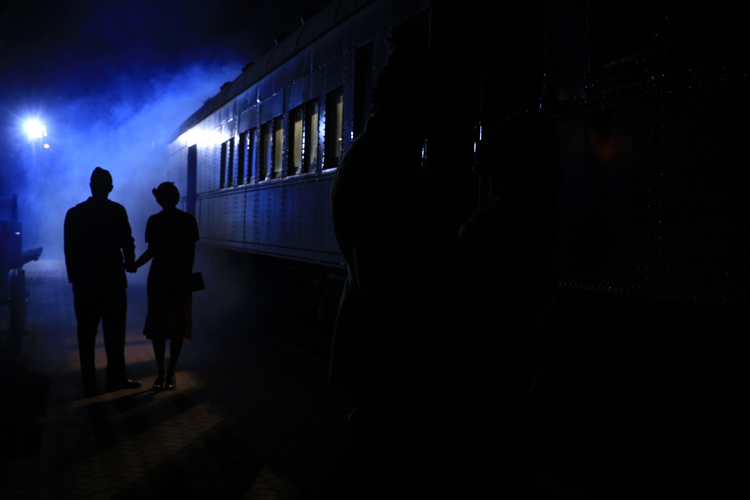
Today on The Slanted Lens, we are shooting out at the Orange Empire Railway Museum. They gave us access to their steam train and WW2 passenger cars. We will use this setting to look at the process of mixing HMI and LED lights.
We are lighting a very large area. It’s three train cars long, and we are going to need some serious power to make this happen. Because we are shooting both stills and video, we will need to light everything with constant light sources.
The area to cover is very large, and we will require a strong instrument to serve as the backlight. We rented an Arri M18 HMI. It’s 1800 watts and runs off a single 20-amp circuit.
We will set up the M18 deep in the shot and layer smoke from the Rosco 1900 in the background between the light and the scene up front. I’m okay seeing the light in the scene and will let it be in the frame in most of the shots. On this light we added a 1/2 blue Rosco gel to cool it off. I will be shooting at 1/50th of a second and f5.0. I will push the ISO to 1250 to get a proper exposure.

#1 Here is the first image with just the HMI. You can see that we have an angle of incidence problem. The light is on the angle to reflect into the side of the train car. If we had a lift to get the light higher we could get rid of the reflection but because we do not have one, we will have to retouch the high light out or cover it with smoke. Now that the broad strokes are laid down with the HMI, we will add LEDs to paint in the image. The nice thing about single light LEDs is that they allow us to use a single light in many different ways.

#2 For our first light, we will place a NorthStar Lite inside the second car in the background with just a 7-inch reflector. It’s aimed out the window toward the ground to create window patterns on the walkway and create light shafts in some of the images. We will add a 1/2 CTO or warm gel on this light.
#3 We will now add a NorthStar Lite with a 7-inch reflector on the camera left side to rim the couple and imitate the look of the HMI in the background. The HMI is just too far back there to rim the couple up front. We will add a 1/2 blue on this light. This is the image with the rim light.
#4 Now, as a key light we will add a NorhtStar Lite in the car just ahead of the couple. We will place the light just back from the window so it will see the couple but will cut off the people in the background. The windows are very dirty so it will soften the light coming through. This is our image with the key light.
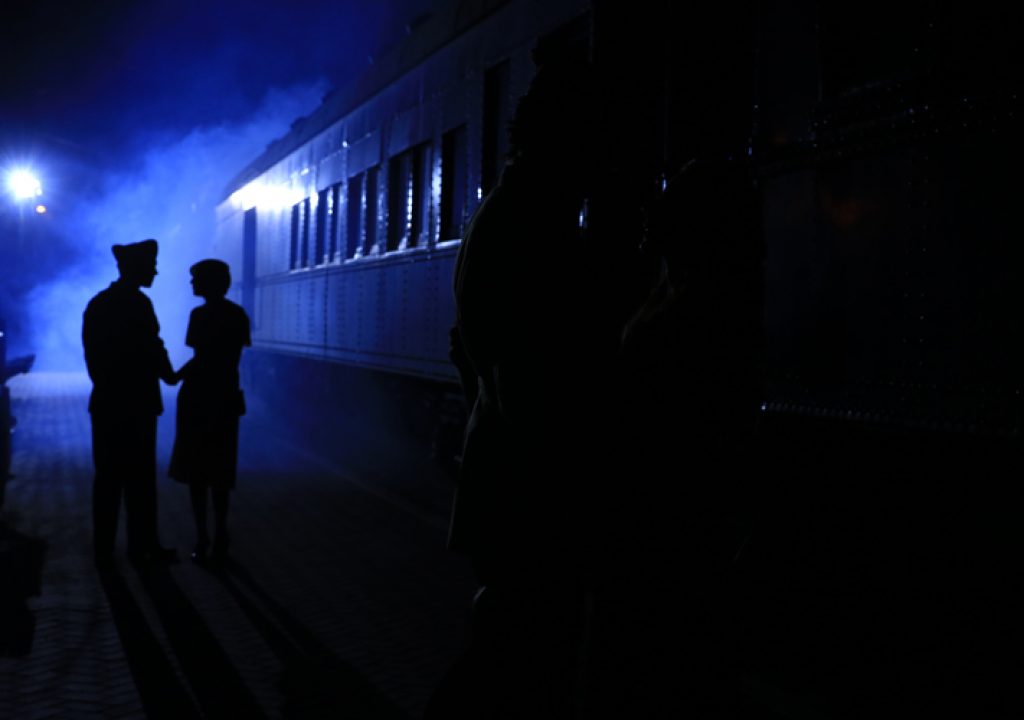
#5 Our last light is an OctoDome just on the right side of the camera. I’ll pan it in to open up the shadows on our talent. Here is our final lighting setup. This was an epic shoot and a lot of work. After this shoot, I feel more comfortable mixing LEDs and HMIs. They work very well together and create a very cinematic look.
Thanks to the Orange Empire Railway Museum for allowing us to work at their museum. It was very cool. Remember, I’m a train nerd. Thanks for watching. Keep those cameras rollin’ and keep on clickin’.

