When working with Motion, you’ll often import content that was created elsewhere. For example, Illustrator and Photoshop are two powerful applications for creating and manipulating images. They both work very well with Motion, but to get the best results, you need to know about setting in Motion that isn’t necessarily obvious or easy to find.
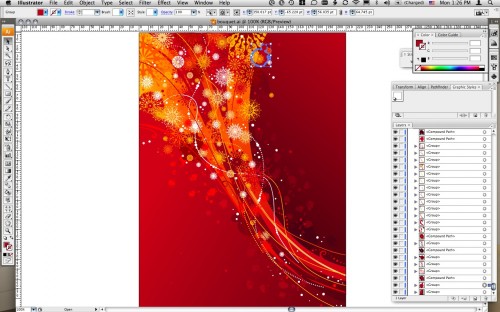
Let’s look at Illustrator first. One of the great benefits of Illustrator is that it’s completely vector-based: you can scale graphics that you create as large as you want, and they will retain crisp, clean edges.

To use your Illustrator file in Motion, you need to save it as an Illustrator file (filename.ai) or a pdf (filename.pdf).
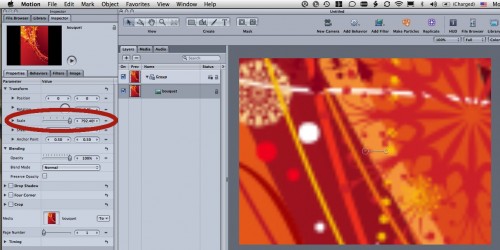
However, once you import your Illustrator file into Motion and scale it up, you will find that the edges don’t stay crisp at all – they get pixelated and blurry, just like a bitmap image.

The reason? By default, Motion imports the file at a fixed resolution. So, if you scale it over 100%, it will start to look blurry.
The fix is simple, once you know where to find it.
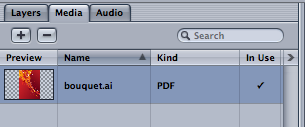
First, you need to select the underlying media, not the current layer in the Canvas. So in the Project pane, go to the Media tab and select the source file.

Next, in the Inspector, select the Media tab (that’s right, there are two different Media tabs – one in the Project pane and one in the Inspector).
Near the top of the tab, you’ll see a parameter called Fixed Resolution, which is checked by default. Simply click the checkbox to deselect it, and your image will now appear crisp and clear, no matter how large you scale it.
If you don’t need to scale your image over 100% (or dolly in close with a camera if you are using it in a 3D group), then leave Fixed Resolution checked – you’ll get faster playback and render performance.
With Photoshop, you aren’t working with vector images, so you can’t avoid blurring a Photoshop image if you scale over 100%. However, if you don’t change the default Fixed Resolution setting, you’ll run into a different issue. Let’s take a look.
If you drag a .psd file into Motion and keep the mouse button held down, you are presented with several options for importing the file. You can choose to import all of its layers merged together, import them all as separate layers, or choose a specific layer.
If you choose to import all layers, the file comes into Motion as its own group, and each Photoshop layer becomes a layer in Motion.
You can now add effects and animation to each layer individually. Nice. But here’s the rub. If you move a layer, you’ll see that it gets cropped to the original size of the source file.
Once again, it’s Fixed Resolution to the rescue – or, I should say, turning OFF fixed resolution. However, this time, you do it in a different way. I said it was a bit tricky, didn’t I?
First, select the group that contains the Photoshop layers.
Next, in the Group tab of the Inspector, turn off Fixed Resolution.
With Fixed Resolution turned off, you are now free to move layers anywhere in the Canvas. By the way, if you choose View > Show Full View Area or press Shift-V, you’ll be able to see layers that are off the Canvas.
So remember, if you want to scale your vector artwork over 100% in size, or if you want to be able to freely manipulate Photoshop layers, turn off Fixed Resolution.
For more Motion tutorials and training dvds, please check out this link


