When working with blend modes in Motion, it’s important to understand how groups of layers interact with each other so that you get the result you are looking for.
Here’s a simple example of three shape layers:
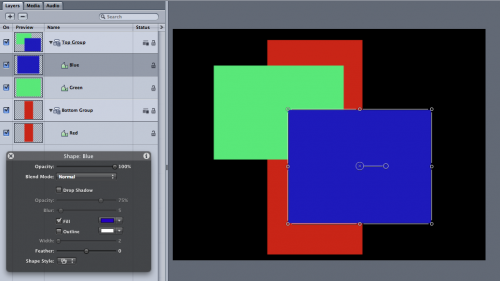
Notice that the blue and green rectangles are in one group called “Top Group”, and the red rectangle is in a separate group below called “Bottom Group”. Notice also that the blue rectangle is selected and that we can see in the HUD that its blend mode is Normal – this is the default.
Rather than using the HUD to identify the blend mode of a selected layer or group, we can view all the blend modes at the same time by using the fly-out menu:
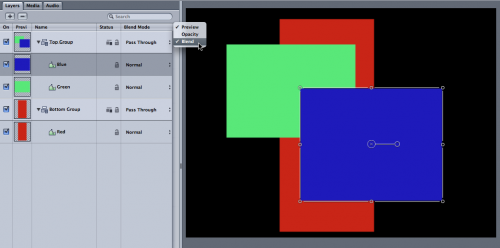
Now we can see that not only do the layers all have the default blend mode of Normal, but the groups have a different default blend mode, called Pass Through. What does it mean?
Let’s change the blend mode of the blue rectangle to Add:
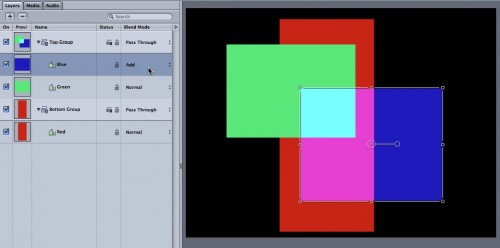
Now the pixel values of the blue rectangle are added to both the green rectangle and the red rectangle to create new colors. Because the Top Group’s blend mode is set to Pass Through, the blend mode of every layer within that group is “passed through” to the layers in groups beneath it.
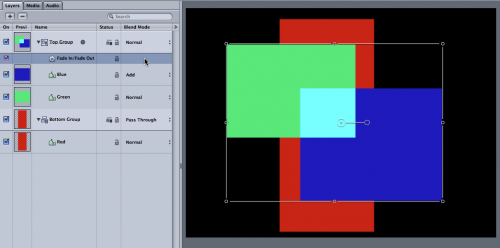
Let’s now add a Fade-In/Fade-Out behavior to the Top Group and see what happens:
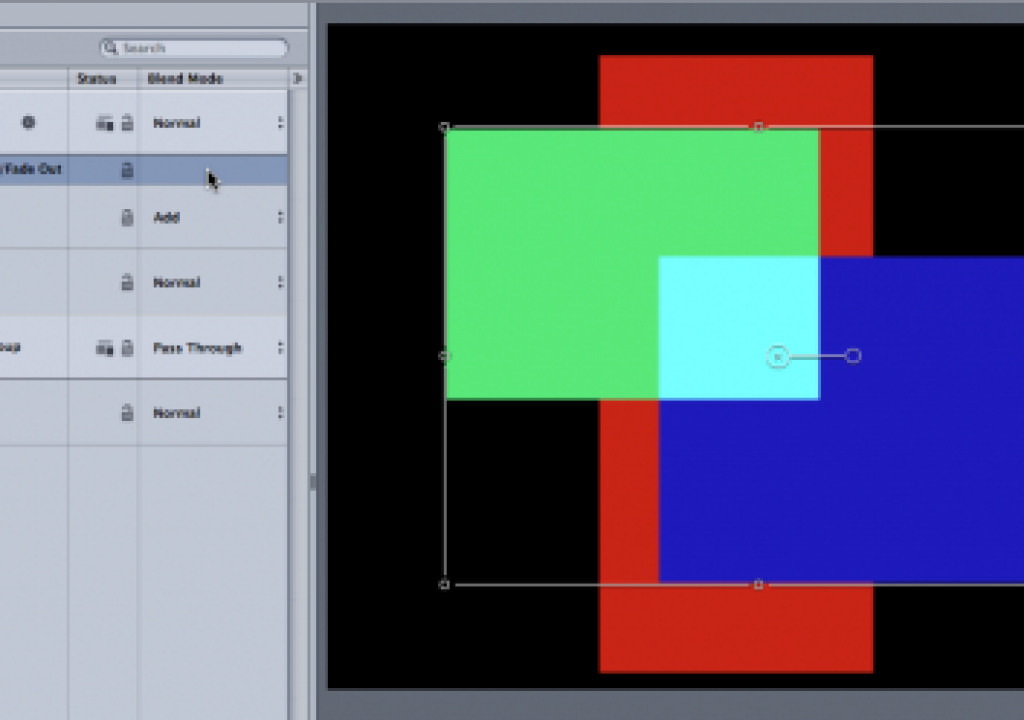
In the Canvas, we can see that the blue rectangle’s pixels are only being added to the green square, and the red rectangle is obscured beneath. This is because Motion automatically forced the Top Group’s blend mode to Normal when we added the Fade In/Fade Out behavior, as we can see in the Layers tab. If you look closely, you’ll also see that the icon to the left of the Top Group name has changed: this “boxed” icon tells you that the group is now being “pre-composed” so that although it can be combined as a whole with groups below it, the layers inside it will no longer pass through to the layers below.
If we select the Top Group and go to the Properties tab of the Inspector, we’ll see a little blue “LED” dot next to the Opacity parameter:
This dot identifies the specific parameter that is causing the group to become pre-composed, forcing the blend mode to Normal. There are several operations that will force a group to become pre-composed such as blend modes, adding a drop shadow, corner pinning and cropping. If you aren’t sure why it’s happening in your composition, take a look at the Inspector to located the blue LED dot:
This pre-composing which kills the Pass Through blend mode for a group isn’t arbitrary – it’s really the only way to achieve that particular operation. For example, if you want all the layers of a group to fade on together as a group, then you can’t have individual layers interacting with layers beneath them.
To get around the precomposing process, one option can be to apply the effect to the individual layers of a group rather than the group as a whole. For example, you could add the Fade In/Fade Out behavior to each layer in the Top Group, which allows you to keep the group’s blend mode set to Pass Through:
The disadvantage of this approach is that the layers fade up individually rather than as a whole – so you need to choose the result that works best for you.
By understanding how the Pass Through blend mode works, and knowing how identify the change you made that stop it from working, you can better control the appearance of your composition.
For more training on Motion, check out my DVDs available from Ripple Training.


