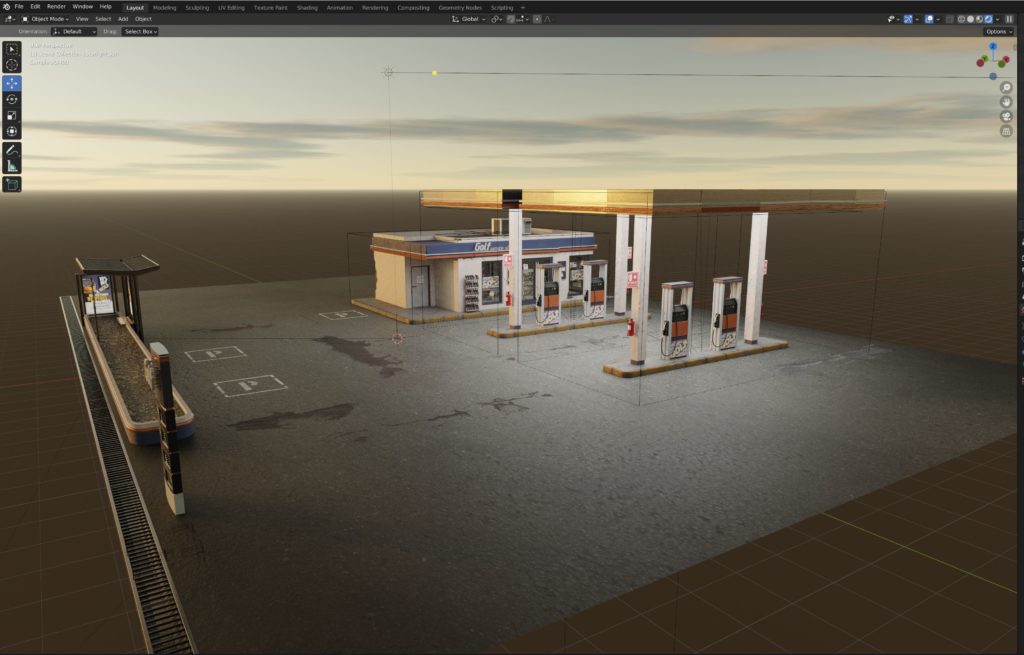
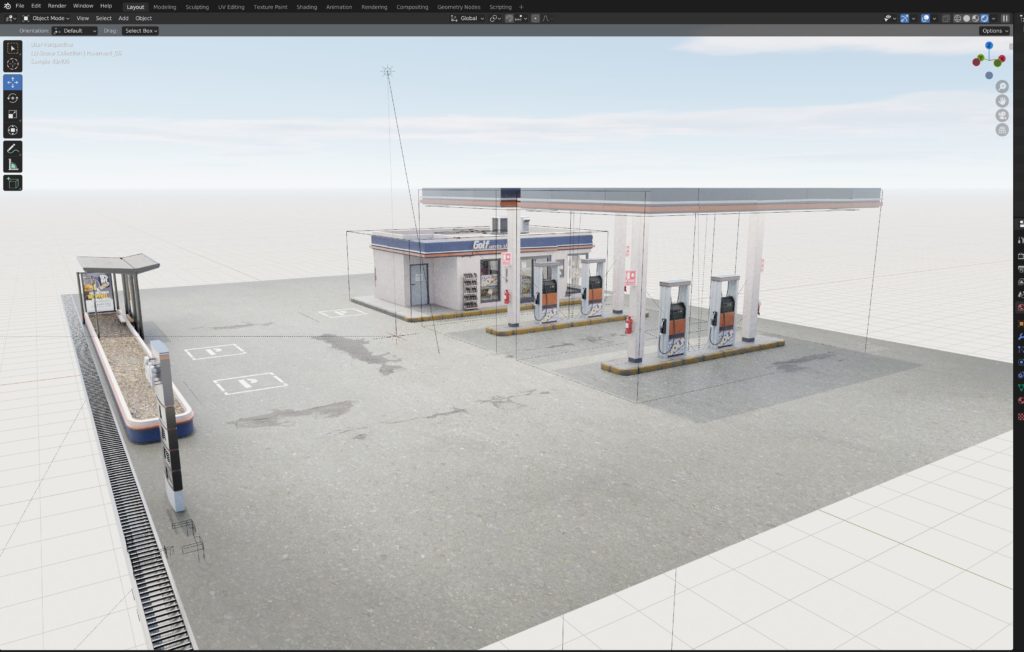
When learning Blender, I’m not really interested in modelling or anything like that. To be honest, I suck at it. Much like in Unreal Engine, I’m more interested in the cinematography aspect of it. I want to build all my scenes (whether they are city, country, desert, ocean, etc) with pre-built elements, and then use what I know about cinematography and editing to build the scenes I want to build. That’s where, for Blender at least, the Blender Market and add-ons come into play, and in this article, I want to take a look at my five favorite Blender add-ons that I used to get me up and rolling, creating realistic looking animations in Blender, as quickly as possible.
HOW DO BLENDER ADD-ONS WORK?
Once you’ve purchased an add-on (or found a free one, as there are a ton of great, free add-ons to use with Blender), and are ready to work with it, installation is actually quite easy. All you have to do in Blender is navigate to EDIT>PREFERENCES>ADD-ONS. Once you’re there, you’ll notice that there are two options at the top of the window. “Offiicial”, which are Blender add-ons that were created by the Blender development team, and then there are the “Community” Blender add-ons, which is what we’ll be talking about in this article. To install an add-on, all you have to do is click “Install”, and navigate to the zip file that you’ve downloaded that you want to install into Blender. I have my add-ons in a folder called “Blender Add-Ons”, as the last thing you want to do is scatter them all over your computer, so you can’t find them when/if you need to. Once you’ve installed the add-on, you have to activate it by clicking the check box, but that’s about it. To access Blender add-ons, simply hit “N” on the keyboard, and they’ll appear in a tabbed layout, on the right of the interface. What I love about Blender is that there are add-ons for just about anything you can think of from motion graphics, to weather, to city building to character animation, but in this article, we’ll look at the five that I really liked, to get me rolling quickly and easily.
Physical Starlight and Atmosphere – $58 USD
I started out my Blender journey by working with HDRI’s, and they served their purpose, up to a certain point. Depending on the HDRI’s, you can have some that are fairly massive….up to 4G in size, which can start to bog a project down. The other issue with HDRI’s is that they are one setup. Day, Night, Dawn, Dusk. Pick one, and that’s the lighting setup you get. There is no (well, very little) ways of adjusting them. So, you’ll see very quickly that a better solution is required. That’s where Physical Starlight and Atmosphere (PSA) comes into play. The name is slightly misleading, as it seems that it would be an add-on that would deal with space scenes, as its name suggests “Starlight and Atmosphere”, but that couldn’t be further from the truth. What PSA basically is, is an add-on to adjust the atmosphere of your scene. Want a day scene, no problem. You just have to decide what time of day you want it to be. Do you want the warm feeling of sunrise or sunset? A few simple drags gets you there.

What about the hot, blazing sun of the desert? Again, a few simple drags, and the adjustment of the brightness gets you there as well.

What I really love is that you can quickly and easily make it night time as well, with the stars in the sky as prominent or as subtle as you want them to be.
PSA is super quick and simple to use, and produces excellent results. You also have some presets you can use to get you rolling in the right direction as well. What’s great about it as well, is that it’s designed to be the atmosphere on Earth, or the atmosphere on really any planet with the ability to add an additional Sun (like Tatooine), or make the sky different colors, based on the planet you want it to look like (Mars). One last thing that I want to mention is that, unlike HDRI’s, PSA is completely animatable, meaning that you can create your own sunrises/sunsets, and really any atmospheric phenomenon you like.
Baga Rain Generator – $12 USD
There are a few things that I take into consideration when making my scene(s), and the first is the weather, and the first two Blender add-ons you’ll notice are directly weather related. So, let’s talk about Baga Rain Generator. Why do I like it? Well, it’s simple to use, and gets great results. It’s also only $12 US, and saves you from having to set up a rain simulation any and every time you need one. How does it work? Well, it’s actually quite simple. First, you’ll need something to rain on. I know it sounds weird, but that’s how you get started with it. In my case, for the sake of this article, I’m going to add a mud plane to my empty scene, and with it selected, I’m going to hit “N” on my keyboard to call up my Blender add-ons. You’ll notice that Baga Rain only has a couple of options. “Add Rain!” and “Add Rain Shader”. What you’ll want to do is to select all the items you want to have the rain affect, and press “Add Rain!”. Once you do, you’ll notice that not only is the rain immediately added to your scene, but there are splashes from the ground as well.
Now, I don’t really care whether the rain is impacting my two knights in my scene, as it’s more important for me that the rain is splashing off the ground, but what I’m going to do is add another element in the scene.
It’s a little hard to tell, but my rain isn’t interacting with my wheel, but I want it to. No problem. All I need to do, with it selected, is hit “Add” in the “Targets” section, and it will now be impacted by the rain, and have the drops splash off it.
Now you can see that the rain is splashing off the top of my wheel. There are so many great little features in here like the adjusting of the droplets, splashes and even wind. I could do an entire article on it, but, let’s move onto our next add-on.
ALPHA TREES – $45 USD
This is one of my absolute favorite Blender add-ons, for two reasons that might not be so obvious. So, here’s the scenario. You have a forest scene that your character is walking through that you need to populate with hundreds or even thousands of trees, as the camera starts out high in the shot, then moves down behind your character. The big problem with a scene like this is that you can drop a 3D tree into the scene, which is no big deal, but what happens when you want to take that tree, and scatter thousands of them in your scene, to create your forest. Well, either Blender freaks out and crashes, or your renders come to a screeching halt and take days to render. Well, that’s where Alpha Trees comes into play, and it’s pretty much exactly what it sounds like. Have you ever noticed when you take a look, if you walk around a tree in a circle, that the tree (for the most part), pretty much looks the same on all sides? This is the trick that is being used in Alpha Trees. The trees themselves are completely flat. Now, let’s backtrack just a little bit, as I’m getting ahead of myself. The first thing that I want to point out about Alpha Trees is that you have access to 150 different types of tree to add into your scenes.
Working with Alpha Trees is quite simple. Select the layer you want to add Alpha Trees to, which is normally some kind of landscape. Once you have it selected, simply naviate to the Alpha Trees add-on tab (by pressing N on your keyboard). Create a new Biome by hitting the “+” button, and you’ll have something that looks like the below.
Now we can add some trees. All we have to do is click “New Setting”, and a bunch of sample trees will be added. Everything will look like a mess, but don’t worry, all will be good in just a second.
What you’re seeing right now is a sample white cutout being put into your scene, and we can make adjustments to get everything looking the way we want, before we add trees/shrubs to our Biome. But, before we do that, we want to make sure we do something important, and that is to select our scene camera, inside of Alpha Trees, for a very important behavioral feature that is very cool.
The little lines will eventually become trees!If you take the padding parameter below, and put it at 0, what Alpha Trees will now do, is not create/render any trees outside of the camera’s field of view. This is fantastic to keep the renders as low as possible.
Now, what I can also do is draw a weight map on my mountain, so I can determine only where I want the trees to appear, on my landscape.
As you can see from the below image, we have lots of trees through blue, green and into yellow, but they quickly drop off through orange and completely disappear in red.
Once we’ve applied the weight map, you can see, right away, where the trees will go up to, on the mountain, and then stop. Again, keep in mind that we can adjust the falloff as hard or as softly as we want.
Now, I did throw up a bit of a challenge at the start of this article stating that you can combine 3D trees and the Alpha Trees, and you probably wouldn’t be able to tell them apart. Well, to prove that, I put together a quick scene that combines both tree meshes with my Alpha Trees, and, to be honest, I can’t tell the difference until I actually see which are my flat assets.
Here’s the composite:
Here’s which trees are fake, and which are “real”.
The amount of trees you can have in one scene is quite staggering, and it didn’t destroy my system, when it came to performance or rendering.
K-Cycles · K-Cycles Rtx 2023 – $54 USD
There was absolutely no doubt that K-Cycles was going to make it into this article, as it was one of the first add-ons I purchased when I started working in Blender. So, the first question is, what is Cycles? Well, Cycles is Blender’s physically-based path tracer for production rendering. It’s the render engine you’re going to use when rendering your projects. With that said, however and as we all know, render engines in 3D applications can be tricky to get exactly the results you want, right out of the box. That’s where K-Cycles comes into play. What K-Cycles is, basically, is an optimized custom build of the Cycles Render Engine. This is one (of many) of the huge advantages of working with Open Source software, the community can fix what doesn’t quite work the way they want. It includes Ultra Lighting, Post FX, an Ultra Denoiser, realtime viewport lighting and lighting effects (Lens Flares, Blooms, Mist, etc), and it’s designed for Nvidia GPU’s (I’m using a 3080Ti).
What makes K-Cycles a little different from the other add-ons in this article, is that once you have it installed, you will actually launch Blender via a K-Cycles shortcut, so that all the features of K-Cycles will be included, when the application launches.
There are two features of K-Cycles that stand out to me, above all others (other than faster renders, lol), and that is the Camera Mode/Overrides and the Render Cameras feature. Let’s talk about both of those now.
Camera Mode/Overrides
This is a very clever feature, and one that I’ve just recently started to use. As we all know, one of the issues that plagues us these days is choice. Do we want bloom in this shot, or maybe we want to stick with just lens flares, or even get in and make some exposure/HMS or even white balance adjustments. You can duplicate cameras, and have different settings on each, and simply switch between them to choose the final look you want, quickly and easily.
Render Cameras
Do you have multiple cameras in your scene, and you want to render each of them out when you do your final render? You can render all your cameras or selected cameras (with animations) out in one render pass, to save you the hassle of having to set these up as individual renders. Very, very helpful.
There are so many other great features in K-Cycles that it will be getting its own dedicated article but, needless to say, it’s an add-on that should be purchased first, right after you install Blender.
Auto-Rig Pro – $40 USD
It was hard picking only five, so since I am looking at more “real world” options, meaning that I focused on the environment for most of the add-ons, but for this one, we’re focusing on characters. I was going to say people, but Auto-rig Pro can rig just about anything. So, what is the purpose of rigging, and this tool in particular. If you know anything about animation, or have watched any behind-the-scenes extras on DVD’s/Blu-Rays, you’ll know that rigging is the process of giving your character a bone structure, so that it will move in a realistic way, when you apply it to your character. That’s it in a nutshell, but there’s actually so much more going on here then I ever thought there was, and Auto-Rig Pro is now my only tool for doing this work.
One thing that’s great about Auto-Rig Pro is that it takes a lot of the leg work out of what needs to be done, when rigging a character. Now, let’s not confuse rigging and animating. We need to rig the character with the correct bones, which Auto-Rig Pro does, before we get to animating. To start out, it’s pretty simple. We need to have Auto-Rig Pro analyze our robot, and figure out where we need to put the main bones. There’s a bit of work in here for us, as once we “Get Selected Objects” in our robot, we’ll need to map out a rough skeleton that will need adjusting.
What we basically have is a neck, chin, shoulder(s), wrist(s), pelvis/spine and ankle(s). Auto-Rig Pro will provide us with things like elbows and knees that we can adjust as needed. Basically we’re doing a skeletal overlay.
After some fine tuning of the joints of the skeleton (I’ve purposely left the fingers out of this rig, as they can be annoying to create, depending on the model), and a quick matchback, it’s time to fuse or bind the skeleton to the skin/mesh of the robot. What’s great is that, assuming your model is symmetrical, what you do to one side of the skeleton is mirrored to the other. By doing that, not only do we have the ability to now check out what each of our appendages are doing, but we’re now also ready to match the movement of an external animation.
I’ve downloaded a running animation from Mixamo by Adobe. Nothing fancy, just a skeleton rig running.
Now, you’ll notice that the rig I imported, and the setup I have, aren’t even remotely close to the same size, but not a big deal. We can adjust that when we add the Mixamo animation to our Skeleton.
All we’re going to do is navigate to the Auto-Rig Pro: Remap section of the add-on, identify the source and target armature’s (skeleton’s), match the scale, and merge them together. You’ll notice that as soon as you do that, the robot is now in a running pose.
To date, this has been the most challenging, yet most rewarding, add-on that I’ve been working with. I’ve become a bit addicted to rigging characters.
CONCLUSION
I’m loving every second of learning Blender. The community is makes it so great. Any time I’m working on something and I come up with an idea, I now immediately think “There’s probably an add-on that will do that job!”. One thing that I’ve really liked about the add-on “community” is that, for the most part, the add-ons are very cost effective (I don’t say cheap). You’ll notice that the most expensive one on this list is $58, and right there, the first time using it, it’s already paid back the cost that it was to get it. What’s also important to keep in mind is that, with most of the add-ons in the Blender Market, the add-ons are good for life, meaning that they will be updated on a fairly regular basis, and all updates will come to you for free, which is completely insane, but super worth it for the community purchasing these add-ons. If you’re looking to get your toe wet with Blender add-ons, but not sure about prices right now, Black Friday and Boxing Day are coming, which probably means steep discounts, much like what was in their recent Summer Sale (25% off). For more information on the Blender Project, you can check it out here, and to check out the Blender Market, you can head over to it, via this link.


