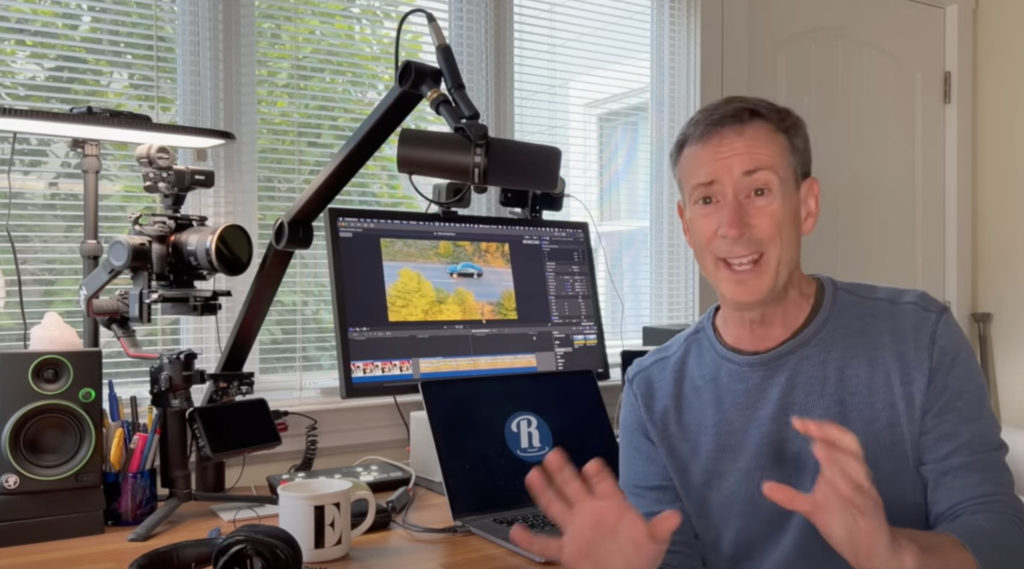
Today’s video solves two shortcomings when it comes to creating pans and zooms on stills and video clips in Final Cut Pro.
The first is the “Ken Burns” effect made popular, but by no means invented, by the famed documentary filmmaker: while it works very well to create these kinds of moves and has an intuitive user interface, it has one significant limitation in that it always gets applied to the entire clip duration.
Now, you can overcome this limitation when working with still images by adding edit points, creating freeze frames, and reversing the effect in order to precisely match the preceding end point to start a new move to a new location; and you can then easily the adjust the timing of these separate moves by rolling the edit points.
When it comes to a video clip, however, it’s a bit trickier since you don’t want to freeze the video in order to freeze the animation. And with so many editors these days working with 4K resolution clips in HD timelines (or 8K clips in 4K timelines), it’s more common than ever to “punch in” to video clips in order to reframe a shot, create a faux second camera angle, or to follow areas of interest, all without sacrificing final output resolution.
Even with a video clip, you can once again force the Ken Burns effect to stop and start smoothly by creating edit points. But instead of creating a freeze frame, if you want the move to stop and hold, you need to manually line up the start and end frames. Doable, just a bit more work.
Of course, another option is to skip the Ken Burns effect entirely and instead create the move by animating the position and scale of the clip. With keyframes, you don’t need to cut up the clip into sections, and you can easily adjust keyframe locations after setting them as desired.
However, here’s the rub: while you can ease position keyframes in Final Cut Pro (which calls them “smooth” vs. “linear”), you cannot ease scale keyframes. I need to repeat that because it’s kind of amazing to me: you cannot ease scale keyframes in Final Cut Pro. Nor rotation by the way.
The result is that if you have eased position keyframes and linear scale keyframes, your pan & zoom will not look good, especially if it’s fast.
Luckily, there is a very easy fix. The video above demonstrates the workaround solutions above and then shows you how you can create smooth, adjustable moves on clips without needing to create new edit points.


