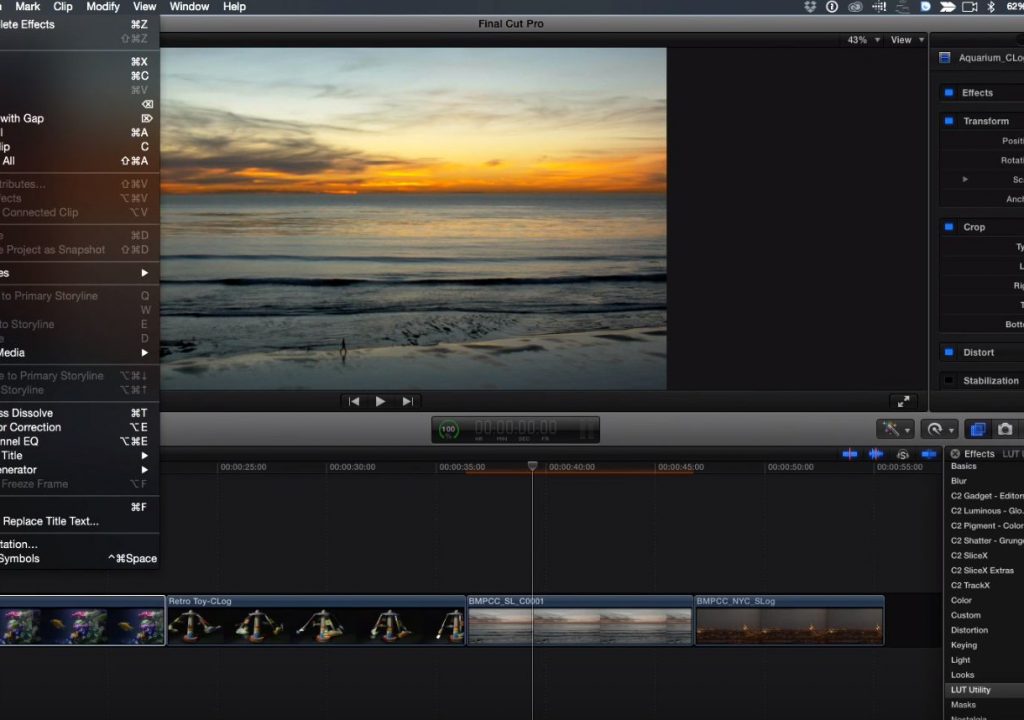
This week on MacBreak Studio, Steve Martin from Ripple Training shows us how to apply LUTs to footage in Final Cut Pro X.
LUTs, or Look Up Tables, are mathematical calculations that change the colors of an image. They are used to enable the capture of a greater dynamic range in-camera by capturing in a log color space or using a flat profile and then converting that image in post via the Look Up Table. This episode focuses on log-encoded footage (shot with a Blackmagic camera) which looks very flat by default. Applying a LUT is often the first step in the color grading process, but is often done before editing to make the footage more pleasing to look at during the cutting process.
There are many LUTs available for use in Final Cut Pro X; today we demo the LUT Utility from Color Grading Central. This utility is also part of their excellent Color Finale product, so if you have Color Finale, you already have LUT Utility.
Steve uses a new feature in Final Cut Pro 10.2.3 that allows you to set a default effect that is applied with a keyboard command. Note that if you have created a custom keyboard set before you upgraded to the latest version of Final Cut, you will not see these new keyboard commands (there is one for a video effect and one for an audio effect); you will need to revert to the default layout.
The cool thing that Steve does is that he doesn’t just apply the keyboard shortcut to the effect – that would be nice, but you would still need to go the Inspector and choose the LUT to apply to the clip or clips. Rather, he sets the LUT and then saves a Favorite Effect, and uses the keyboards shortcut to apply that favorite – very, very slick. Check it out above. And if you like this kind of info, you might want to check out our FCP X color grading tutorial.


