The world of 3D is a scary black box for most video professionals. We’re very used to capturing our 3D world in a 2D format, cropping off the edges, then preparing those 2D images for viewing on 2D devices. And though there’s a growing audience for 3D content, and a few ways to start working towards that future if you want to, it’s easy to use 3D objects when delivering to 2D as well.
Even better, you don’t have to understand 3D modelling to incorporate 3D elements with today’s 2D workflows, because photogrammetry — making 3D models from photos or videos of real-world objects — has recently become much, much easier. And happily, you can use the lighting and camera gear you already have to get great results. Photogrammetry doesn’t always produce perfect results, but it can be an excellent starting point, and it’s not difficult.
Here, I’ll give you a quick introduction to photogrammetry with some entirely free apps — follow along if you wish.
What kinds of objects can be scanned?
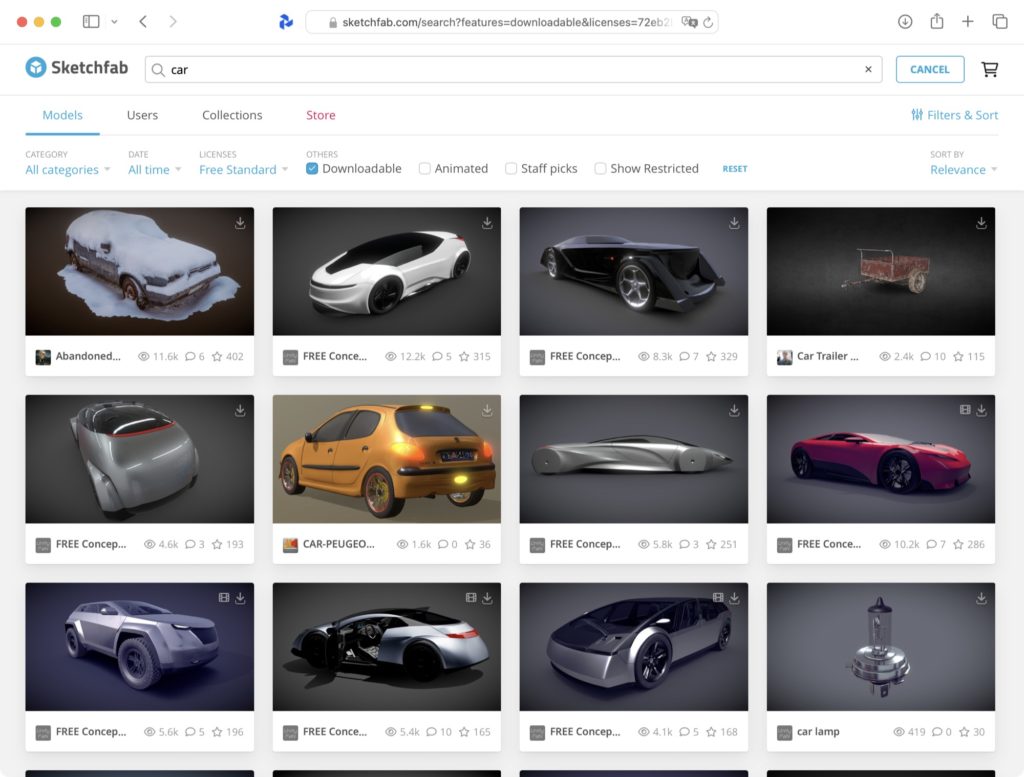
Photogrammetry is a great approach if you need a relatively realistic model of a specific object. Many common objects (such as balls used in sports) have been modelled already, and you can probably find free or inexpensive models on sites like Sketchfab already.

But if you need a model of a specific object, and especially if that object is unique, photogrammetry may be a good solution. Some techniques work best with smaller objects, and some work best with room-size objects, or indeed whole rooms.
What’s an easy way to get started with my phone?
On iPhone, a simple way to start is with the free 3d Scanner App. Another popular cross platform option is called Polycam, and there are many others. The front-facing camera on an iPhone has a high-resolution TrueDepth scanner used by FaceID, and you can use that for scans of smaller, more detailed objects. On Pro-class iPhones, there’s also a LiDAR sensor in the rear camera array, which is more suitable for room-scale scans that don’t require as much detail. Any phone can use its rear-facing camera to gather photos, though.
Behind the scenes, Apple has provided APIs to make photogrammetry easier for a few years now, so you’ll have a pretty good experience on iOS. On Android? That’s fine — you can skip straight to the “use a real camera” section below.
How does it work?
In 3d Scanner App, it’s easiest to start by capturing a larger object like a chair or statue, hopefully one without really thin details. If you can find a suitable human volunteer who can stand still, that’ll work well. Find a large space with clear ambient lighting, and place the person or object in the middle. From the menu in the bottom right, choose LiDAR to use the rear LiDAR sensor. Press the big red record button, then walk slowly around the object, keeping the camera pointed at it. The phone’s position, camera and LiDAR sensors will all kick in, and you’ll see the object being recognized as you proceed. Overlays will indicate areas that haven’t yet been scanned, and you can keep moving around until you’ve captured everything.
For smaller, more detailed objects, you can instead use the front-facing TrueDepth camera, which has higher resolution, though which doesn’t reach nearly as far.
One issue: since the scanning camera is facing out from the screen, you may find it challenging to see what you’re doing without appearing in the scan yourself. While scanning your own head this way is pretty easy, you might want to use Screen Mirroring to cast your iPhone’s screen to a nearby Mac to make it easier to see what’s happening.
Either way, after the scan, you’ll need to process it, which will take a minute or so, entirely on-device. Next, you’ll need to crop off any unwanted mesh details from around the model by moving the edges of a 3D cropping box. When complete, you can preview and then export a 3D model directly from the app.
While using an iPhone app produces results quickly, it’s not great for highly detailed objects, nor for those with thin edges. If you use a “real” camera and take a little longer, you can get better results with a little more work.
How do I use a real camera to do this?
Broadly, you’ll need to take a series of still images or a short video with a camera of your choice, and then process them with an app. While photo-based capture doesn’t include position data as you move your camera around, today’s algorithms are still smart enough to figure out how to construct a model. In many cases, this can produce more detailed results, though of course it takes a little longer to capture the object in the first place.
Flat, consistent lighting is a great idea, and you’ll need to capture images from all sides of your object, potentially by walking around, shooting from high, medium and low angles. If you’re filming a video, use your NLE to edit these orbits together into a single video file. For smaller objects, you may be able to do just two passes — one with the object oriented normally, and one on its side.
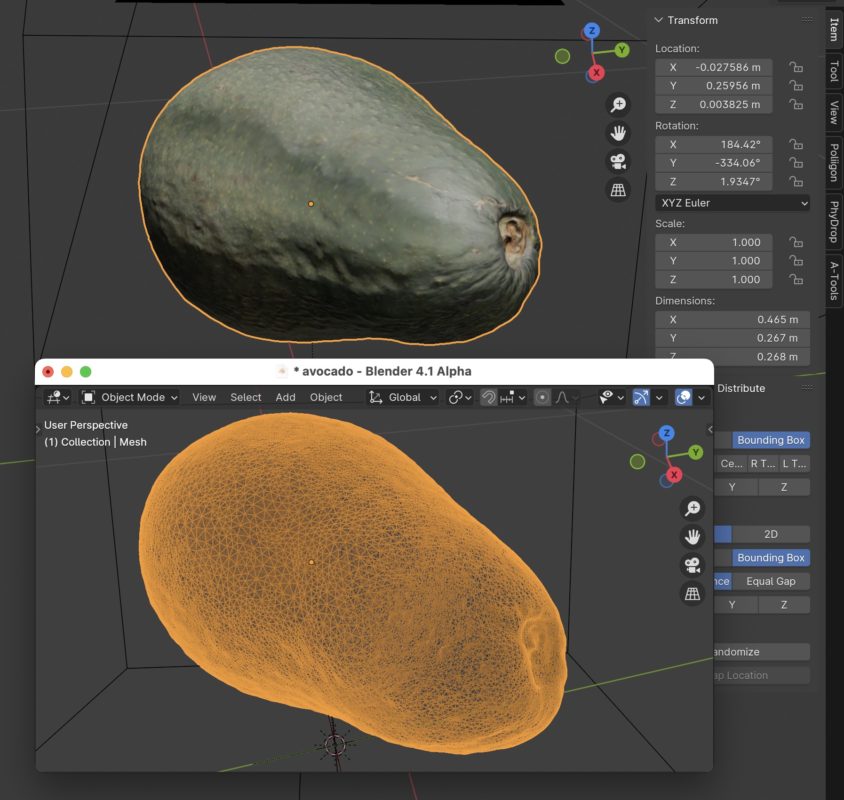
For better results with smaller objects, consider shooting in a white box with a motorized turntable to ensure flat, consistent lighting. Now you don’t have to move around or move your camera — just record high-quality video of your object as it spins around, then turn it on its side and repeat. Know that not every object can be scanned like this, and you’ll be sure to get some amusing failures along the way. In particular, this avocado has reflected a little too much light, so the resulting model is a little shiny.
For the processing, you can use 3d Scanner App for Mac, and since it accepts videos as well as photos, the process can be pretty simple. Note that if you send it video, it won’t use every frame, but will look at up to 20 frames per second. You should use fewer frames than this if you give it real-time footage, but the maximum of 20fps makes sense if you speed up your source clips in your NLE first. Ideally, you should provide 20-200 individual frames, and if you’d prefer to take individual shots than shoot video, that’s fine.
The app has plenty of tips as to how to achieve the best results, and a few quality options to choose from too. Experiment with Object Masking to try to remove stray background elements from the resulting model; I’ve had mixed results. If it fails, you’ll need to deactivate this feature and clean up any loose mesh data in an app like Blender.
Other free apps like EasyPhotogrammetry are also available, and many of the free options use Apple’s free APIs. Processing will take a few minutes; a little longer than an iPhone usually takes, but the results are often better. If you want more control, there’s a world of higher-end options across all platforms.
What file formats should I be using?
This depends entirely on the apps you want to use. While the Alliance for OpenUSD (founded by Pixar, Adobe, Apple, Autodesk and Nvidia, also including Intel, Meta, Sony and others) has endorsed USDZ as the One True Format™ for 3D going forward, After Effects prefers GLTF and OBJ right now. Apple’s apps prefer USDZ, and Resolve accepts many formats. Eventually, USDZ support will be universal, but until then, you’ll have to experiment with workflows to find a straight path between a real-world object and a model in the right format for your apps. I’ve found the best path to a clean USDZ for Apple platforms is to convert from another format (like GLB) with Apple’s free Reality Converter app.
What can you use a 3D model for in video apps?
Animation apps like Motion and After Effects can import 3D models, so you can fly a camera around or through them, and incorporate them into titles or general animations.
Motion and After Effects have some limits on what you can do with 3D objects, so if you need higher quality or more control, look to a dedicated 3D app. The free Blender is very capable, and can create animations or renders that can be incorporated into your video projects. Any shot you want, with any lens, any lighting, and an animated camera.
On the more traditional video editing side of things, while Final Cut Pro and Premiere Pro need plug-ins to accept 3D models, DaVinci Resolve can import them directly. For maximum control and quality, you might want to work with 3D models in a dedicated animation app rather than an NLE.
What else can I do with these models?
Every Apple platform supports USDZ models, and every handheld or face-based Apple device lets you place those USDZ models in your real world using something as simple as the Files app. Augmented reality apps are of course available for other platforms too, and all this works on the Vision Pro too. Third-party apps like Simulon promise to integrate models with the real world with fantastic levels of realism.
3D models can also be integrated with websites, where they provide a live, rotatable 3D object — and this can work on any platform. In fact, Best Buy recently announced a new app for the Apple Vision Pro that incorporates 3D models of their products, and IKEA’s iOS app lets you place their products in your own room with AR today.
Conclusion
Like 360° photos and videos, 3D models aren’t quite mainstream, but they still have definite uses. While the most common use for 360° photos and videos is virtual tours for real estate, anyone selling real-world objects could use 3D models in their webstores. Photogrammetry is of course not the only way to make 3D models, but it’s one of the most accessible for photo and video professionals, and an obvious starting point. If your clients currently engage you for video and photo services, this could be something new you can offer them, and you’ll have fun along the way.
Next? All you need to do is learn Blender, but that’s another story for another time.


