This is the second in a three part series on the post production workflow of the Number 1 movie, “War Room.” This part details the DI conform, color grade and DCP creation.
 In Part 1 of this article on the post-production workflow of “War Room” I discussed how the camera footage was prepped by the DIT and then how it progressed through dailies and how all of that metadata was carefully protected so that the DI at the other end would be flawless. By the end of this article, you’ll see if we succeeded. The first part also detailed the creative editing process, focusing on how director/editor Alex Kendrick and I honed the best story possible from the raw materials delivered by the camera and sound departments. That article ended just shy of delivering the finished edit to Roush Media, the Digital Intermediate company tasked with the final delivery for the theatrical screening.
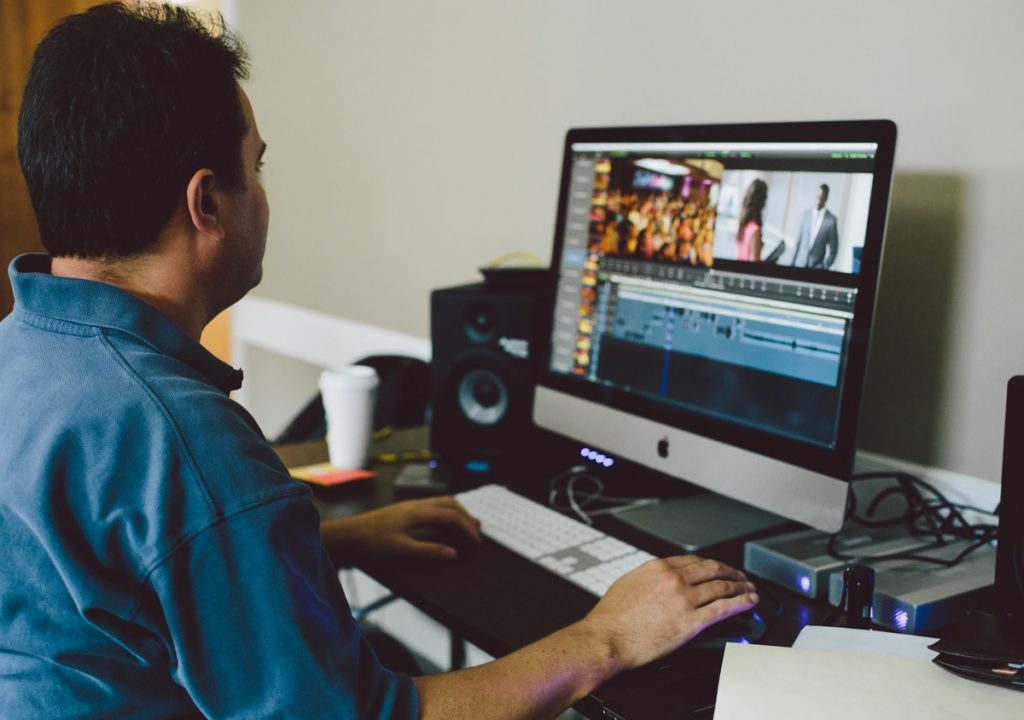
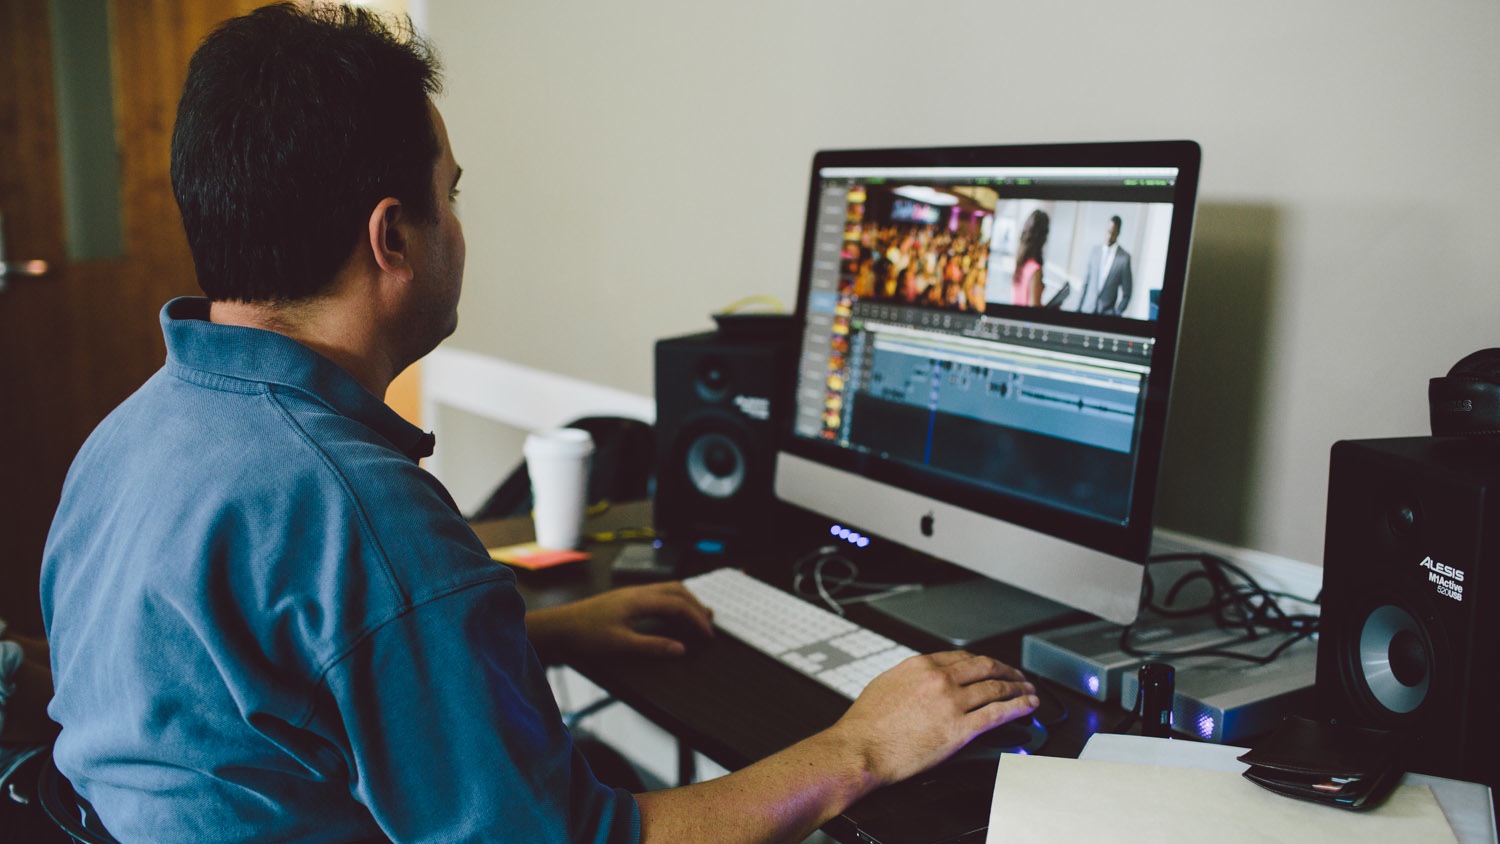
For me (pictured above on set), the hand-off to DI started with a document I received from Roush, which outlined their preferred methodology for delivery of an Avid-based theatrical edit. The information and deliverables they requested are specific to the way Roush works, but there are a number of good practices outlined in the document that should probably be used for delivery to any DI house. Here is what they asked for:
 • Please provide us a Mixdown AAF DNxHD .MXf file with Time code window burn as a picture reference. This reference file needs to be viewed prior to delivery to us for any mistakes, as it is our gold standard reference of your edit. It would also be helpful if the window burn also included the source TC of the RAW material.
• Simplify the timeline. It should consist of as few tracks as possible. One track is ideal, but it is understandable that some effects and titles may require additional tracks.
• Remove all multigroups in the timeline. Right-click the sequence and commit multicam edits.
• Remove any unnecessary match frame edits.
• Check to see that the clips / reels refer to the original camera filenames and reel names. Find a clip referenced in your timeline in its bin and make sure the “CamRoll” column has the full, 16-character RED name or Alexa name (For example, A001_C001_0506HE).
• Make sure there are no variable speed changes if possible. Any speed changes should be set at constant rate. Otherwise it will be considered a visual effect and should be noted billed and processed accordingly.
• Mark specific edit items in the timeline. Please place locators in the timeline to mark any and all effects and keyframes to those effects. Please do this for scale changes, repositions, retimes, backwards retimes, anything with keyframes, flips, flops, etc. Anything not marked may not carry over into the conform. Also, be sure to mark all VFX shots in the timeline using appropriate VFX shot names.
• Export the Marker List. Right click in the Markers window and “Export Markers”.
• Consolidate the project. Please consolidate your timeline(s) onto the one drive you plan to deliver to us.
• If not using Avid for final titles in an HD program all Graphics, lower thirds, keying content needs to be provided with an Alpha channel file format like tiffs. Call to confirm workflow details for your project.
• VFX delivery specs: DPX files or open EXR. Any other formats need to be approved by Roush Media.
• If we are pulling VFX plates, Name and mark all VFX shots with standard industry naming (name_reel_number_comp_version; example: MNO_R1_020_comp_v001 )
• File sequences must follow these rules: o File names must include a name and frame number or other appropriate name. (example: title_reel1_00001.dpx)
• File names should not include any spaces.
• Frame numbers must have enough leading zeros so that they sort properly. We use 6 digits. (00001, not 1)
• If there are multiple reels or shots they must be in separate sub-folders of the main title folder. Title, Reel1, Reel2, Etc.
• Each reel must have a visual Two Pop two seconds before start of program to ensure audio sync.
• Each reel must have a visual Tail Two Pop two seconds after the end of program. This is to ensure that the audio is formatted correctly and stays in sync.
• Deliver all the materials (the Reference File, Consolidated AVID Media Composer Project, Locator List, Titles, VFX, and original cameras, etc.) to Roush Media
Please use external thunderbolt, FireWire 800/USB3/esata or SAS drives or raid. Call to confirm if it is not standard.
A few notes on how I interpreted, delivered and expanded on Roush’s delivery requests:
I exported an MXF picture reference file as they requested, including burn in of the source timecodes. In addition to this, the original transcodes that the DIT, Ben Bailey, made from the RED files to DNxHD115 also had individual burn-in information – very, very small – that included the source file name in every shot. Because we projected at 2.40 aspect ratio and shot using a much “taller” aspect than that, there was plenty of space to place this burnin where it was hidden by the 2.40 mask. But remove the mask and it would be possible to hand match every single shot in the show without so much as an EDL from its filename and timecode.
Getting a DI ready sequence, according to Roush, involves
“Simplifying your edit to its lowest common denominator. That’s how I like to put it.”
 This is the Avid timeline for the entire movie. Notice that the V1 track has almost all of the visual material. There are only a few clips on V2.
So, I simplified the edit as much as possible. We had been pretty clean – editing on mostly video track 1 throughout – but we had alternative shots and some checkerboarding of video tracks, as well as matchframe cuts. I spent several hours cleaning up the timeline so that the only things above track 1 were either graphics, titles or optical effects. This is mostly done out of respect for the colorist, who otherwise has a much harder time matching shots. We didn’t have many multi-cam sequences, but there were some and we “committed” them, as requested. I did the same thing with the audio tracks, limiting source footage from location to certain tracks (mostly dialogue), and room tone, sound effects and music to specific tracks as well, making them easy to break out.
Because we had been meticulous – and by “we,” I mostly mean DIT Ben Bailey – in maintaining a solid metadata flow through the dailies process, we didn’t have to worry about making sure that all of the clips referenced back to the original file names. But, we had full redundancy in the metadata concerning the original source RED files, duplicating the original Name column to a separate “SOURCE FILE” column. But, Roush said that that step turned out to be unnecessary.

This is a small section of the Markers window showing the list of repositioned and “optical” shots requested by Roush.
One of the more time consuming chores assigned in Roush’s requests was to add markers and provide detailed information on EVERY single shot that had an “optical” applied to it. In other words: every reposition or re-scaled image; any flopped shot; any re-timed shot. Every one got a marker and then the information on what was done to the shot was placed in the marker information and then the markers list was then exported and printed. It was many pages long. As I mentioned, we screened at 2.40 aspect and so we had a lot of room to play with fine-tuning the exact composition, so many shots were re-positioned slightly. I also named and marked up each shot that needed to go to the VFX house.
In addition to providing the MXF picture reference, I also consolidated the entire show to a new drive and delivered that, so Roush could see every individual shot in the movie in DNxHD115 in the actual Avid timeline, allowing them to strip the burn-ins and masks and anything else.
We didn’t have any file sequences, so we didn’t need to worry about those directions. A file sequence is a series of individual frames – usually DPX for film or TIFs for animation – that can be combined to create a single shot or clip. Most commonly these are done for animations or VFX.
 I also spent quite a bit of time cleaning up and re-organizing the Avid project itself, clarifying final versions of sequences and ensuring that all additional media – like temp score, temp sound effects and stock footage – was all copied to the RAID drive being shipped to Roush and in a location that would properly re-link or be able to be easily located.
What happened after that remained a mystery until I recently interviewed Keith Roush about the rest of the work that he and his team did once Alex and I were done with the picture lock.
“Our process is pretty simple,” explained Roush, “We took the Avid project from you instead of an EDL or OMF or AAF or XML so we had access to all the metadata that’s there. Sometimes we pull out AAFs or EDLs, depending on the project details and then load those in to our Nucoda system and conform to the original ‘camera negative’ material.” In the case of “War Room” this meant RED RAW R3D files. Roush continued, “The data we’re looking for at it’s very basic level is of course, REEL NAME, CLIP NAME, TIMECODE. That’s a pretty automatic process as long as all the metadata in the Avid project is maintained correctly.”
“You want to be able to do your conform in the grading system that you’re going to utilize,” stated Roush, “so that when you grade everything, you’re grading source material for flexibility, in case you have to slip things or change edit points if necessary. We give that flexibility to the director until the last possible second. And when you have things like optical dissolves and stuff like that, those are done after the color grading process within the system itself. We used a Digital Vision NuCoda system as our primary finishing tool. We read the R3D files (RED native “digital negative” files) as full 4K, 5K or 6K in the system and it writes and caches 4K true uncompressed DPX files onto our SAN system. We have a very robust infrastructure here. 16gig fiber connected to many different workstations, working in a very hub-centric workflow so that I can be grading in Nucoda and my assistant or conform artist can be fixing or dealing with issues on another system at the same time. We pre-graded much of the film and then we had Director Alex Kendrick out for three or four days to lock down and finish up the grade. Then he came back in a week or two later for final review of the masters. Basically it’s a two or three week schedule for the actual color grading process and then the conform took place three or four weeks before that. Then we were doing deliverables for several weeks after that.”
“When I work in Nucoda, I always have direct access to the R3D files, so I can change metadata if I need to, but when you’re working on Dragon at 6K or some other 8K footage as or whatever comes down the pipeline, the Nucoda will cache onto our SAN an uncompressed, de-bayered R3D file as a DPX file in our CM (color management) LOG pipeline in order to maintain real-time performance. It’s basically making a Cineon LOG DPX file like a film scan in 4K, and if I need to make any changes, even re-po something, the system will jump back to the R3D file and re-cache it. The system is constantly re-caching on the fly in the background. That way, I can make all kinds of changes and have 10 plus layers going on at the same time, because it’s only reading a cached file.”
The conform process is hardly intriguing, but those who’ve read my color correction books know that grading is a passion of mine. That’s where the discussion with Roush started to get interesting to me.
I asked Roush how the grading started on “War Room.”
“Basically I started out creating a consistent smooth base grade throughout the film unsupervised because my time with (director Alex Kendrick) was going to be limited,” explained Roush. “We only had him here for four days – a maximum of 30 to 40 hours of time – and we have a larger schedule than that for the amount of time we’re spending on the film, so we pre-graded everything so that we could move through quicker when he was there.”
 “We did have a conversation before I started the pre-grade. He wanted things to look lush and beautiful. I also like to deliver what my take is on what the film should look like. It’s more than pushing buttons. It’s a creative process. Ultimately, we settled on where I thought we were going to be on it. It was a lush, beautiful, warm feel and the film doesn’t always have one tone. There were things like the nightmare sequence that we created completely together – what it was supposed to feel like. The whole color process is like notes in a visual score. As we feel what’s going on and his vision. It took a few hours just to figure out how to work out the transition between the opening war footage and the first steadicam shot, which was modern day photography. Ultimately, even the scene with the grave at the beginning was also a flashback for her as well. It took place 30 or 40 years ago. The intent of all that was kept largely. We just made some small changes to it.”
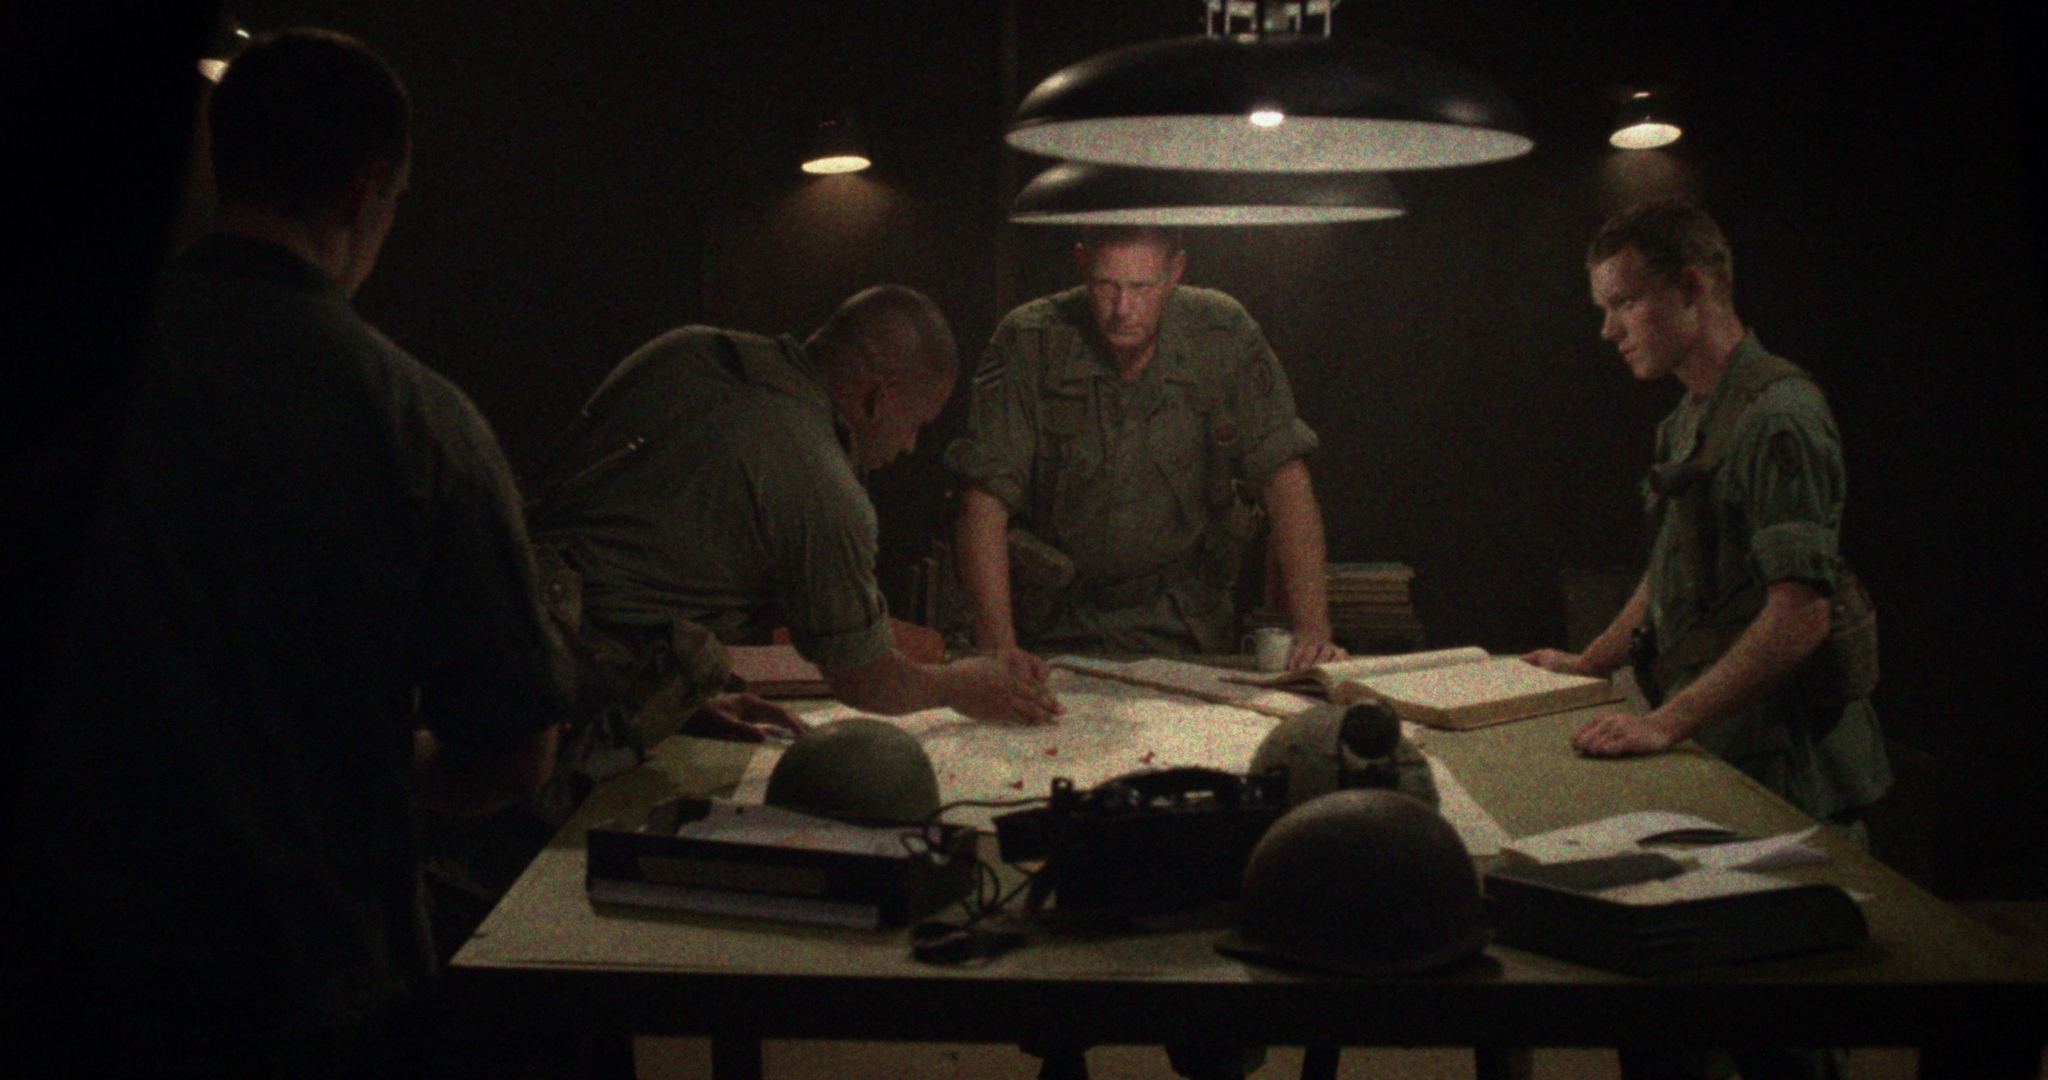 Roush continued, “I loved creating the look – it was actually kind of fun. That’s the most fun part of being a colorist: when you get to create. What they had shot was a 1960s war room, essentially in Vietnam and I had to show what that would feel like both from a texture standpoint as well as from a color palette. Actually the color palette of the previous film footage informed that. There is a montage of actual footage from the 1960s Vietnam War that starts the movie and it transitions directly from that documentary footage to a Steadicam shot of this war room in a tent. The opening Steadicam shot was a very complex shot with lots of things going on. There were 10 or 15 layers of color treatments going on on that shot. Everything from softening the level of detail – ’cause remember that was shot with RED 4k, and everything before it was literally blown up from standard def to 4K. So the texture of the grain size had to be matched, matching the resolution and the detail, to matching the color palette and dynamic range and having that start one place and slowly end up – hiding the dynamic transitions behind people’s backs as the Steadicam moves through the shot. It’s borderline soft visual effects. That was necessary to smoothly bring you from the first 30 seconds of documentary footage to the more modern photography for the rest of the movie.”
 I complimented Roush on the beautiful look of the African American skin tones in the movie. Having worked on The Oprah Winfrey Show for more than a decade, I am intimately familiar with the challenges of color grading African American skin tones. Roush appreciated the compliment and explained the challenges, “There were a couple of different African American skin tones in this movie; darker and lighter. We never wanted them to feel dark, but we wanted them to feel rich, creamier. So in the grade throughout the film I would specifically key and grade those skin tones and control them independently, so I could make the scene rich and contrasty and yet still have control of skin. The film is really all about the relationships and what’s going on in people’s faces and I wanted that to feel beautiful and rich and that was not too difficult to do.”
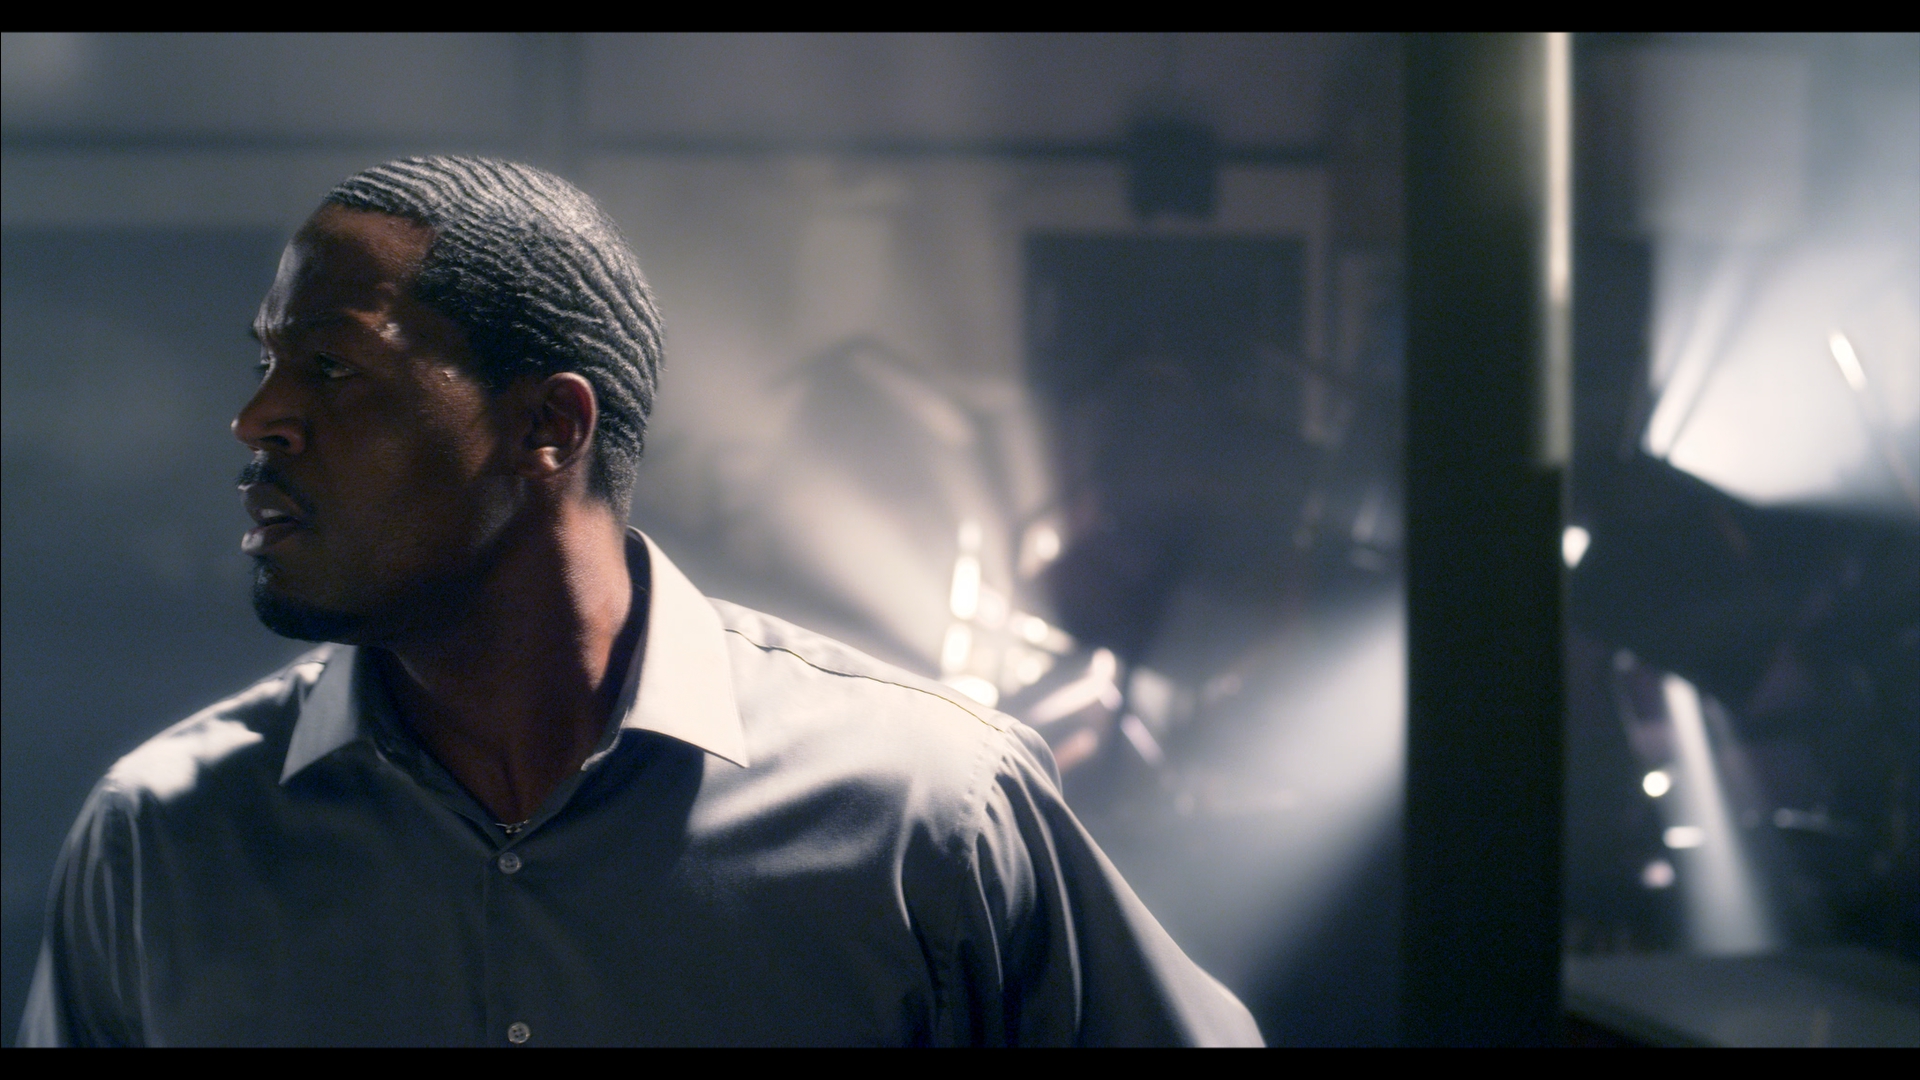 Usually color grading does not call attention to itself, but in one scene, the color grade is almost another character in the scene. It’s a nightmare scene that comes late in the movie. “The nightmare scene was fun. We didn’t work on that at all until Alex came in. I can’t remember the exact details, but we went for a very dreamy, highlighty blurs and dark blue shadows. The lighting worked really well for that scene. Atmospheric light came through with blue and gold tones, so it was cold, which contrasted with the rest of the movie which was rich, lush and warm. It needed to contrast with the rest of the film in nearly every respect possible. That is why we went with the cool tones and crunchy and contrasty and stark, yet have this echoey – I like to use sound terms to describe color – ethereal mist, which comes from the blown out, warm highlights. Everything is controllable. There’s no plugins. It’s choosing and controlling every aspect of the image, from how you want to utilize blurs and keys to the color of the shadows and the color of the highlights and all the curves in between and how you blend those different elements to create the look.”
 While Roush has access to Resolve as well, he’s quite the advocate for the abilities of the Nucoda system. “Every tool is a great tool, explained Roush, “This film could have easily been graded in Resolve just as well. To me, personally, Nucoda is focused much more for the colorist than anything else out there. I grade on both here. There’s a lot of great workflow things in the Resolve system that can’t be beat and it’s a very powerful tool. The horsepower behind it can do a lot of powerful things, but the Nucoda to me has many, many brushes and many tools in my toolbox that have yet to appear in something like Resolve, so it allows me to grade faster with more control. It’s really the talent that matters, not ultimately the tools. But if you get a bigger toolbox with more tools then you have to struggle less. A really great artist can paint a great mural with a roller brush if he had to, but think of how much quicker and better he could get it if he had many different types of brushes.”
 “It’s the only system that I’m aware of that has many different types of Curves. It has a whole bunch, like five, primary color tools that are all different from each other. It allows me to use them together very quickly with turns of knobs to get just the right balance…. the mapping of how I want things to look and to get light and open it up and yet add richness and contrast. That curve is just so important to making it look consistently beautiful and I can do that without having to draw anything or go in and create anything custom or stencil anything or create a key or shape. Resolve is based on one primary that you basically stencil by using a key of some sort or a shape. Nucoda has shapes and keys too, but whenever you go in and key everything, it dramatically slows you down. It allows you to selectively do things, but that also has the potential to make things noisy, because you can easily break images and if the key isn’t that good it can be fairly destructive. You have to be very careful when you use a key and that they’re very clean.”
 With so many tools at the modern colorist’s disposal, it’s easy to throw everything but the kitchen sink at any given shot, but that is a rookie mistake and one I knew that Roush wouldn’t make. He confirmed: “The key to all color is really the balance. The majority of the film for me is graded with printer lights. Then you can fine tune from there, but that gets you the most organic, cleanest color and that’s the way color has been done since the beginning of color film. I start there, then I move down to smaller and smaller brushes. I run my printer lights on a ball and a wheel. That exists in the same exact way in Resolve too in the LOG tool, the fourth ball to the right – density and printer light offsets. That’s where you start. That’s where I start anyway. The only reason that works though is because we have a custom designed LUT that allows us to grade the LOG image. So printer lights won’t work the way you would think they would work unless you’re working within a LOG pipeline through the viewing LUT. Grading REC709 video would not work that way though.”
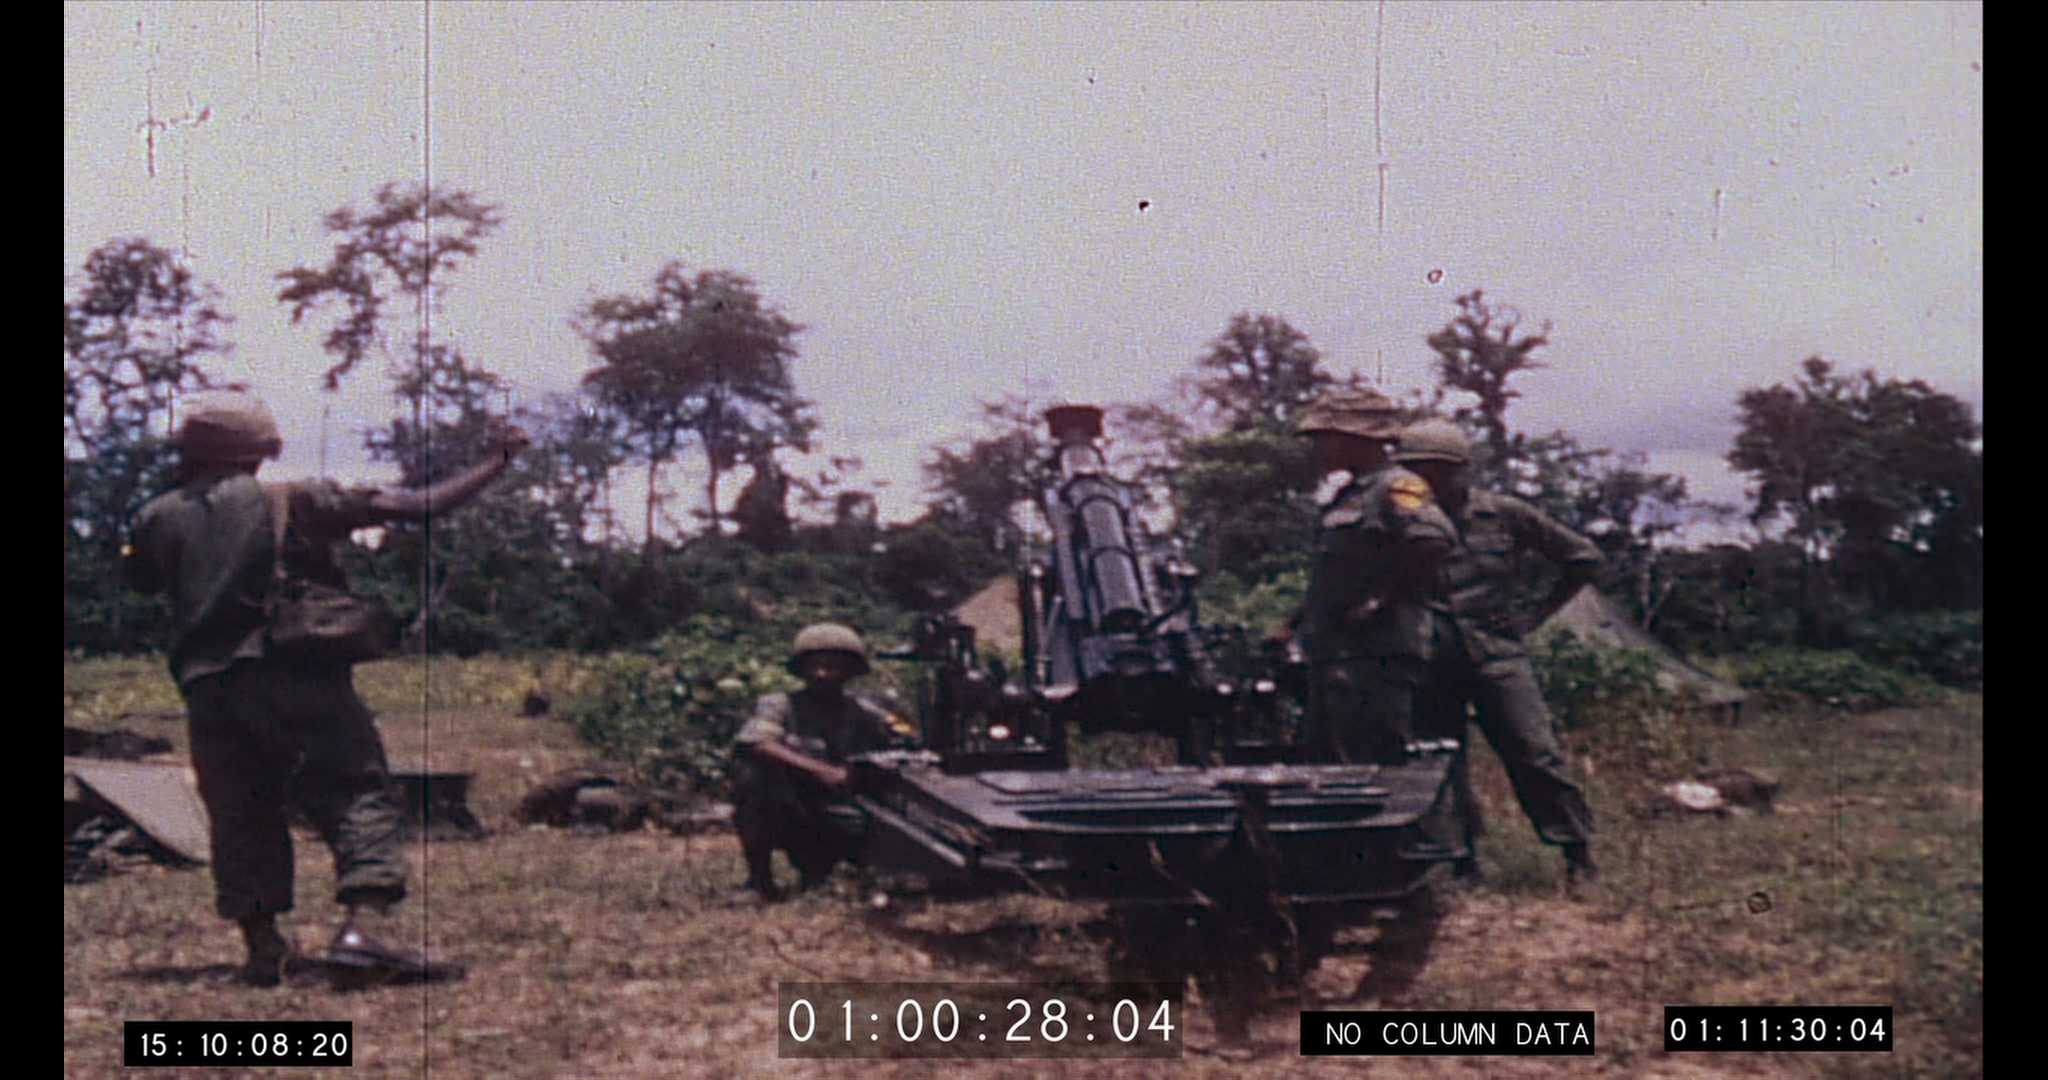 One of the other advantages of the Nucoda system is the robust restoration tools, which were put to work on the archival footage of the Vietnam War. I spent a lot of time as an editor looking for images of the war that I hadn’t seen before and that were highly cinematic. I wanted footage that looked more like it was shot by a feature film crew than by a war correspondent. Roush treated those cinematic images with the proper respect. “For the very beginning of the film, there was a lot of work that was done. A lot of work that we’re very proud of,” Roush stated. “Some of it was not that great looking and we actually added film grain texture into the archival footage as well because there were a lot of electronic black levels in there that were killing the texture and the detail. We had to get that consistent and matching that. And that was done even after we spent a lot of time just cleaning up the footage itself, removing noise, scratches, dirt, dust and interlaced lines and then uprezzed the material to get it to look good on the big screen. That was several days of work just using our restoration tools in order to make that footage as clean as possible, so it wouldn’t be distracting. The archival footage was standard definition with interlaced lines and 30 frames initially, so we had to inverse telecine all of that and clean it up and make it a 4K 24p image at the end of the day after cleaning up a lot of stuff, so that radically changed everything. It had to be over-cut to match what the reference was frame for frame. But setting that aside, the rest of the film is quite simple. Your principle photography is generally consistent and shot in the same frame rate and mostly by one type of camera system for the most part, even though there’s other cameras thrown in here and there.”
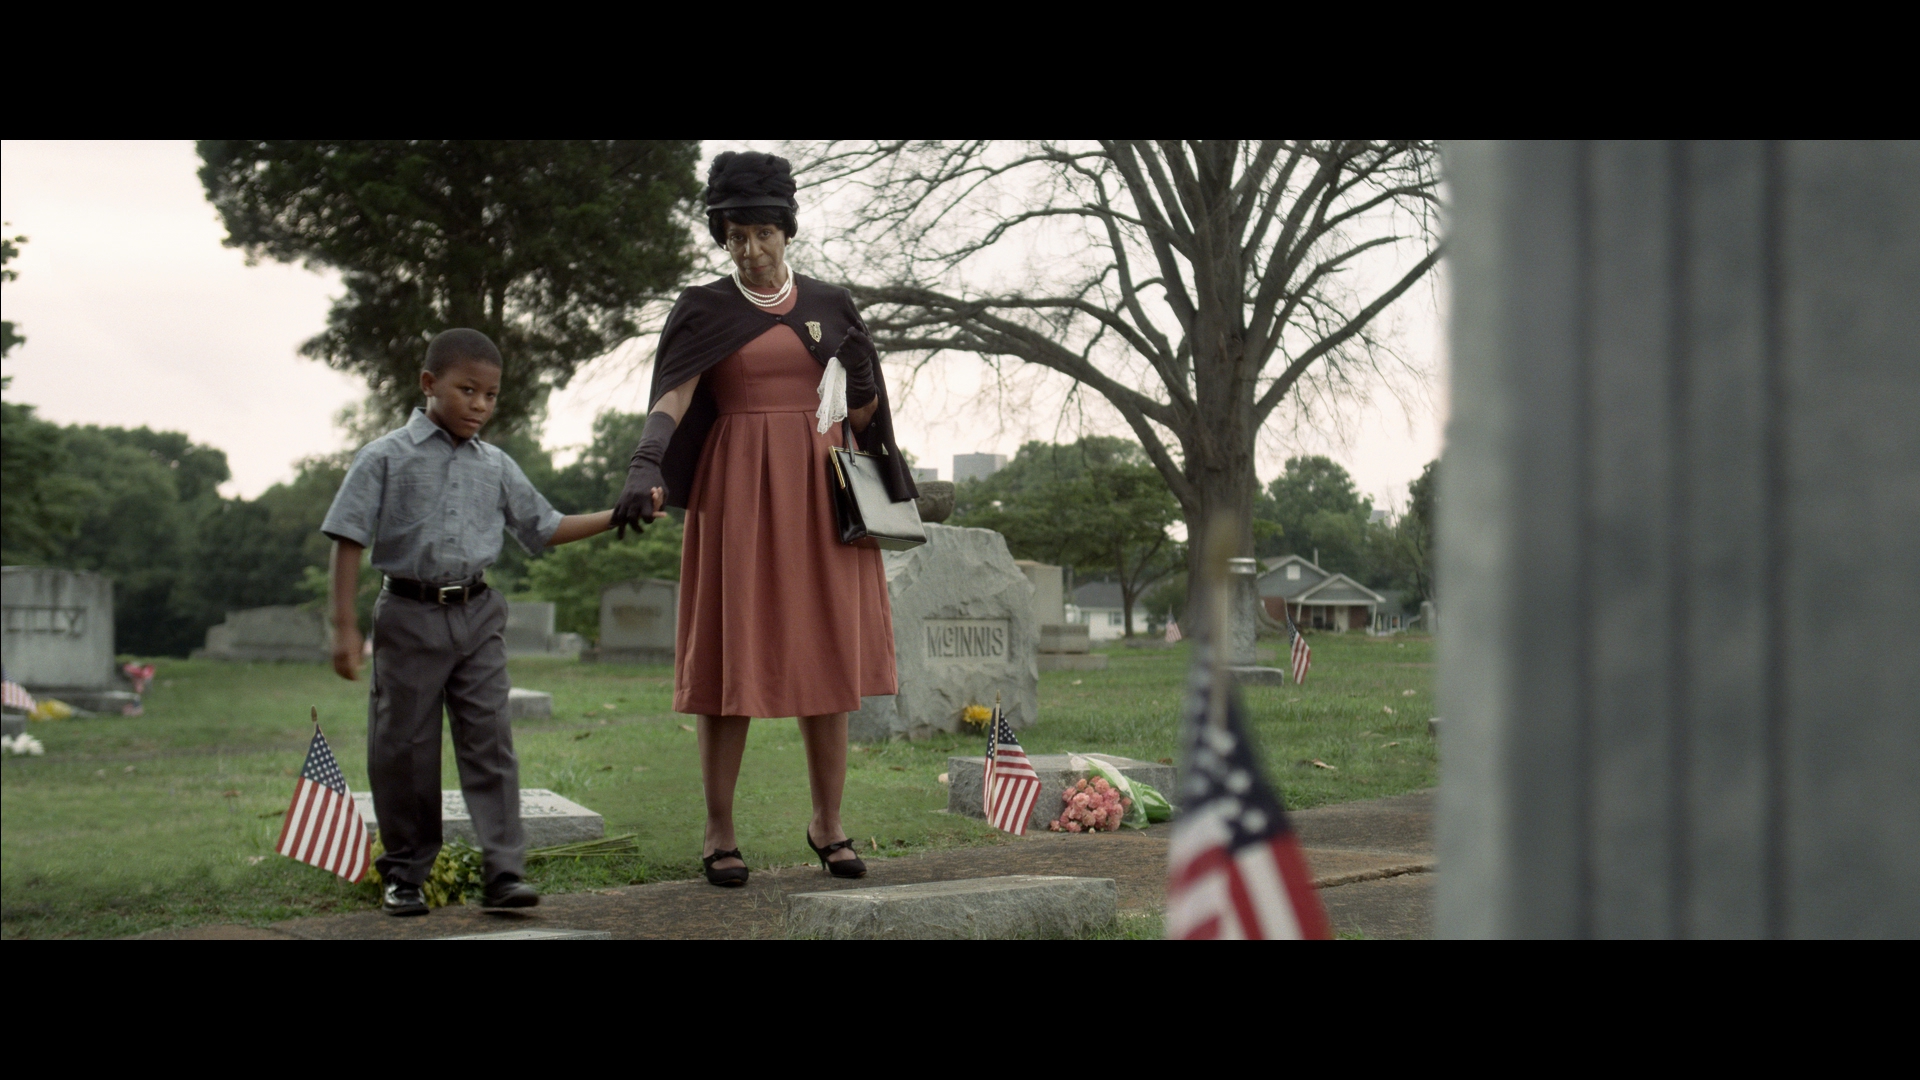 One of the other shots that required special attention was a shot in a cemetery. “There was another digital effects shot where they stitched a couple of different plates together at the graveyard where you start with the boy and his mom, a younger Miss Clara, and it’s from the 1960s or 1970s and then the shot tracks behind a gravestone and it transitions to the modern day with an aged Miss Clara. Those were two very different worlds,” explained Roush, “We had to make them different, but tie them together so that they’re not colored differently in a jarring way. They had to feel consistent, but they still needed to have two completely different looks based on the era on either side of the effect. One was 1960s and the other side was modern day.”
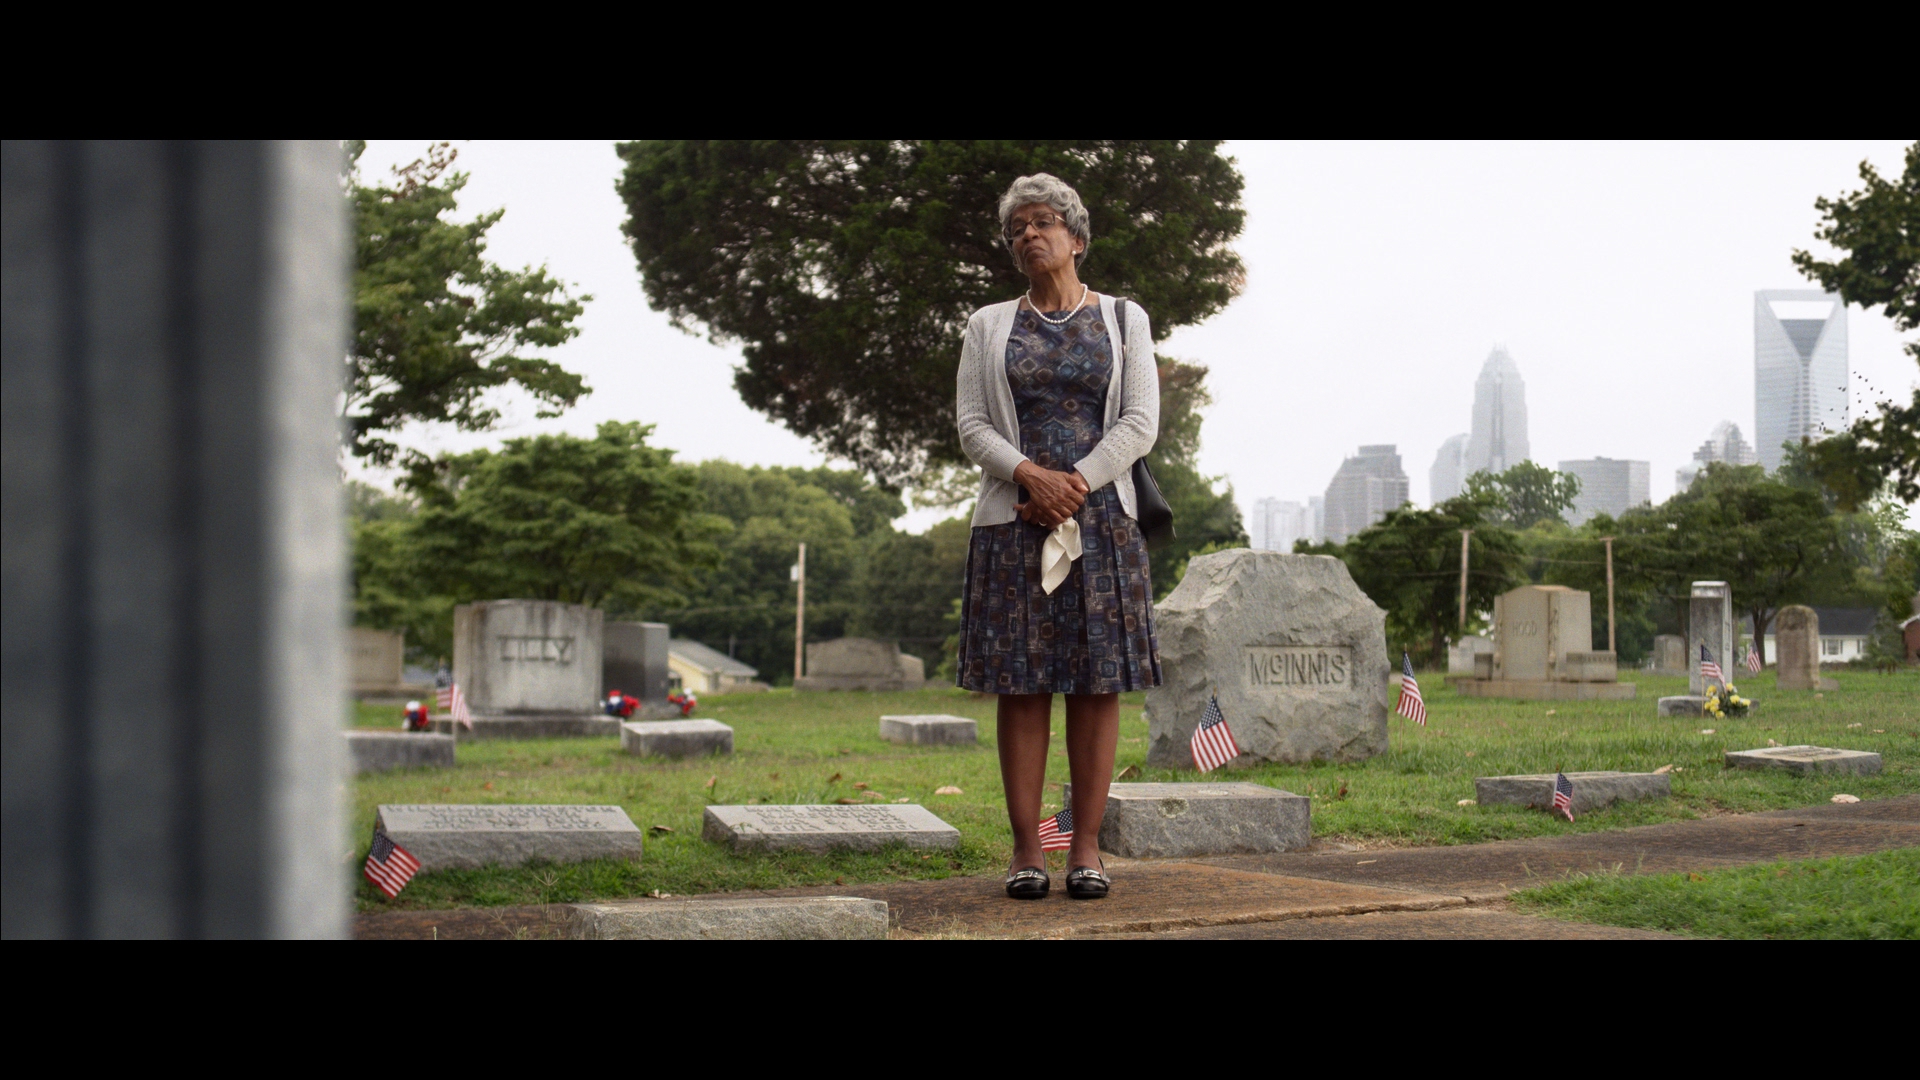 “We first pulled all of the plates for the VFX company. We color timed the R3D files and sent off the plates as LOG DPX files along with a viewing LUT. They stitched them together and did the roto-work to add the modern skyline and everything they wanted to do and then they gave it back to us. At that point, it’s a single shot comp. Sometimes the VF company will send us the matte that creates the transition between the two shots, but I don’t recall whether I had that or not on this shot. I think we created our own matte to match theirs. When we sent the shot to VFX, we sent them a LUT to show them what the final look would be, but it was not baked in to the footage that we sent them. All the dynamic range was left in the footage that we sent them, so when it comes back to me it’s exactly the same LOG DPX file that we sent them and I can use the viewing LUT to get me into the ballpark on the look.”
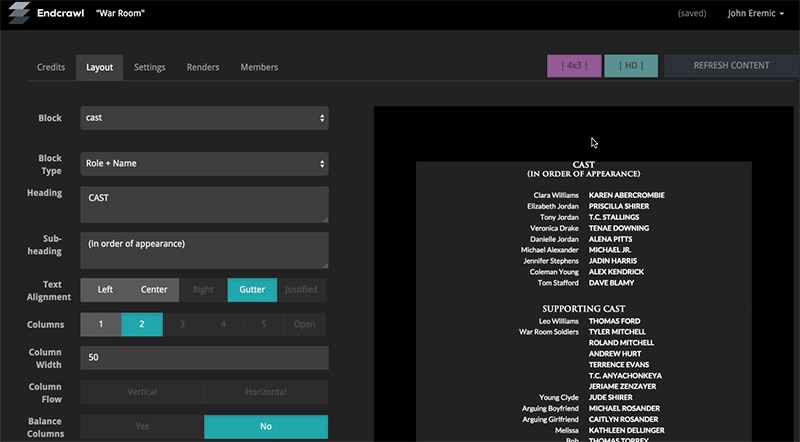 Credits were done with a service called Endcrawl for the scroll itself, which was a company Alex’s brother, Shannon discovered. It was a very innovative, cloud-collaborative process. As an editor, I was really happy with the ease of working with the credits. Endcrawl dealt with all of the formatting and had a great template that made the first pass very quick. They also claim to have a “secret sauce” which makes sure that the credits don’t suffer from stuttering or jittering, like I’ve seen so often on amateur credits. Endcrawl was smooth as silk and I didn’t have to do any complex math to ensure a smooth crawl. They also provided all of the various logos that we needed.
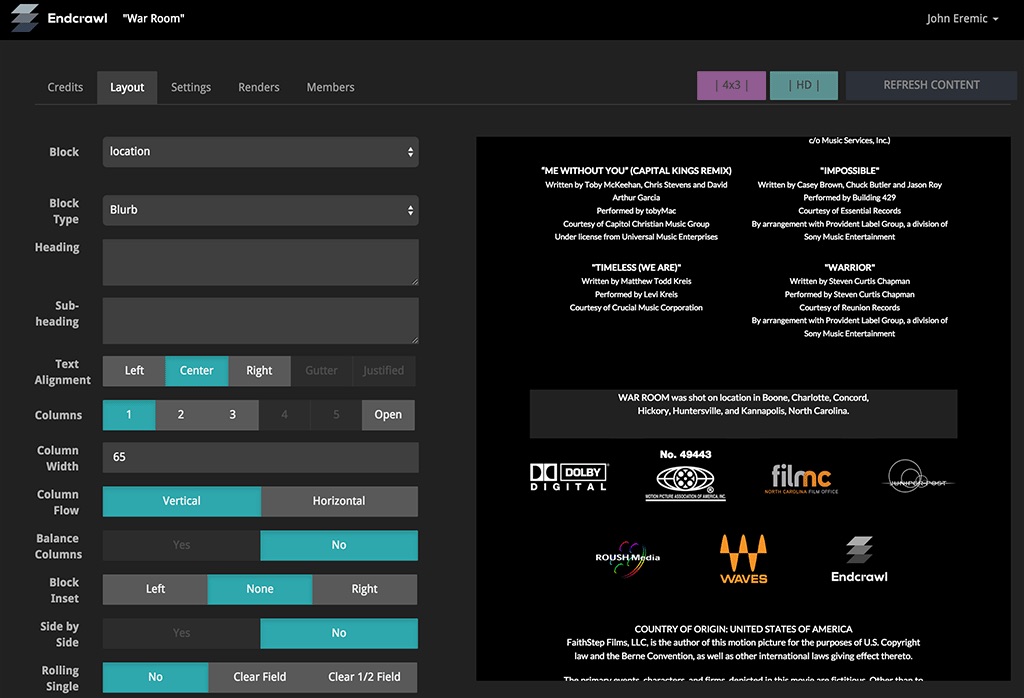 Roush explains his interaction with them: “At first we were just planning to do our own like we have in the past, but after some testing of their system, I was very impressed. We worked with them to do things that were currently in beta for them and they ultimately created 4K DPX files and delivered them to us electronically over the internet. It was just white text on black. Then we went ahead and composited them into the motion graphics backgrounds that you see in the movie today. What is cool about Endcrawl is the collaborative process because on a film of this size there are a million people, seemingly, that are making credit changes up to the absolute last possible second and everybody that has permission is making changes. I think we were on revision number 30 or 40 something when we finished the credits. They have a very innovative process too for compressing and downloading. They were downloading a zipped five minute long 4K DPX sequence in no time at all, and if you do the math, it’s like 40 or 50 gigs uncompressed.”
 Eventually all of Roush’s hard work had to make it to the big screen. Luckily, they’ve done this before many times. “What we master ultimately for theatrical delivery is a DCDM – which stands for Digital Cinema Distribution Master,” Roush explained, “It’s a 16bit TIFF image sequence in XYZ color space. We took that and projected the DCDM in the theater as a final quality control for (director Alex Kendrick) before we wrapped it as a DCP. We actually filmed a little interview with Alex and me about the DI process that will be on the DVD for behind the scenes extras.. It was very exciting for him to see the final film come together, sound and picture, absolutely final, in 4K, truly uncompressed. Even though the DCP for the theaters is 4K, a DCP is fairly highly compressed comparatively. The first and only time that anyone saw the uncompressed version of the film was at that screening for Alex. That file more than 6 TB of data.”
“Juniper Post did the sound. They’re just a couple miles away from us in Burbank. They upload or physically deliver a hard drive to us of the print masters of the film and then we marry that for the DCP and other video deliverables as well. They deliver the print master, we lay it back, essentially master it into the DCP we were creating, and once it was QC’d from our perspective it was sent over to Deluxe for mass duplication and to be sent to the theaters.”
I asked Roush if the DCP is delivered via satellite or on drives. “Delivery of the DCP is changing,” Roush confirmed, “This film is, I’m guessing, about 250 gigs as a DCP, which isn’t that big. It went from 6TB to 250G. That’s the difference between the DCDM and the DCP. Then it’s placed on a special drive called a CRU drive that is able to be ingested in theaters. If they’re going to distribute it to theaters directly they would ship those hard drives. Certain locations may be able to pull it down via satellite. But that’s relatively new. It has to happen in a specific window of time and if they miss it, they have to ship a drive.”
DCP’s are also radically cheaper than film deliveries. While an interpositive might run $30K and individual film prints may be another $1500 per screen, a copy of the DCP on a CRU is about $200 and you only need one per location, instead of one per screen.
Finally, I had a burning question for Roush. After nearly a year worrying about whether the workflow was correct and whether Ben Bailey and I had shepherded the metadata and the sequence successfully to completion, I had to know how easy it was to conform the sequence I delivered. “We didn’t have any problems with the sequence and metadata you delivered to us,” Roush said, to my great satisfaction. “And I can tell you that that’s not always the case. The film we did right before “War Room” was also done on the Avid and it was horrible. It took us an extra two days or more to solve the problem of a badly prepped sequence. It’s one of the reasons we prefer to have the Avid project instead of an AAF or XML, because it allows us to go in and clean up the sequence to prep for the conform. You did great! There were no issues, so thank you so much, because that meant that we literally spent more days on doing the restoration of the opening Vietnam war footage and all that kind of stuff. It actually makes the film better.”
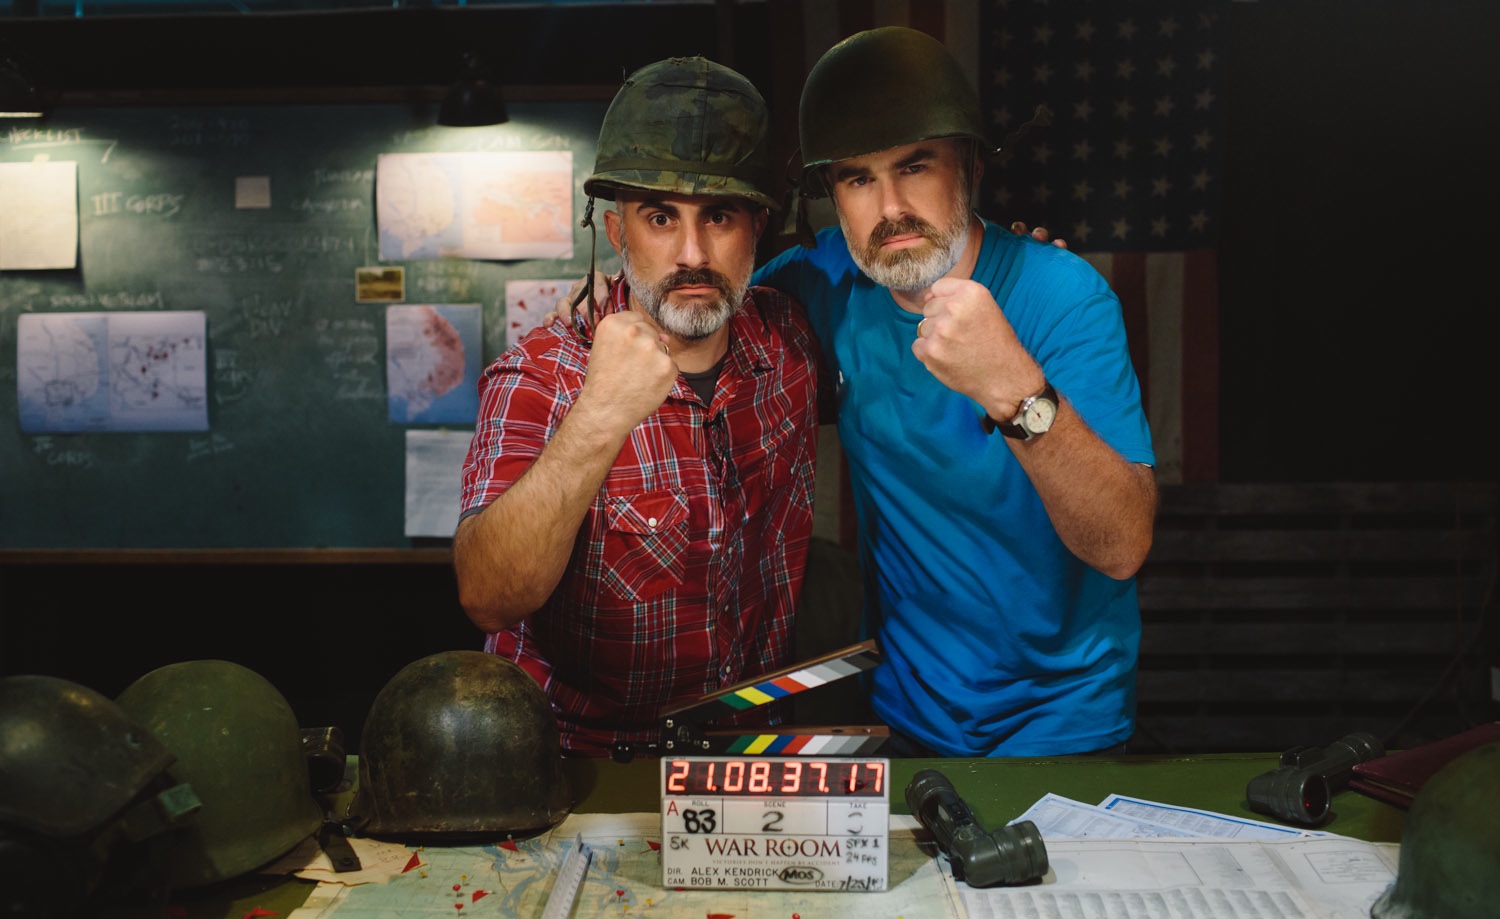 So after spending nearly eight months editing side-by-side with a great team that included DIT Ben Bailey, assistant editor Kali Bailey (no relation to Ben), producer Stephen Kendrick (to the left in the picture to the right), associate producer Shannon Kendrick, and director/editor Alex Kendrick (to the right in picture to the right), we delivered a successful project in more ways than one.
This was meant to be a two part series, but I’ve decided to extend it to a third part to cover the sound edit and sound mix process. If you’re interested in the workflow for the feature film I previously worked on, edited with Alex Kendrick and Bill Ebel on FCP7, please read here and here.
To follow the adventures of my next feature film project – cut on Premiere – follow me on Twitter at @stevehullfish.

Filmtools
Filmmakers go-to destination for pre-production, production & post production equipment!
Shop Now