This week on MacBreak Studio, Steve Martin from Ripple Training shows us how to prepare a movie in Final Cut Pro X for scoring in Logic Pro X.
His movie includes several temp tracks to give his composer a sense of the type of music he likes. He uses chapter markers to create notes for his composer, indicating what he’d like to hear at specific points in the movie. Next, he adds the built-in timecode generator so that he and his composer can easily communicate about any point of the film by referencing the same timecode. And that’s pretty much it: from there, he exports a .h264 compressed version of the movie to provide to the composer.
He then takes us into Logic to show us how to set things up for a movie scoring session. He creates a new Audio project type, and then enables global tracks with the “G” keyboard shortcut. Global tracks are lanes of data that apply to the entire project, like the tempo. You can configure thes global tracks to show just what you need.
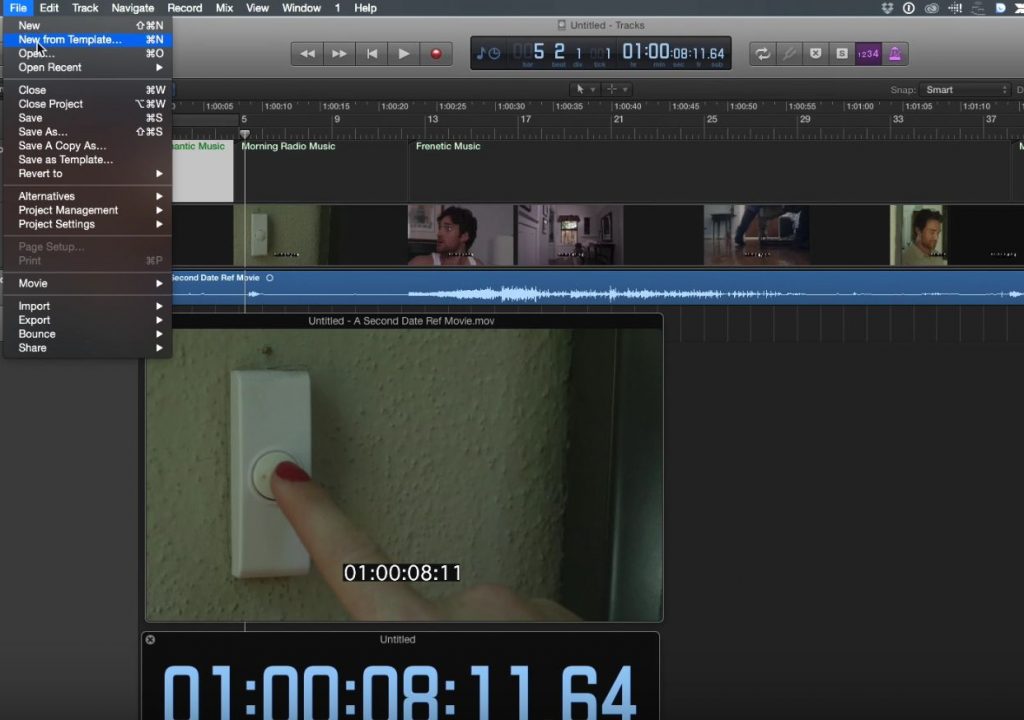
From there he imports the movie he had exported from Final Cut – this movie can be resized and placed anywhere on the screen. While importing, he chooses to extract the audio track so that the composer can hear his scratch audio. Here’s one point where the video world and audio world collide – you need to override the default 44.1Khz audio sample rate to match the 48Khz rate used in FCP X.
Another difference is that you’ll likely want to display beats and time instead of beats and bars. You can even open a floating timecode window that you can make as large as you want. And, you can add a secondary ruler with timecode. So Logic has many video-friendly tools built right in.
Once you’ve configured Logic for composing to a video, you can then save all these UI changes as a template so they are set automatically for your next video-based scoring project. If you’d like to learn more about how Logic Pro X can support your Final Cut Pro X work, be sure to check Ripple’s series of Logic tutorials.


