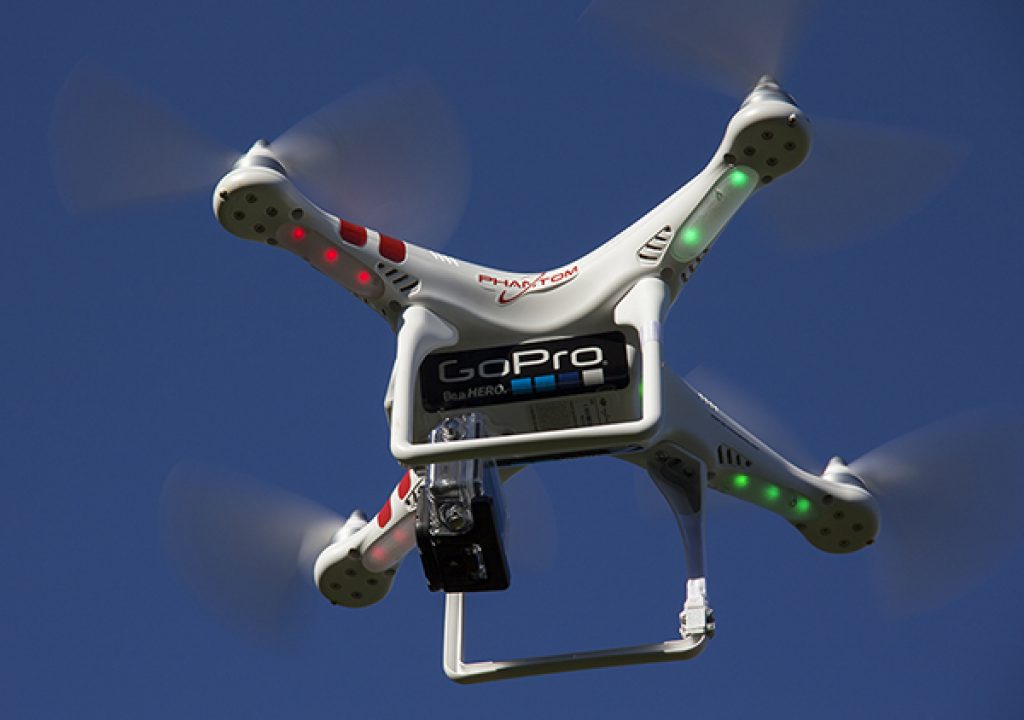
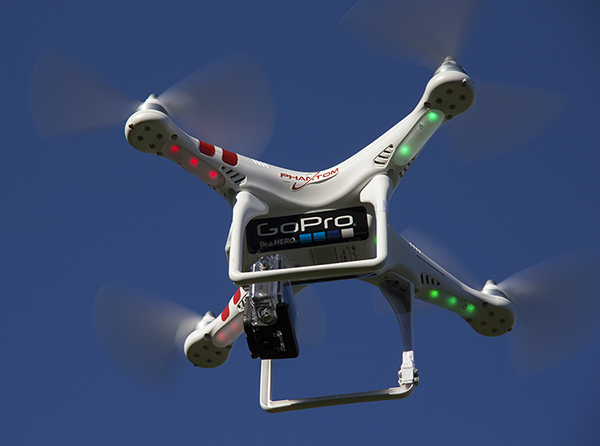
Everyone is looking for that elusive aerial cam that's both affordable and easy to operate for the average videographer. I'm setting out to see if the DJI Phantom Quadcopter combined with a GoPro Hero3 Black Edition is the answer, in this two-part review and workflow study.
Ever since I got my first GoPro Hero, I've longed to find a way to get it airborne remotely and even tried makeshift setups with DIY kites and researched helicopters and drones – but those were always way out of my budget – not to mention the steep learning curve in flying most of them (read: NOT CRASHING!!)
So you could imagine my enthusiasm in learning about the release of the DJI Phantom for GoPro. An entry-level quadcopter/drone that a beginner can setup and fly right out of the box. And when it comes to motorized RC aircraft, I'm truly a beginner! You can learn more about the DJI Phantom from their website at DJI Innovations website, or though their reseller/dealer DSLRPros, Inc.
Initial Assembly & Setup
When DJI claims that the Phantom is ready to fly out of the box, it pretty much is. Some minor assembly is require to install the landing gear and props, charge the battery and you're good to go!
I did find it extremely helpful to review the step-by-step videos from unboxing to learning the flight controls. Check out this link to learn more about the setup and flight controls from the DSLRPros.com website.
The kit comes complete and well-organized in the box.
The first thing you've got to do is take out the battery and charger and get it charged and ready to go. My experience is about 30-45 minutes to fully charge from a drained battery.
Then install the landing gear and GoPro mount with the provided screws (with Locktite already applied to the screws)
Then install the props – CAUTION: be sure you pay attention to the directional rotation of the prop to the rotor – there are directional arrows on both the rotor arm and on the prop so you can easily match them up!
Once the battery is charged, you're ready to fly! Again, do watch the prep videos in the link above, as you will need to understand the different controls on the remote, the startup sequence and the compass calibration process.
And – like any other 10yr old boy, I applied all the available stickers that came with the kit – plus added a couple GoPro stickers for that “custom” look… plus I didn't have any flames.
First Flight
We brought a couple cameras with us to capture the first flight with the Phantom – just to show you the process and share my experience working with it “out of the box”.
The first thing I did on-site was to attach the GoPro to the Phantom. I used the mount that came with the Phantom which has the knurled knob and nut for mounting either the provided cage (designed for the Hero2) or any standard GoPro housing. Since I have a Hero3, I just used the smallest configuration (no BacPacs) and the basic waterproof housing. I may experiment with the GoPro “Frame” which weighs less, but also offers no protection for the camera. I probably wouldn't suggest that for a first-time flier.
Before you insert the battery in the Phantom (there is no on/off switch so it can't accidentally start up or cause injury) you must first power-on your controller and make sure the throttle is all the way down. If you don't, the controller will beep a warning continuously when you turn it on.
After you've connected the battery and closed the door, you need to calibrate the Phantom's compass and make sure you've got a good satellite signal for the GPS. (again, instructions on all these setup & operational procedures are available via video at this link to the DSLRPros.com website).
Since I also wanted to control my Hero3 with the GoPro WiFi App on my iPhone, I used a lanyard I got from a trade show to attach to the controller to give me another “hand” and I checked to make sure the iPhone was communicating and the camera was set to record and provided a preview. I also purposely chose the higher-vertical format mode in 1440 on the GoPro so the props would be intentionally visible – but in most cases, a 16:9 format is what you'll want to shoot in to avoid seeing any of the Phantom's structure in your shots.
Read More on Page 2 ——->
Then it was time for lift-off! Being that the only RC experience I've had in the past has been either unpowered gliders or cars, this was a new experience altogether. But you also have to think very differently with the Phantom, because it's almost like moving something on a grid in 3D space, and not continuously in forward motion. It's pretty trippy, actually, but keeping it in GPS mode, I found it delightfully easy to maneuver! I purposely positioned myself with some trees around as I'm always up for a challenge, and face it – wide open spaces can be boring to look at anyway, right?
So – of course you want to see some video clips from this adventure now, right? I never want to disappoint, so here's some highlights I put together from the flight:
Subesquent Test Flights
I had more battery time left after my first flight, so I took it up again and tried a few more daring moves and tried to get a feel for the various modes as explained in the videos on the DJI site (Course Link & Home Link) but I would want to practice more with these when I AM in a wider open space as it did indeed send the Phantom into one of the pine trees. I am happy to report there was no damage to the Phantom or the GoPro. This thing is built for durability!
A couple of days later, I sent the Phantom up in another location along the San Francisco Bay where one of my clients is located and ended up testing the range of the Phantom a bit by accident. I was seeing how high I could get it to go and pan around to get a panoramic view over the water and the hills to the East, when eventually, the Phantom stopped responding. We later learned it may have been interference with the WiFi on the iPhone talking to the GoPro as we also lost contact with the Hero3 about the same time. Here's a single frame from some of the video that was captured:
*NOTE: be sure to check with your local authorities for regulations and restrictions of arispace and flight patterns in the areas you're flying!
But – I still didn't panic, as I had researched enough about the Phantom's capabilities and even when losing contact with the controller, the GPS will return it to the spot where it took off! As we watched it slowly descend when the battery level started to go down, I was wondering if I would regain control again and help guide it in, but no chance – it was totally on auto-pilot and landed right at our feet. It wasn't until I removed the battery and powered-off and on the controller and replaced the battery that it reconnected with the controller's signal. Remarkably advanced technology for such a device!
But before I share a few clips of footage from that flight, let me cover another issue we discovered during that flight with the GoPro – after we reviewed the footage it captured.
I had set the Hero3 to 2.7K 30fps mode to hopefully capture some nice hi-res footage. What we ended up with was a lot of “jelly-cam” – or rolling shutter artifacts from the vibrations sent through the rigid mount to the camera. This wasn't noticed shooting in a lower resolution, even when the framerate was set to 30fps in all tests. To verify this, we did another test at sunset shooting at 1080p 30fps and though we didn't go as high, we did a lot of maneuvering with the Phantom and it's not noticeable at all – even with a bit of wind coming off the bay.
Product Overview
The DJI Phantom was built for the hobbyist/enthusiast that wants to experience flying a quadcopter/drone with their GoPro to capture unique aerial footage, with minimal setup and very little learning curve to flight time. I feel that they have accomplished this in spades!
No, you're not going to be making major motion pictures with this setup and you're not going to be able to fly it long distances or do car chase scenes or whatever you're probably thinking you've seen in the theater lately, but it DOES allow you to be imaginative and have fun “seeing” from vantage points you only dreamed about before.
The Phantom retails for under $700 as a complete ready to fly package as shown (GoPro Hero3 not included) but add the price of the GoPro and for under $1000, you might just have something you could use for *a fun project that gives you an extra POV shot you couldn't get otherwise.
NOTE: The DJI Phantom and accessories tested in these reviews was provided by their US distributor, DSLRPros.com and offer the tcomplete kit for $679 online.
So looking forward as I do further testing with the Phantom and the GoPro, I'm thinking the 2.7K might just be the right frequency that the vibrations and the sensor just don't work well together. I will be doing a lot of further testing in the weeks to come, with various shooting modes and even some accessories & upgrades from DJI and some experimental DIY mounts and mods for the GoPro and see what we can come up with!
So until Part 2 of this review is posted, I'd like to leave you with this sunset image captured at about 200ft looking west over the San Francisco Bay. *UPDATE: READ PART 2 HERE
*AUTHOR'S EDIT: I need to bring to attention the fact that using any UAV (unmannned aerial vehicle) in a commercial video production such as Real Estate and may result in fines/penalties from the FAA. Please be sure to check with your local authorities for any restrictions/regulations/permits you may need to operate and record video from your Phantom with the GoPro.
_________________________________________________________________
Jeff Foster is a published author of several how-to books and training videos in the motion graphics, animation and video production industries and is an award-winning video producer and artist. Visit his web site to learn more about his training methods, tips & tricks at PixelPainter.com
*Still Photos & Videos of “First Flight” series by Ellen Johnson ©2013 Sound Visions Media


