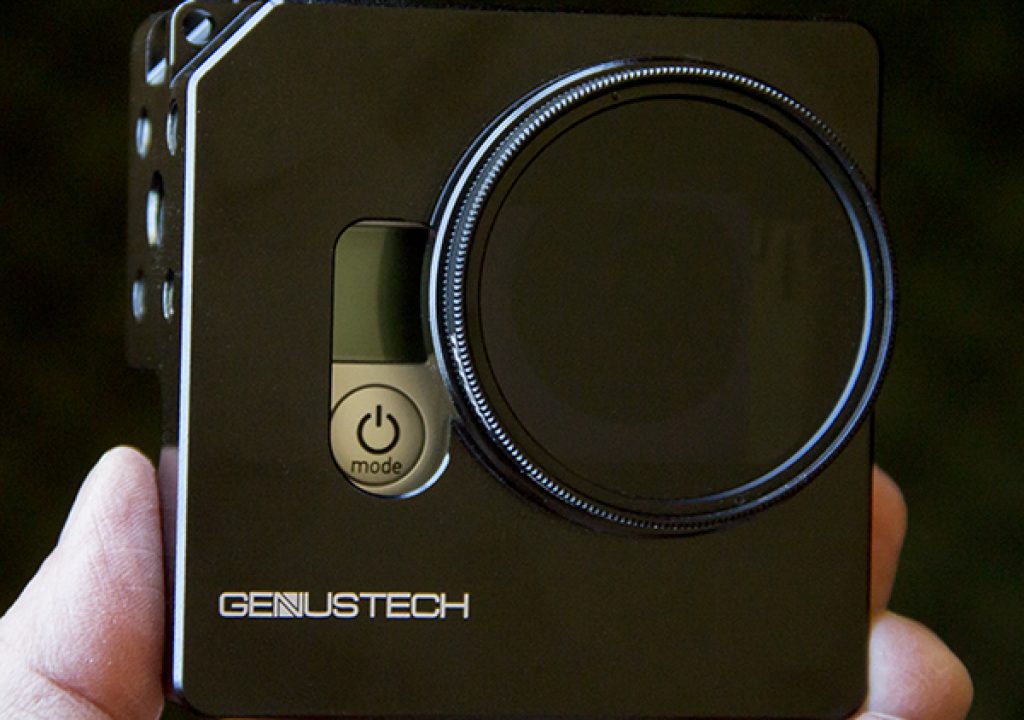
When I first saw the Genus GoPro Cage announced, I knew I had to get one to try out and see just how versatile it was. Let's just say I wasn't disappointed – and the mounting options and the ability to screw-on filters closes the deal.
Design & Build Quality
Having a machinist and engineering background, I'm always drawn to well-designed and constructed products. The Genus GoPro Cage is CNC machined billet aluminum which comes powder-coated in either matte black or champagne. Compared to the competition's products, the Genus GoPro Cage is more elegant and flexible in design – offering more protection and mounting options.
It's a simple concept: build a protective cage for the GoPro Hero3 that allows dozens of mounting options for both the camera and accessories, accept both the Hero3 underwater housing or “naked” with provided shims, allowing it to be connected to USB/HDMI cables for live monitoring and still access the Micro SD card slot, plus add a 52mm thread to accommodate filters and lens adaptors.
![]()
Here's a video from the Genus website that gives you a quick overview of the features and the product in use:
Taking a Closer Look:
When using the shims to attach either the GoPro Hero3 or Hero3+, they simply mount on the top and bottom as indicated by the markings silkscreened on the plates.
Genus has announced that they are now offering a new set of shims that accommodate the LCD or Battery BacPac when mounting the Hero3/Hero3+ Naked in the cage.
CONTINUED ON NEXT PAGE –>
Configurations in Testing
I took the Genus GoPro Cage with me on a road trip this Fall to see how versatile it was in the field. I've attached it to a tripod and to the roof of my Toyota FJ and captured some fun footage and panoramic images. I love being able to use my Tiffen 52mm ND filters and the Circular Polarizer on the Genus GoPro Cage to get better video & image quality in various lighting conditions.
As you can see in my configurations below, having the ability to attach an HDMI cable to a 7″ LED Field Monitor allow you to preview your shots and monitor the live video feed from the GoPro. In this case, I mounted the monitor to an Israeli arm clamped to a heavy-duty tripod.
Here's a sample panoramic image I created from several frames shot with the GoPro Hero3 at the base of Mt. Shasta and Black Butte.
Using a portable ball head tripod, I was able to attach the monitor with the Israeli arm directly to the side of the Genus GoPro Cage and setup for a long time-lapse exposure.
Overview
While this seemingly simple third-party product that's under $100 might not appear to be much to write about, I've found the Genus GoPro Cage a valuable tool in my GoPro arsenal and plan to purchase several more for my production needs. The protection and versatility it offers, plus the solid design and ability to attach filters without the fear of them coming off is worth far more than the cost.
** UPDATE Feb, 2014:
When GoPro first released the Hero3+ the waterproof housing had changed in size significantly, and they moved the center of the mounting tabs compared to the Hero3. This made the waterproof housing of the Hero3+ not align with the mounting screw in the base plate of the Genus GoPro Cage. Genustech came up with a great solution by adding some rubber inserts to the back plate that “sandwich” the Hero3+ housing inside the case in a firm fit – no longer requiring the base plate mounting screw. This modification works with the existing Genus GoPro Cage if you bought one for your Hero3 and wish to upgrade. The tab inserts are available from the Genustech website for $9 for the set. Your “naked” Hero3+ will still fit in the original Hero3 shims that comes with the Genus GoPro Cage as the body of the camera hasn't changed in dimensions.
_________________________________________________________________
Jeff Foster is a published author of several how-to books and training videos in the motion graphics, animation and video production industries and is an award-winning video producer and artist. Visit his web site to learn more about his training methods, tips & tricks at PixelPainter.com


