![]()
Wacom hits another home-run with this innovative and user-friendly pen tablet and touch-sensitive input device. You can greatly reduce the need of a mouse and keyboard for general editing and compositing/roto/paint workflow with custom Express Keys, stylus controls and finger-input gestures directly on the surface.
Comparing the Intuos5 Touch to the Intuos4 Wireless
When sitting the Intuos4 Wireless side-by-side with the new Intuos5 Touch, you can immediately see the differences in the overall redesign. The Intuos5 Touch is thinner and has a rubberized top framing and integrated Express Keys with Touch Ring. Gone are the buttons that were difficult to distinguish by feel on the Intuos4 design, but also the LED labels that were next to the Express Keys on the Intuos4.
![]()
![]()
![]()
![]()
Comparing the Intuos4 Wireless (Left) and Intuos5 Touch (Right) side-by-side
At first I was concerned by that as I relied on being able to see how the keys were assigned, depending on which program I’m running, but after I installed the software, I could understand where Wacom was going with this new product design, and I’ll get into that more in just a bit.
The new integrated Express Keys and Touch Ring don’t allow foreign debris to collect in the cracks/seams around the keys, as the rubberized “skin” over them gives a smooth but sure feel and no doubt as to which key you’re gliding over with your fingers. The keys and Touch Wheel are not only “clickable” but also touch sensitive, which when touching and holding over a key for a couple seconds, a pop-up HUD appears on your screen. It’s obvious that Wacom has listened to their users to reduce the need to look down at your hands or the tablet to see what you’re doing and spend more time with your eyes on the screen!
![]()
The HUD pops-up when you remain on the Express Keys for a couple of seconds
The HUD (Heads-Up Display) appears on-screen when you rest over the Express Keys for more than a second or two, allowing you to keep your eyes not he screen and not have to look down at your hands. What’s nice about this feature as it reflects the settings you have per-assigned to whichever program you’re currently using and the HUD only shows up if you rest momentarily over a key – not every time you press one, so it doesn’t become annoying with every keystroke.
Of course, as with the Intuos4 and the Cintiq tablets, the Express Keys can be customized for your preferences either globally or for individual applications.
Adding the Wireless Accessory Kit
The Wacom Wireless Accessory Kit is an optional accessory that will turn any of the Intuos5 Touch models into a wireless tablet. Unlike the Intuos4 Wireless which is a Bluetooth device, the wireless kit for the Intuos5 is a transmitter that installs in the tablet and a USB receiver, like most wireless mice these days.
![]()
The Wireless Accessory Kit is an additional option for use with any Intuos5 Touch tablet
Although I’d rather not take up yet another USB slot with a receiver plug and the charging/connecting cable, I must admit that my Mac did occasionally lose it’s Bluetooth connection with the Intuos 4 Wireless model and I would have to re-establish the connection which took time out of my production.
It’s easy to convert your Intuos5 Touch to a wireless wonder with the kit. First you need to add the battery by removing the appropriate panel not he underside of the tablet. Then removing the other panel and the plastic plug and inserting the wireless transmitter in the provided slot. There is also a storage slot provided for the USB receiver when you’re storing or transporting your tablet so you don’t lose it!
![]()
![]()
![]()
Adding the battery and wireless transmitter to the tablet
The USB receiver then plugs into any available USB slot on your keyboard, back of the machine or a USB hub that is close by.
![]()
USB Receiver installed on a keyboard USB slot
Another nice feature of the Intuos5 Touch with the Wireless Accessory Kit is the auto power-off feature. This saves the battery charge life of the tablet when you set it aside or walk away and forget to turn it off.
![]()
Power button on the Intuos5 Touch
CONTINUED ON NEXT PAGE…
Wacom Intuos5 Touch Setup
The Intuos5 Touch comes with a software install disc and full instructions for installation and set-up of your tablet. Once you’ve registered your product, Wacom also provides you with the option to download some free software that’s optimized to work with the Intuos5 Touch, including: Adobe Photoshop Elements 10, Anime Studio Debut 8, Autodesk SketchBook Express, NIK Software Color Effects Pro and a 90-day trial of Corel Painter 12.
![]()
Software install, instruction manual and free software downloads
The Wacom Tablet Preference Pane is also updated to accommodate the new features and advanced Pressure Profile controls for the Pen. Using a “curve” setting to control how the Pen tip pressure responds (as well as the eraser tip) you can truly customize how you use the Pen and get a natural result and feel from the device. You can set global adjustments or set up a custom profile for every app individually.
![]()
Fine-tune the Pen pressure profile for each app or globally using curve controls
Using Gestures on the Touch Surface
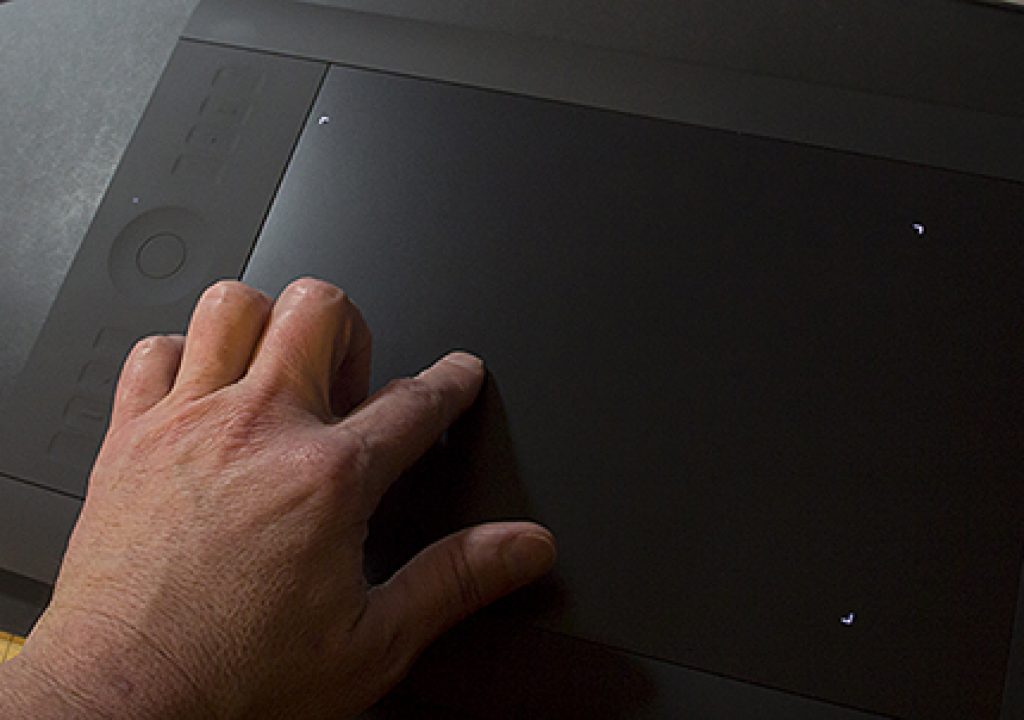
What’s truly revolutionary about the Intuos5 Touch is the entire pad surface is also a touch-sensitive input device, allowing you to not only use the provided pressure-sensitive stylus, but also you can use your other hand to do other functions and commands using gestures. This greatly enhances the functionality of the tablet and allows you to spend more time with the tablet in your workflow and less time reaching for the keyboard or mouse! If you’re somewhat ambidextrous, you will adapt to this workflow very quickly – using one hand to hold the Pen as you typically would and your other hand to control the Express Keys, Touch Ring and Gestures.
I’ve always been a proponent of shortcuts, ease of use and comfort when working on long, tedious projects and processes such as roto work and painting. I’ve relied on Wacom’s Express Keys on my Cintiq and Intuos4 for doing VFX & compositing work on feature films, commercials and music video productions. Add the power of gestures gives me yet one more level of control right at the tablet, helping me eliminate the keyboard altogether in some instances.
![]()
Viewing the Wacom Settings overlay on-screen
You can open the Wacom Settings overlay instantly by the default action of swiping five fingers down on the Intuos5 Touch surface. This shows you what all your current general settings are and allows you to quickly access the Express Keys, Pen Settings and Touch Settings Preference Panes directly.
As with so many of the features on the Wacom Intuos5 Touch, there are sensitivity adjustment controls for almost every movement and response to the Touch surface. There are selectable Standard Gestures for 1 or 2 fingers that you can chose to access or you can define some custom operations for 3-5 finger gestures.
![]()
![]()
![]()
Selecting Standard Gestures
You can use Gestures to access other sub-menu items such as the Radial Menu (3 fingers tap & hold) that you can assign for custom keystrokes and functions within each application as well. These would be best suited for functions or global actions that you don’t need to access repeatedly (like you would assign forward, back, play, pause keystrokes with Express Keys instead).
![]()
![]()
![]()
Setting-up Custom Gestures
Wacom has created a resource page to learn more about how the gestures work, including a downloadable PDF user guide and example videos. Click on the graphic below to go directly to the page.
Getting Started with Gestures on the Intuos5 Touch
Final Impressions
Since I’ve been a Wacom user since the late ’80s with the SD series tablets, I’ve grown accustomed to using the various input devices and have created my own workflows for both still imaging and film/video production over the years. Now with the added flexibility of the Express Keys, Touch Ring and Gestures-driven Touch surface, the Intuos5 Touch is the ultimate input device for motion graphics, digital painting and roto/compositing or editing film and video projects. I would like to see more customizable features in the Gestures in upcoming version – hopefully with firmware/software upgrades within the Intuos5 lifespan.
You can learn more about how I use a Wacom in my roto/compositing workflow in my video training series “Advanced Compositing Techniques” below.
______________________________________________________________
Jeff Foster is a published author of several how-to books and training videos in the motion graphics, animation and video production industries and is an award-winning video producer and artist. Visit his web site to learn more about his training methods, tips & tricks at PixelPainter.com

Filmtools
Filmmakers go-to destination for pre-production, production & post production equipment!
Shop Now


