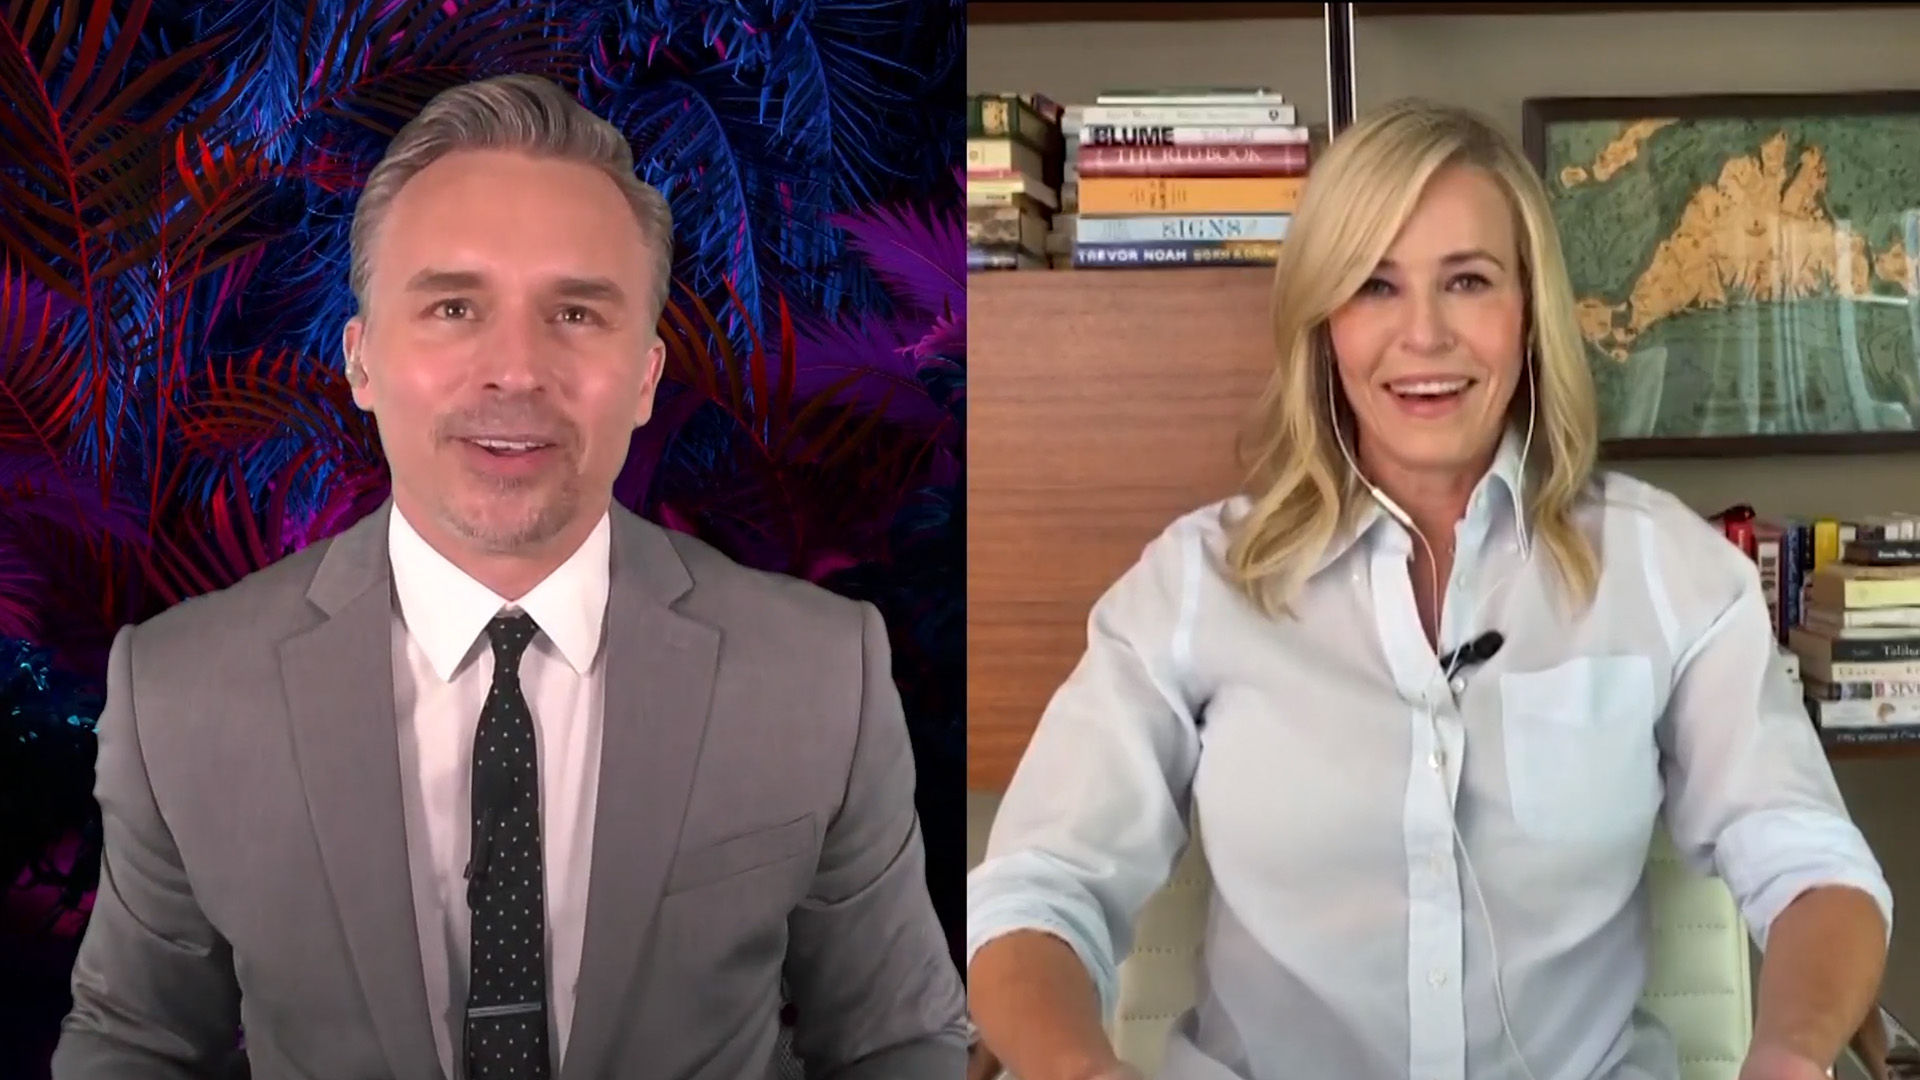
As is tradition, Day 2 of Adobe MAX really kicked off with Sneaks, where we are treated to a peek at the newest tech toys that the brains at Adobe Labs are working on. This year Paul Trani was joined by Chelsea Handler as they walked us through each employee/scientist/artist’s presentation. They started off in classic 2020 style by talking about Chelsea has been handling the quarantine (she’s thriving, not having kids was a good choice) and quickly ran through her technology bona fides (she’s a luddite). Between each presentation, Chelsea did a great job of making Paul uncomfortable and I’m absolutely here for it (haha). There weren’t a lot of video features demoed, but in particular Sharp Shots, Scantastic, and Material World could be big for video creatives, especially as we work our way into the 3D/Film hybrid future. There was a lot to get through on Day 2, a lot of really good sessions and labs, so I won’t waste any time getting to the goods.
You can watch the Sneaks presentation here, but I’ve got the new tech summarized by Adobe below:
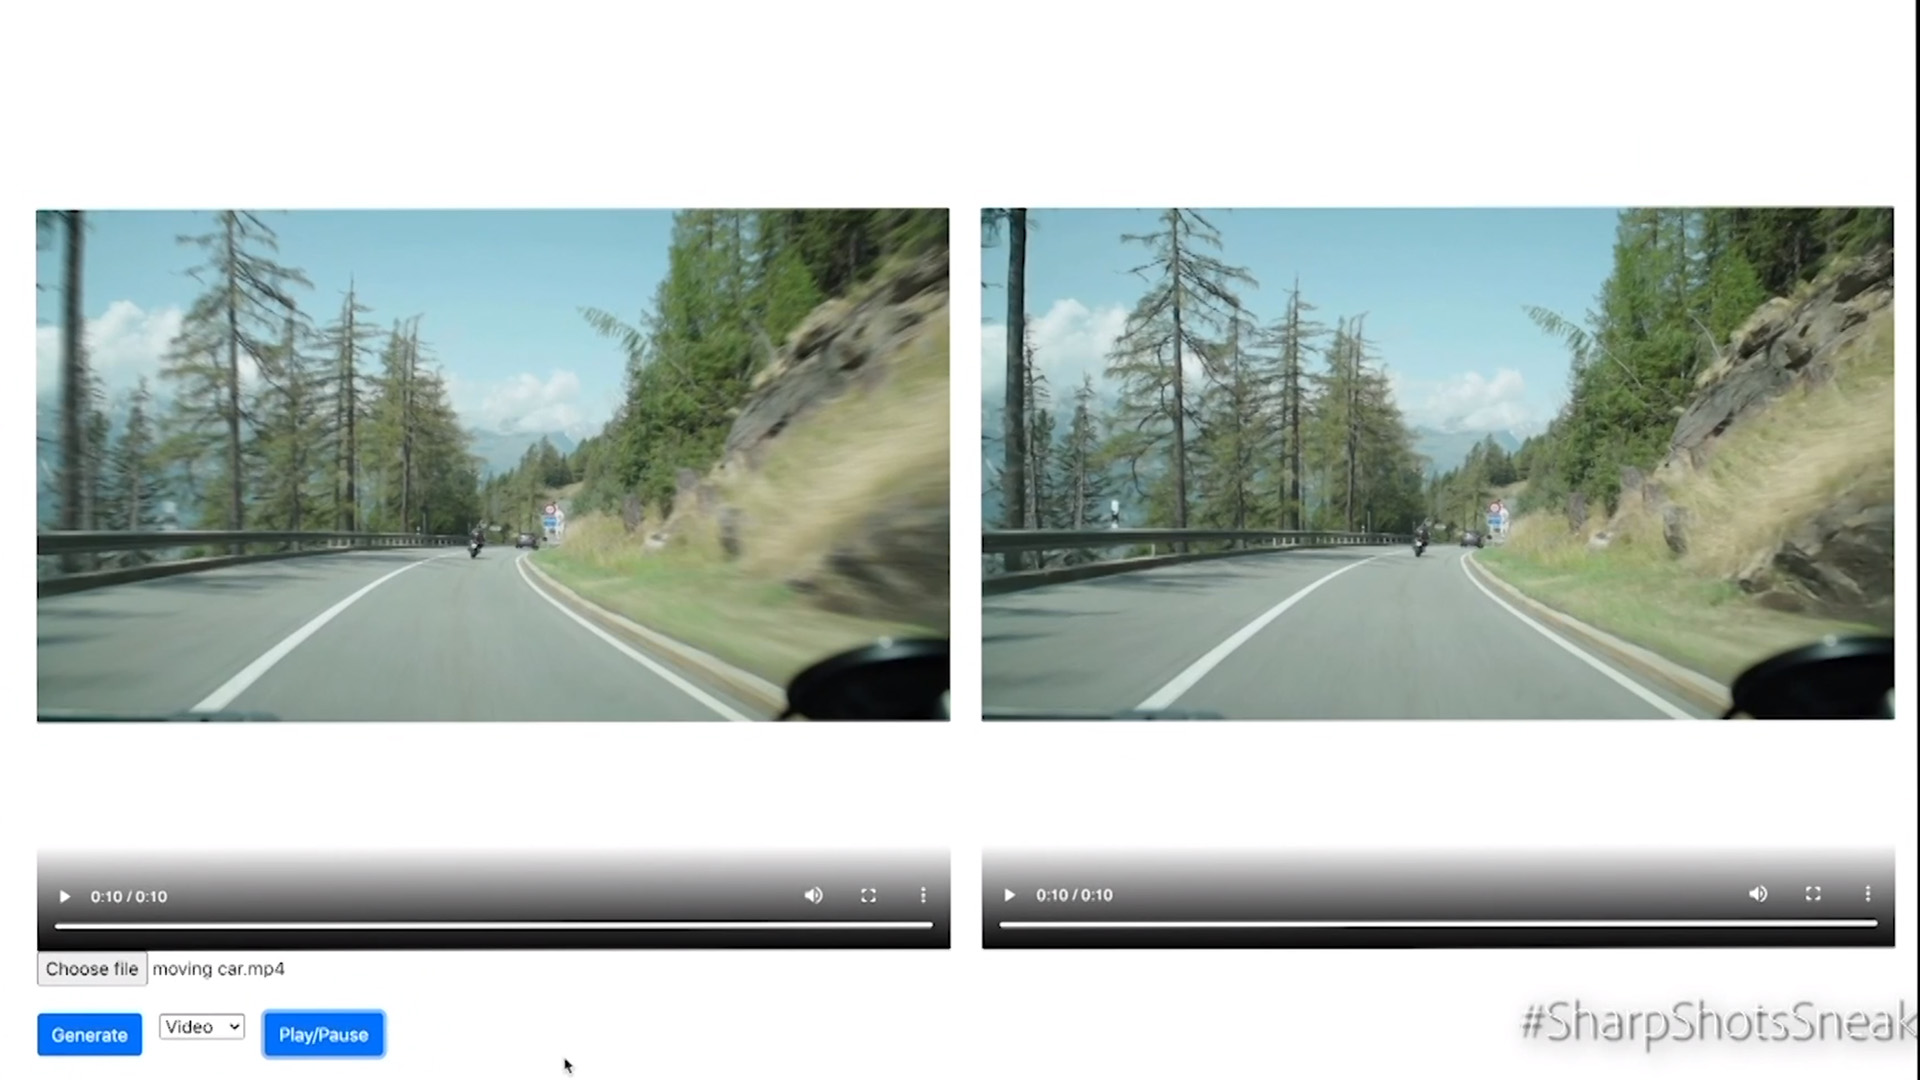
- Project Sharp Shots – powered by Adobe Sensei (Adobe’s AI and machine learning technology)
- #SharpShotsSneak takes advantage of advancements in computer vision and deep learning to transform blurry videos into sharp, steady, action-packed footage.
- Project Scantastic
- #Scantastic offers an intuitive solution that leverages your smartphone and a photogrammetry pipeline to capture 3D models from the environment with minimal user intervention for immersive, 3D experiences.
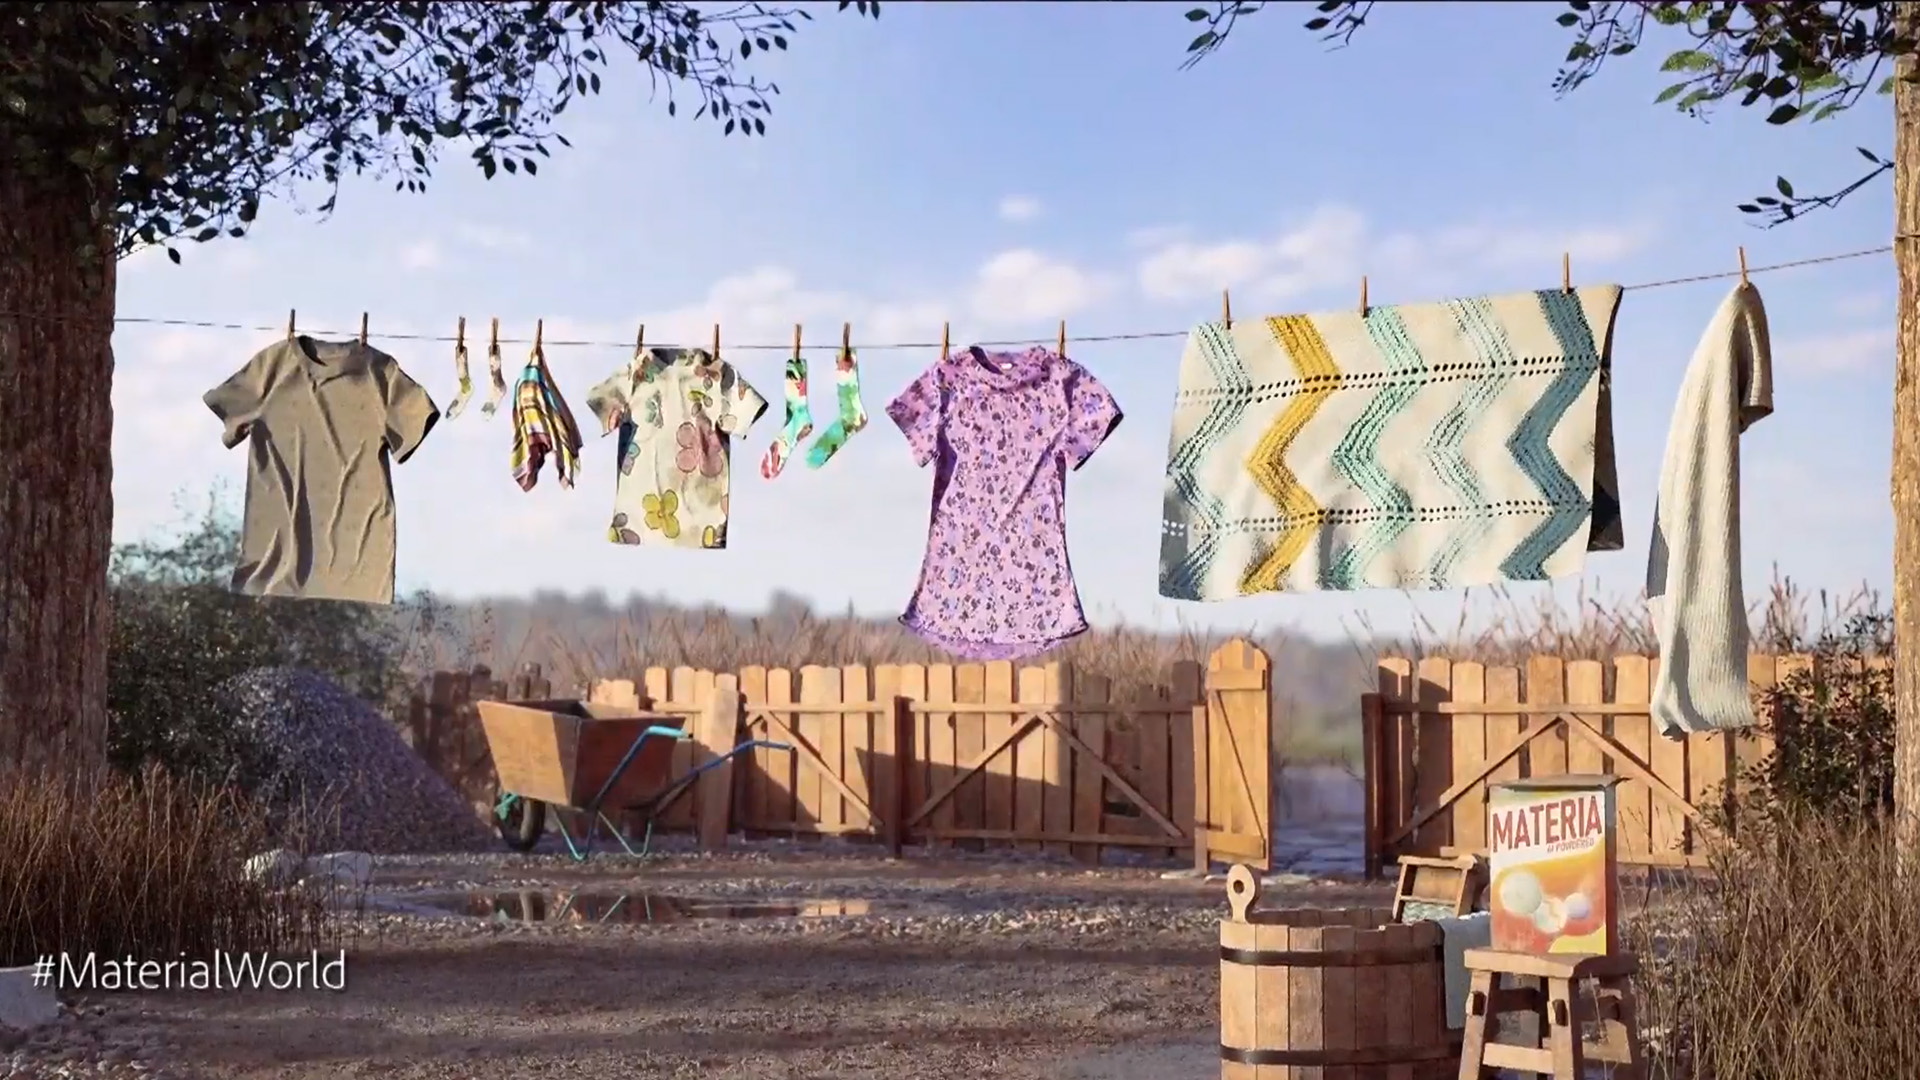
- Project Material World – powered by Adobe Sensei
- #MaterialWorld is a tool for image-to-material reverse engineering. It provides an intuitive material identification process that works under natural lighting, avoiding the need for complex capture setup or user inputs. This results in a digital texture so real you can almost feel it.
- Project Physics Whiz
- #PhysicsWhiz introduces a physics-based layout tool that combines a user’s intuitive sense of physical manipulation with the precision of digital tools to simplify object manipulation in 3D digital tools.
- Project On the Beat – powered by Adobe Sensei
- #OnTheBeatSneak identifies out-of-rhythm body movements and aligns them to generate beat-synced videos for the perfect dance video.
- Project Comic Blast – powered by Adobe Sensei
- #ComicBlast disrupts the way comics are created and consumed through efficient, collaborative, and intelligent design and technology paradigms that make comic book creation fun and 100x faster.
- Project In Sync
- #InSyncSneak streamlines the disconnected path from an XD file to a production-ready application. It allows designers to share information about the design and implementation, create a bridge prototype from XD, and quickly push to a production site.
- Project 2D Plus
- #2DPlus enables users to take 2D objects in Illustrator and make them instantly appear 3D. It is a set of features – dynamic shadows, attached shadows, auto-arrange, and graphic lighting, that come together to create 2.5D’ish looking outputs that graphic designers will undoubtedly love, saving a huge learning curve of understanding 3D apps.
- Project Typographic Brushes
- #TypographicBrushes combines users’ drawn stroke inputs, the choice of brush, and the typographic properties of the text object to brings paint style brushes and new-type families to life in seconds.
- Project AR Together
- #ARTogether brings to life a multi-user experience where everyone shares the same view of the physical space and virtual objects, and can author and share AR scenes without compromising the quality of the experience.
Audio Essentials for Editing Audio Like a Pro
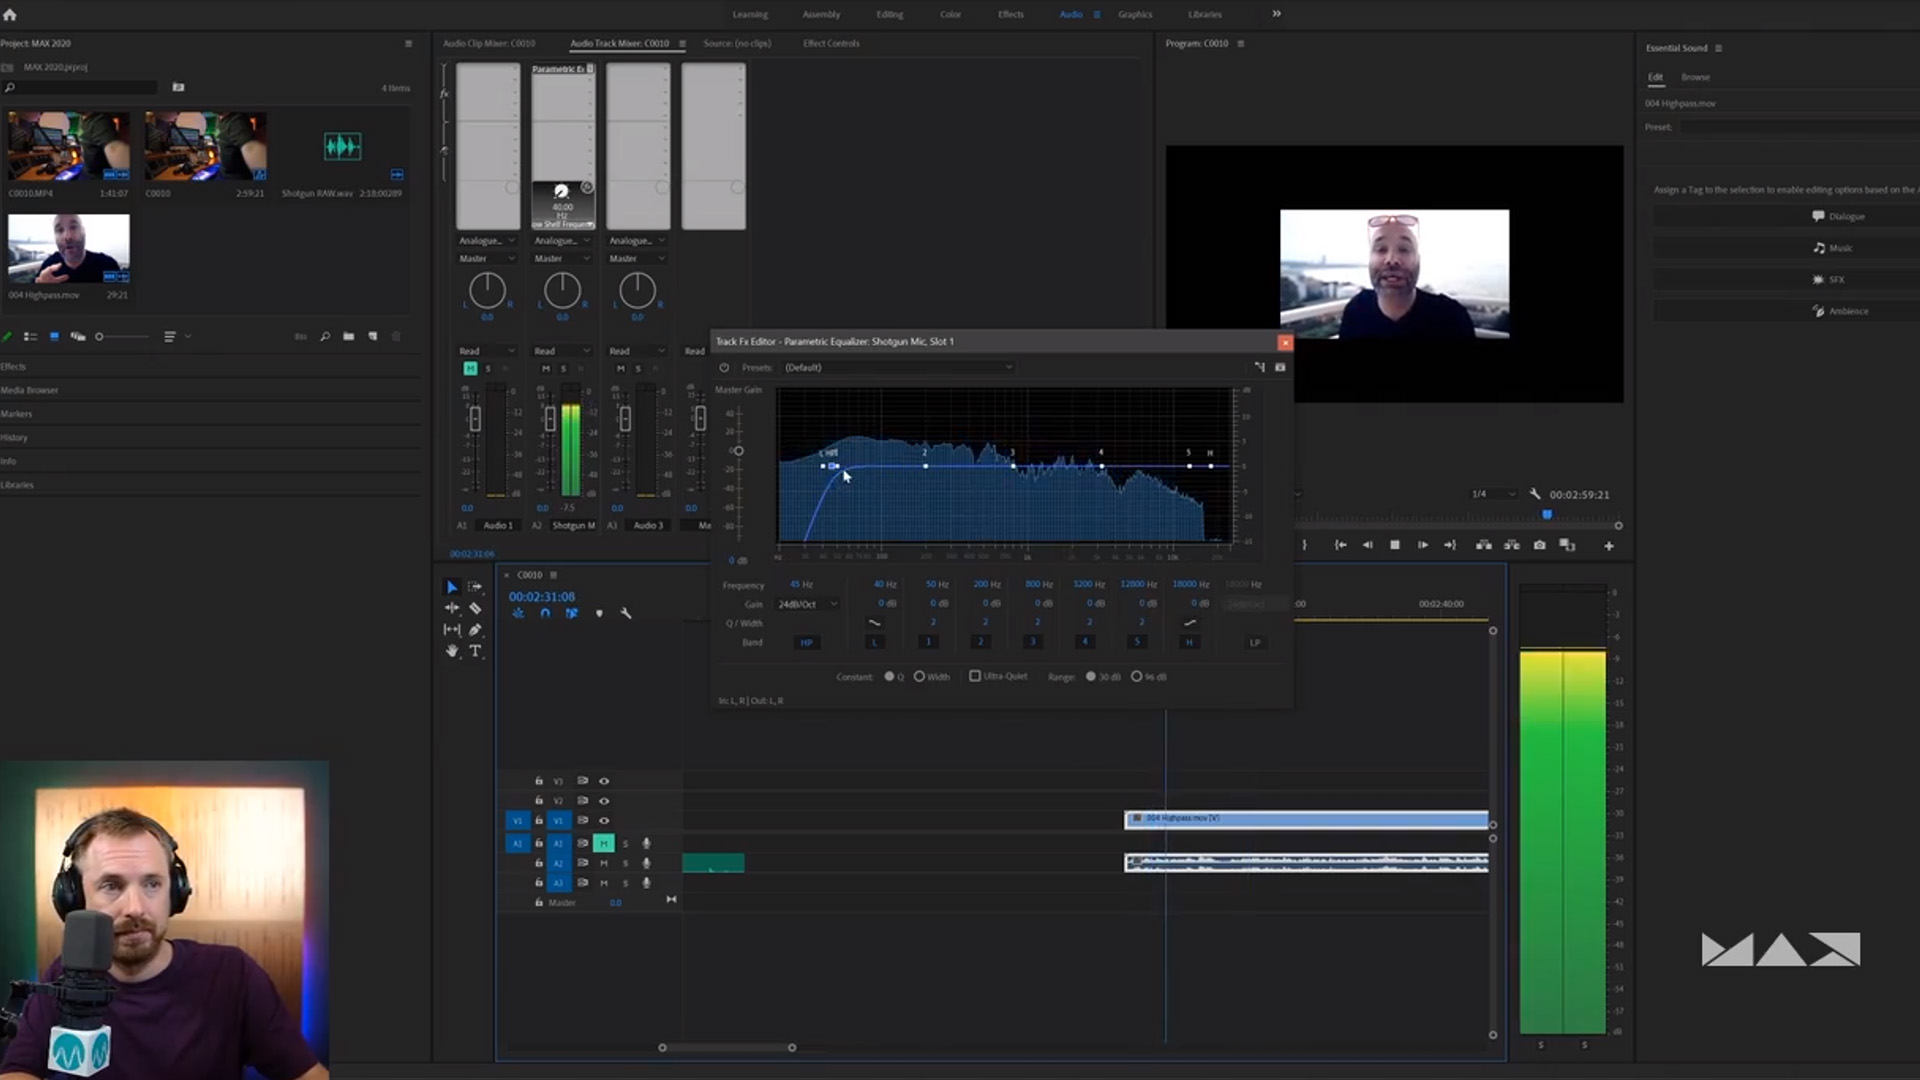
My first session was about audio. I’ve gotten pretty decent, workmanlike, at audio processing over the past couple years so I wanted to see if I could learn anything new. First thing: the presenter sounded great, which if you’re not a big education-seeker online, is actually (surprisingly) shocking. A lot of people will go online and say something like “Here’s how to light a scene professionally” and the video of them telling you this is lit poorly. I never understand that. Anyway, you’ll be able to watch any of the sessions I talk about by following the headline link above each summary.
The presentation starts in Rush, and as is intended Rush basically does the work for you. It’ll identify dialogue and music and tag them as such, and then you just go into the audio panel and select things like “Auto Volume, Reduce Noise, Reduce Echo, Enhance Speech (EQ), and Balance Sound (Compression). Easy. It can even auto-mix the music with the dialogue.
In Premiere it’s nearly the same, with a bit more granular control (and VSTs) available to you. Using the Essential Sound panel, you simply tag the appropriate clips as dialogue, music, or otherwise and use many of the same processing to get started; Dynamics, EQ Presets, Denoise, DeEss etc. Personally, I’ve been using the iZotope suite to tackle most processing but the Essential Sound panel carries its weight quite nicely.
One trick that was highlighted in the presentation, one that I often forget to lean on, is to use EQs to identify problematic sounds before eliminating them. With coloring, for instance, you’re used to additive behaviors (adding contrast, adding saturation, boosting highlights) and only then going in and subtracting problem areas, but with Audio it’s kind of the opposite; you want to boost small windows of frequencies and “sweep” that notch around the EQ visualizer until it sounds particularly bad, and then cut those frequencies. In the same way, you can figure out exactly where you should place, for instance, the beginning of a High Pass filter (to remove rumble/wind noise) is to actually use a Low Pass filter and move it around until you are just about to hear the speaker’s voice, back it off just a touch, and then swap it for the High Pass filter.
With audio, you often cut more than you boost.
In Audition, you’ve actually got some awesome visual tools to tackle problem areas. Spectral Frequency View has a Frequency Eraser, for targeted noise reduction using a graphic representation of your audio like a super detailed waveform. It’s honestly like using the healing brush in Photoshop, but for audio. It’s an awesome tool. As before, you can use the Paintbrush tool to highlight and preview problem areas and then use the Frequency Eraser to get rid of them. I’ll be using that tool more often for sure.
Days to Hours, Hours to Minutes: Streamlining Your Creative Process
This presentation was probably my favorite of the day. Really helped me articulate what was important to focus on, what’s important to automate, how to work while you move (again, momentum is everything), and how to problem solve. Definitely give it a watch. As it is described on the landing page:
Creatives today are expected to produce more content in less time than ever before. Tight deadlines, monstrous workloads, and limited resources force content creators to focus on simply completing assignments on time — instead of approaching each project as an opportunity to display their full creativity. Join David Leopold, senior director of creative experience technologies at ViacomCBS, as he shares his approach to removing friction from design and production workflows for top ViacomCBS brands, including MTV, Comedy Central, and Nickelodeon.
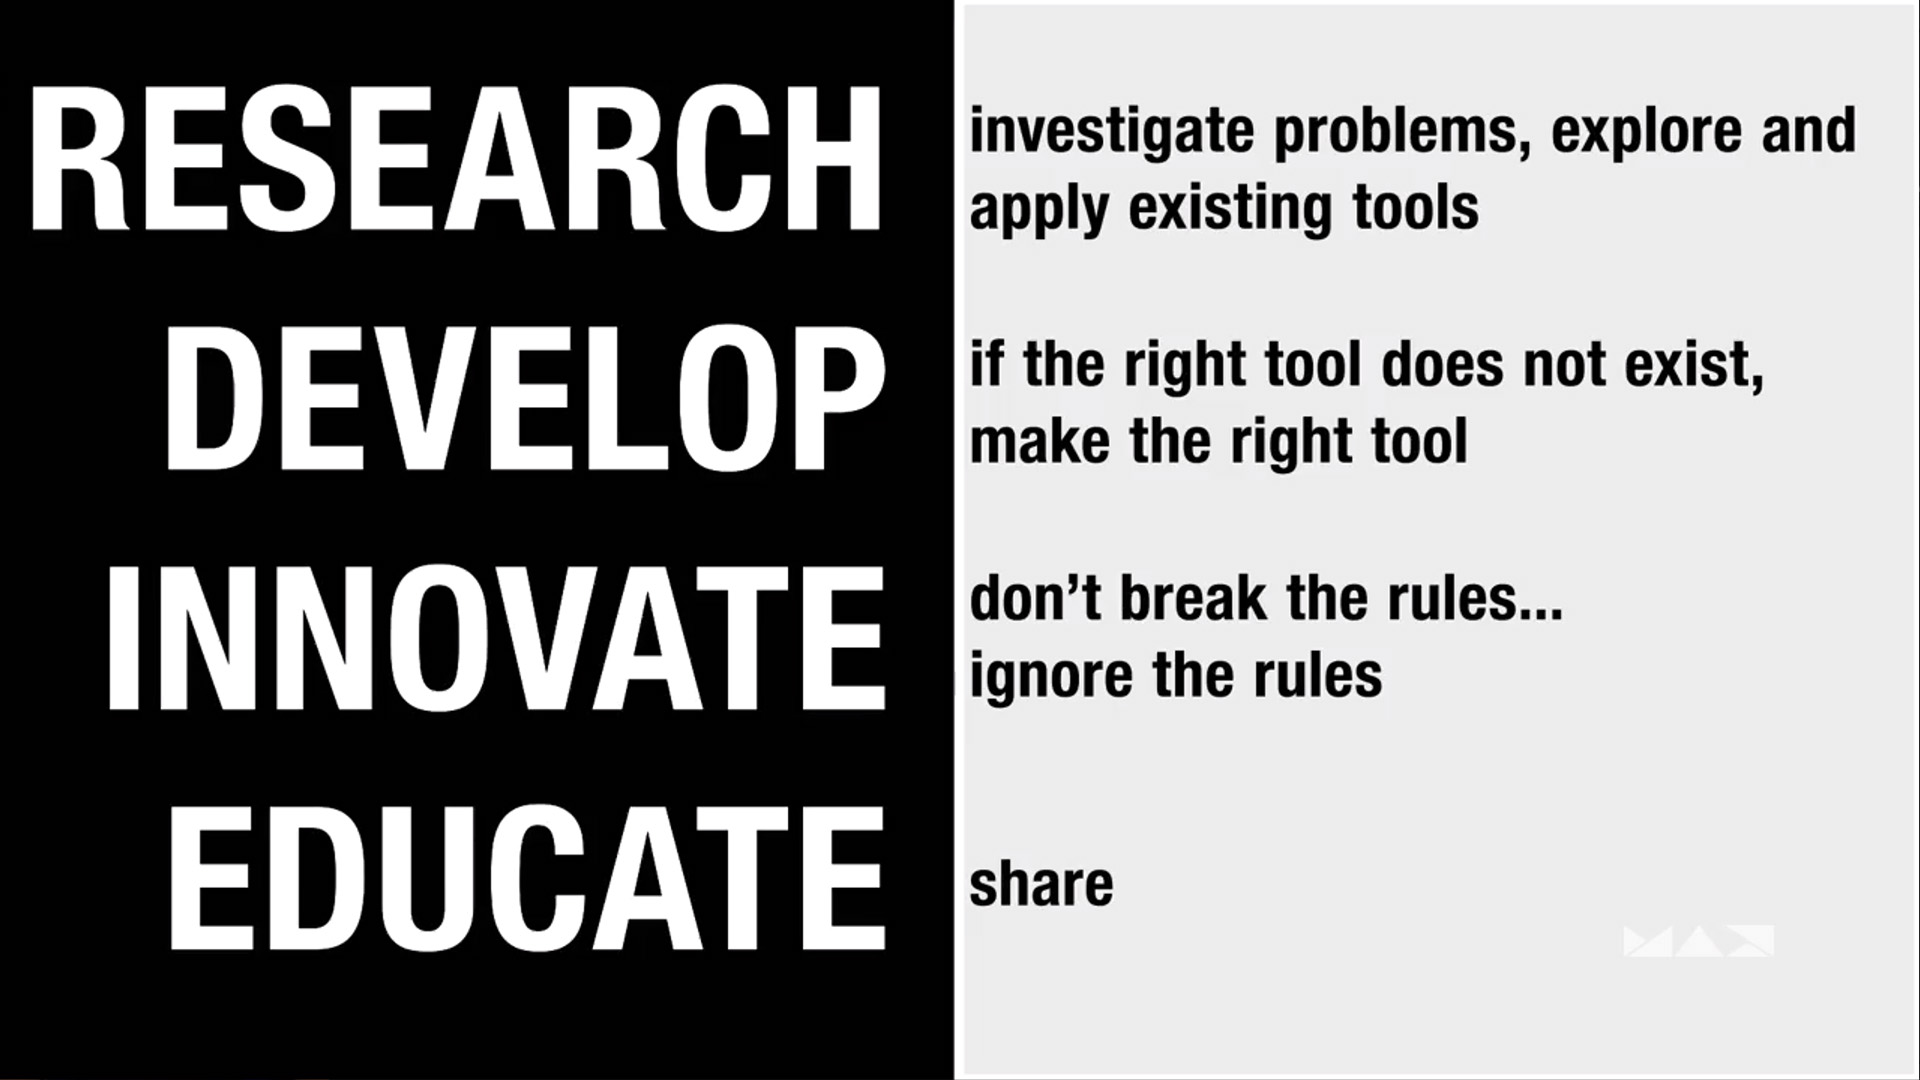
Everyone ends up having to wear a ton of hats, on multiple types of content, and you end up with an enormous toolbox. Creatives speak a common language in process and artistic/creative disciplines, and we’re great at talking inside baseball, but we often focus too much on the non-creative aspects of our jobs. We’ve all seen a workflow diagram, IGEST, DELIVERY, and ARCHIVE are common to everyone, but those things take up tons of time, removes time for the creative stuff (“The Work”) and aren’t worth the added time fussing over once you have a good workflow in place. Process is interesting but tends to get in the way of the thing we’re attempting to get to, which is a creative flow state. Creatives should spend their time being creative, no one cares about export settings and network speeds. How do we get to, and stay in, the creative zone?
David says not to focus on EFFICIENCY, but instead to focus on PRODUCTIVITY. Efficiency is minimal tools, maximum speed. Productivity is maximizing resources and minimizing friction. Efficiency is great for repetitive tasks, but creativity is not repetitive. It’s not about saving time, it’s about reallocating time. In his mind, an edit is never finished early, you just get as much done by the deadline as you can. Being finished early doesn’t mean you’re done. If you have the time you can always polish, experiment, and if your new ideas don’t work out you’ve still got your “finished” cut ready to roll. Sure, there are jobs that aren’t terribly creative that are “done” pretty quick, and it’s easy to say “well I’m not being paid to make this any better or different, so why put the time in?” but that spare time you have to experiment can make the next project better and perhaps can show you how complete that next project even faster. Use that time to your advantage! Don’t phone it in.
Eliminate Distractions. You know the distractions: Your phone, YouTube, Twitter… Apparently, after some scientists did science, it takes you 25min to get back on task after an interruption. Creativity is about being in the moment, stream of consciousness. Being interrupted is a killer. As Steven Kolter says, you want to be in that Flow State as long as possible.
Reduce Friction. Identify things that slow you down and eliminate them. Things that take too many clicks, things that can be automated, things that take you out of the flow because they’re not creative. You want to be able to create at the speed that you think. Honestly, I’m reminded of the feeling I had when I was reviewing that Puget Systems rig last year. I wanted to edit on that PC. Editing wasn’t a chore, and a big part of that was simply the fact that the computer was powerful enough to render out effects and play back footage in real time. I wasn’t waiting on warp stabilize, I wasn’t waiting on the render queue, I wasn’t waiting waiting waiting, I was making. That feeling is invigorating. Reducing the time spent doing non-creative tasks is huge.
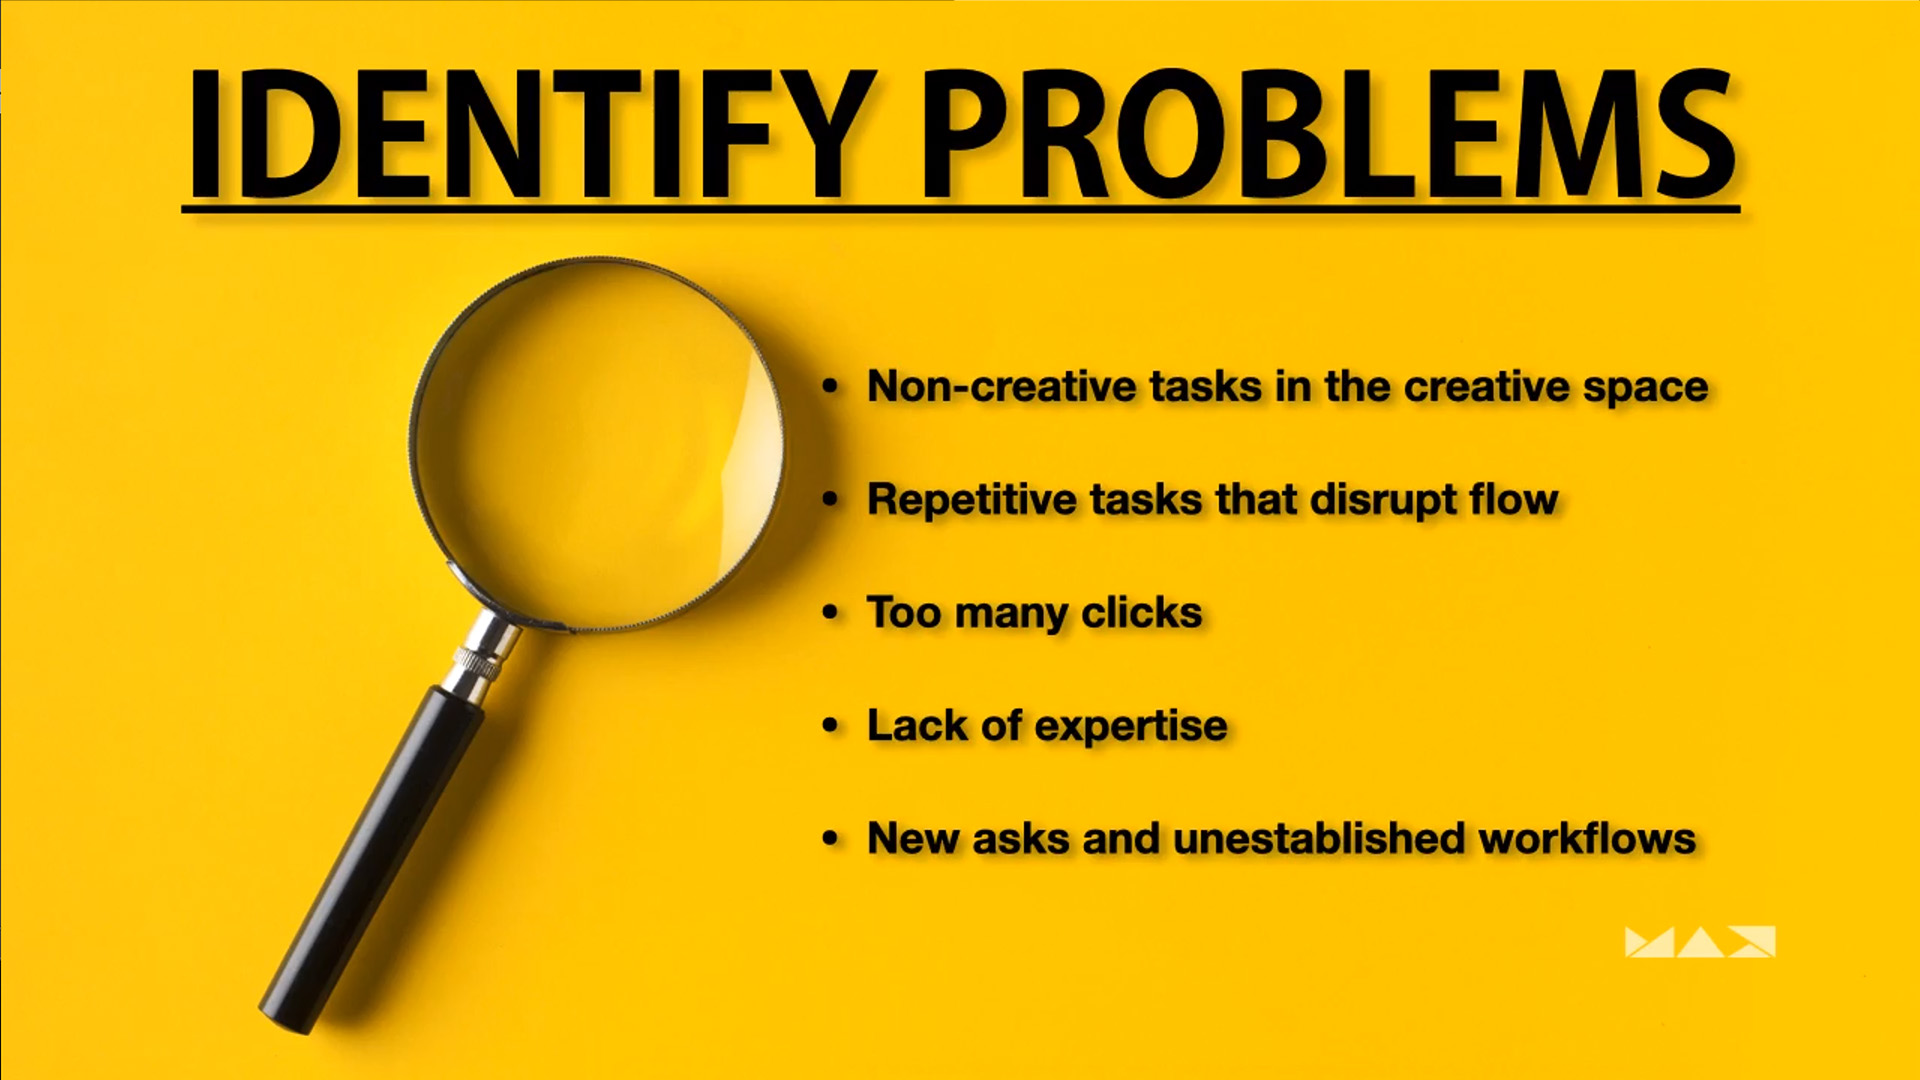
1. Identify Problems
Look at non-creative tasks in the creative space.
Repetitive tasks that disrupt flow (like titling, lower thirds, ingesting)
Too many clicks (keyframing, masking, etc)
Lack of expertise (“I don’t know motion graphics”)
New asks and unestablished workflows (emerging technologies and new jobs)
2. Take Inventory
Maximize your toolset.
Find tools in your preferred applications that you don’t recognize (Menu items, shortcuts, etc)
Spend 15 minutes a day looking for new tools within your existing toolkit (look for new takes)
Look at release notes for new features in your software
Find basic tutorials for adjacent applications you don’t currently use or are an expert at.
Adobe has a ton of tools that are shared between programs (Audition, After Effects, PS > PP)
3. Play, Dream, & Develop
Solve problems.
Take list of problems and tools, start matching (Adobe Capture turns pics into vectors)
Acknowledge Gaps (identify problems that don’t already have a solution
Imagine the Possibilities (daydream, ignore the rules, try new solutions to existing problems)
Find off-label uses for things (that’s my SHIT)
Develop/Hack when possible (literally, scripting and whatnot)
4. Make a Plan
Simplify, Condense, Clarify
Get rid of extraneous details
Combine concepts into one overall concept (elevator pitch)
Be clear about what the problem is, and why we’re choosing to solve it this way
If it doesn’t feel familiar or magical, put it back on the shelf (solutions need to be elegant)
5. Communicate
The messenger must be an insider.
Keep it bite-sized. No one wants to learn a whole new workflow.
Don’t focus on the technical, you’re solving a creative problem.
— Focusing too much on the technical comes across as tech support. TS is not an insider.
Proven Feature Film Workflow Techniques for Video Creators
This one’s a bit more technical. If you’re an editor, you know Vashi Nedomansky. His Twitter, blog, and educational sessions are invaluable especially for people just starting out. I’ve likely seen everything he’s put out into the world, and have incorporated most of his tricks into my own editing workflow, but I still wanted to see what he had in store for MAX. In his presentation, Vashi distills down many of the things he often talks about into a brisk 30 minute presentation, of which my notes are shared below. Definately give his session a watch and follow him on Twitter for more!
1. HARDWARE & SOFTWARE
Get the best stuff you can afford. As I mentioned, editing on a slick machine is just lovely.
2. PREFERENCES & OPTIMIZATION
Get your settings and whatnot dialed in.
Turn on Auto Audio Waveform Generation.
Default Media Scaling: Set to Frame Size so everything scales appropriately in your Timeline
Make sure you’re using your CUDA playback if you’ve got an nVidia card.
3. ORGANIZATION & PREPPING ASSETS
Get those folders organized.
Familiarize yourself with the footage and organize it into those folders
Use the Media Browser for import! Don’t just drag and drop, it can cause issues. I personally use Watchtower to automagically handle all of that.
Hit the tilde key to fullscreen things/see footage in folders
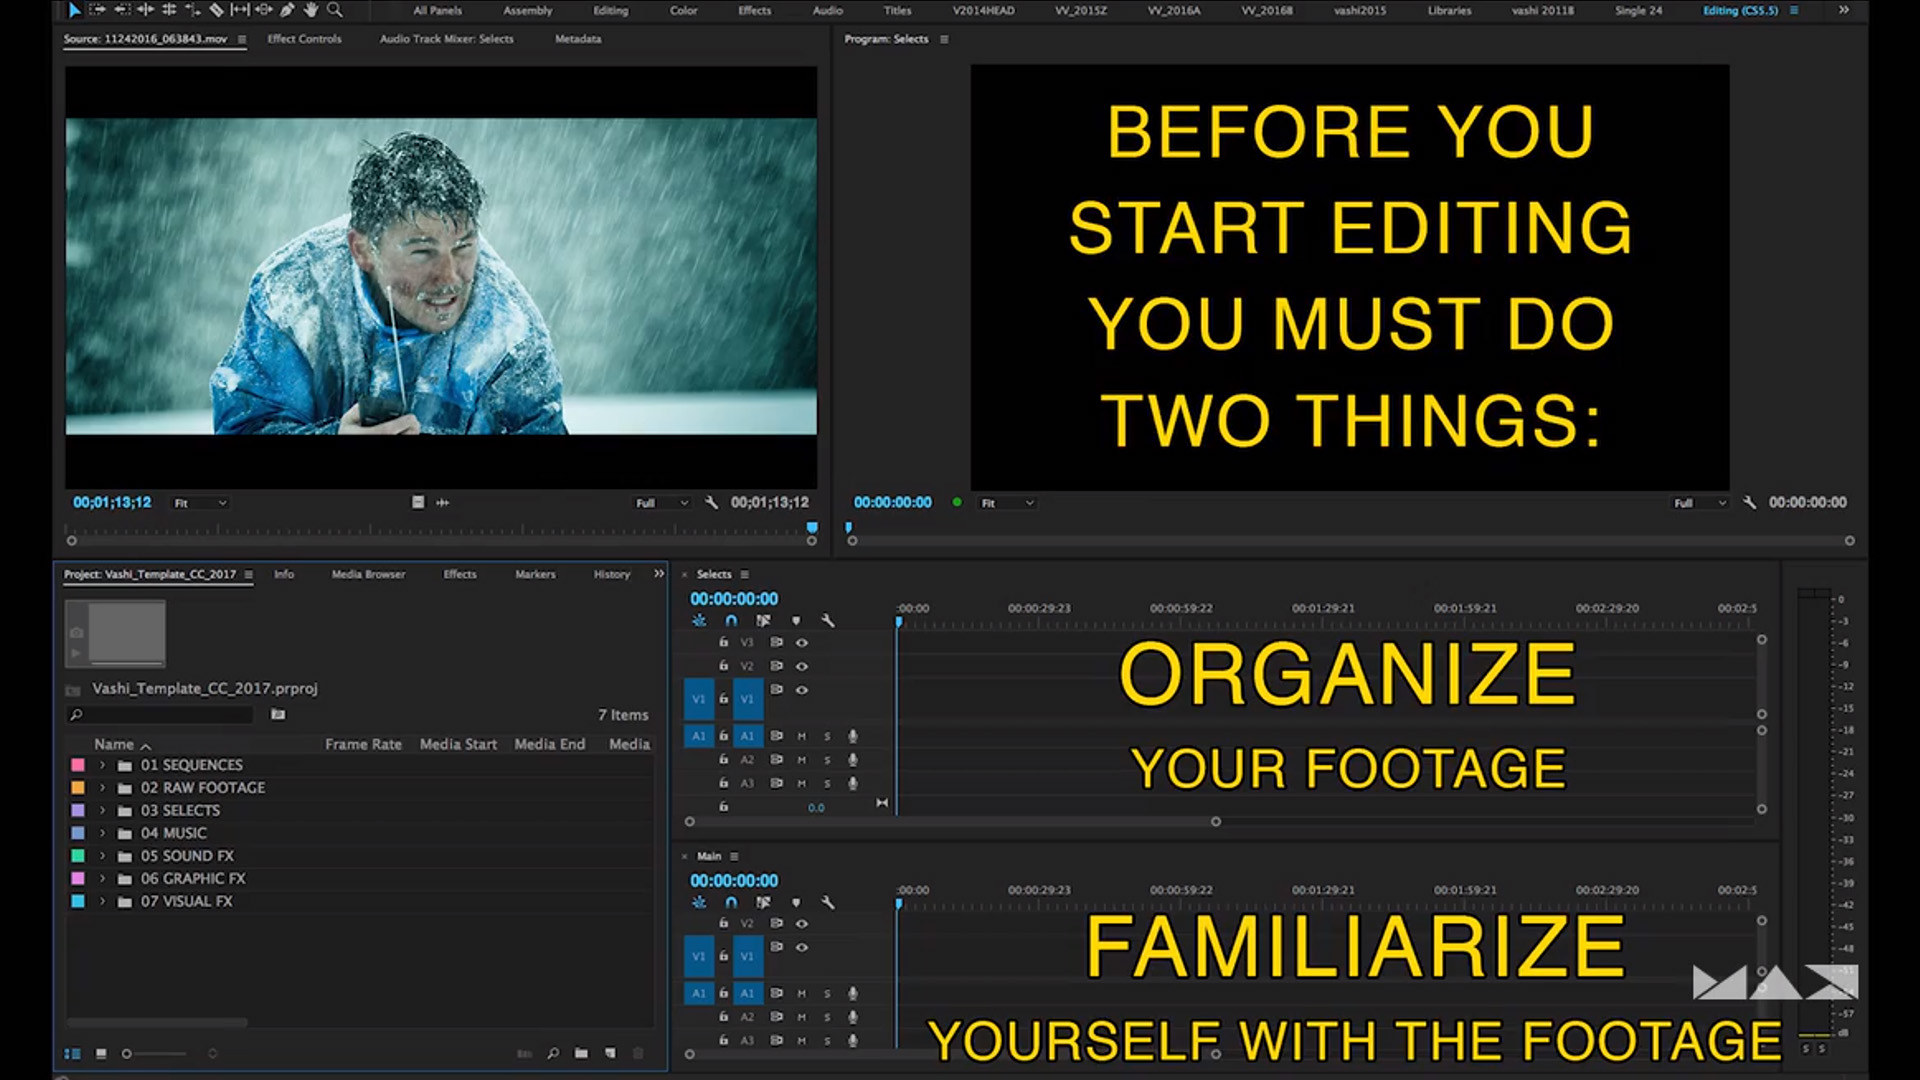
4. THE ESSENTIALS OF EDITING
Mark In, Mark Out, Insert, Overwrite, Lift, Extract, Trim (bind those keys! Make it work for you)
Movies are made in increasing “chunks”: Shot, Moment, Scene, Sequence, Reel, Film
5. PANCAKE TIMELINE
Have your selects in one timeline and your assembly in the next, both onscreen simultaneously.
People often forget this part: Open your selects timeline in the Source Monitor, Hit “Wrench” > “Open Sequence in Timeline”
— This puts your footage in the source monitor and your output in the program monitor
— Allows you to use “Insert/Overwrite” and puts clip(s) in your main timeline easily
6. AUDIO & MIXING
Really, really focus on your audio! It’s hugely important and often more important than the visuals.
As a tip, hit the sequence “hamburger” > “Show audio time units” which allows you to work in milliseconds instead of frames for precision editing
7. COLOR CORRECTION
Editors end up needing to be a bit of a colorist (balancing/matching shots) when they
Learn your scopes!
Stick to the Lumetri Basic panel if you’re going to do anything. The granular tools are… workable.
The “ProLost” Order of operations are: Denoise, Correct, Windows, Gradients, Vignettes, Color grade, LUTS, Grain, Resize/Sharpen
8. VISUAL EFFECTS
Editors end up needing to do effects too (Split comps, titles, greenscreens)
As Ernie Gilbert said in our interview, it’s not cool until it’s cool. Don’t show the client a half-cocked piece!
9. VFX in AE
Copy the clip in Premiere, put it above original clip so you can always go back, Dynamic Link it
Your VFX guy can edit it as you work and it’ll update automatically, which is nice
10. MASTER FILE & DELIVERABLES
Highest Res possible, highest (5:1, 7:1) audio mix, Lowest possible compression
ProRess 4444, or Cineform which encodes faster, are the usual deliverables
Always ask for a spec sheet so you can pass QC
Enhancing Video Interviews: Quick Tips for Making Better Talking Heads
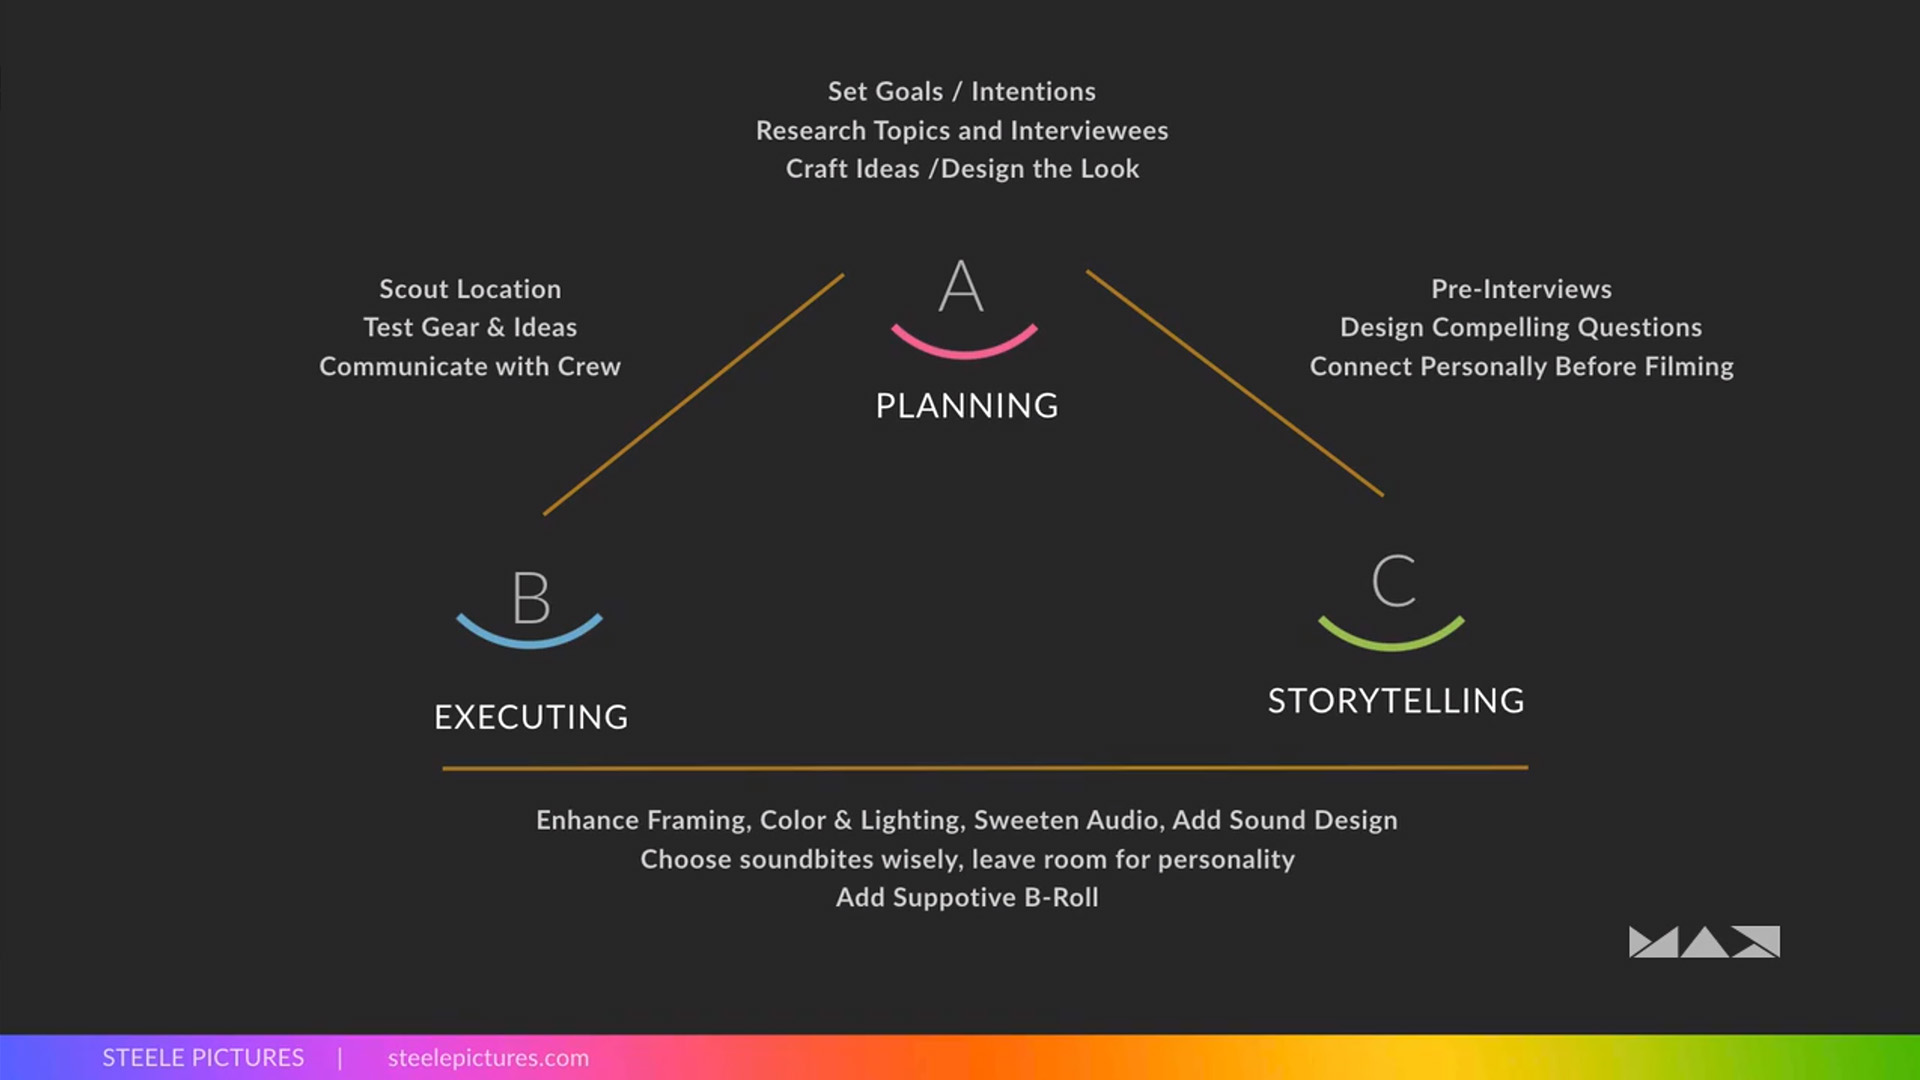
This one could replace a college course on getting prepped for an interview. A really straightforward, easy to follow, practical guide to talking head shoots (of which I’m sure we’re all intimately familiar with executing). I honestly can’t add much to this presentation, it’s worth just going in and watching as every second is spent getting you up to speed on how to tackle one of these shoots. As a working filmmaker/cinematographer/director, you’ll likely shoot at least one of these a month, usually more, so it’s important to hear some tried and true methods of nailing them. Once you have a solid workflow in place (and plenty of practice/pre-production) the work will disappear and you can maintain your attention with the subject. Talking head shoots don’t need to be complicated, this is where you can get away with “competent” filmmaking (Anthony Bourdain would destroy me for saying that, but it’s true).
The big things to focus on are amazing audio (get two sources minimum), great in-situ lighting (often using diffusion, bounce, and personally I like some negative fill in there if possible), plenty of b-roll, and a great connection with your interviewee. Documentaries, journalism, are all about the subject and you won’t get a good interview if the subject is nervous or feels uncomfortable. Its your job to make it seem like this is just a breeze in the park while simultaneously getting all the material you need. It’s a bit of a magic trick but it’s absolutely worth your time to dial it in!
Advanced Tricks for Every Photoshop User
This is another one I can’t add anything to without just re-typing what was said. Unmesh is the man when it comes to Photoshop. His YouTube is an absolute gold mine of education on the program, and I constantly use it as a reference when tackling larger projects or just trying to figure out how to accomplish something I’m new to. His videos do not mess around. No time is wasted. This presentation was no different. My concept of the “amount of time” a half-hour has been absolutely destroyed by Adobe MAX and this one went by in what felt like 30 seconds.
In his presentation, Unmesh goes over some of the new features in Photoshop that premiered (ha) at MAX while also sharing a few tips on how to best utilize these tools. Like I said, he doesn’t waste a single second so a bit of prior knowledge of Photoshop may be useful. He still does an excellent job of describing exactly what he’s doing and why he’s doing it. He actually has a longer, slightly slower video on his channel going over these features and more, if you’re interested.
Other Great Sessions
I was bouncing in and out of sessions all day, juggling my other obligations while also trying to find time to eat and take breaks, but I just wanted to briefly highlight some of the presentations that I think might be valuable to the average PVC reader to check out on top of everything I’ve mentioned thus far.
Valentina Vee is a popular filmmaker and Adobe Master Trainer, and she had a couple sessions that might be worth checking out. First, there was Adobe Premiere Pro for Social Media Video Creation in which she goes through some basic skills and tools within Premiere needed to get that content of yours (or your employers) out into the world quickly and effectively. She also had a really helpful session on Multi-cam Editing which can be a game changer not only for traditional multi-camera shoots, but I’ve used it for music videos as well to great effect. There’s a lot you can probably do with the auto-syncing and camera switching tools in Premiere.
Another presentation that I actually missed but looked promising was Jeff Greenberg’s Lab on Color Grading in Premiere. I personally use *cough* a competitor to Adobe for color correction, but I really do sometimes just need a quick grade that isn’t too fussy and being able to accomplish that within Premiere is incredibly helpful as I don’t want to be bouncing around programs all the time. I intend to go back and watch this one once MAX is all wrapped up, but I downloaded the workbook too just in case. These workbooks are awesome resources and I wish the Sessions (as opposed to the “Labs”, I just learned there’s a difference) had them too. I noticed in the chat window in Unmesh’s presentation that people were asking for workbooks, but as it was a “Session” those weren’t created. Hopefully next year!
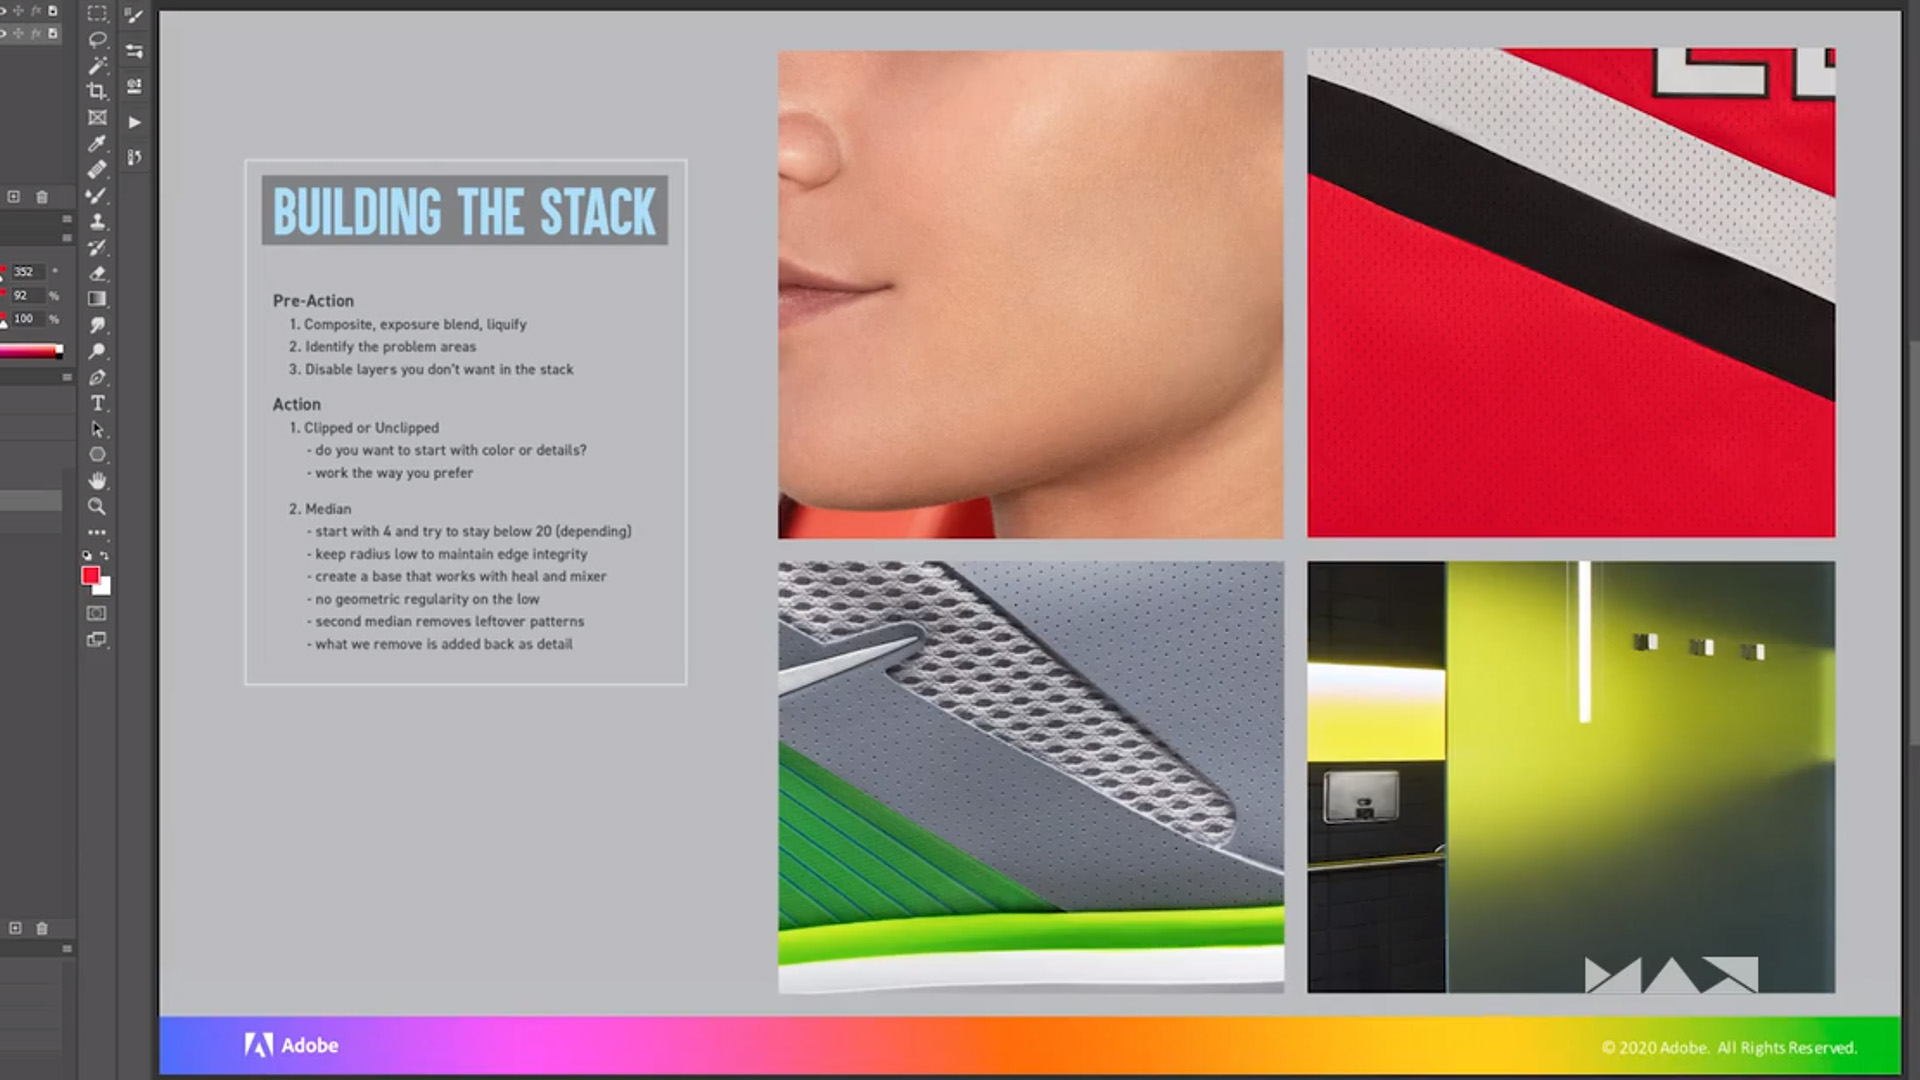
I also continued on my education with Frequency Separation, hitting Part 2 of the “Frequency Separation 2.0” series from Earth Oliver (great name by the way) and I’m incredibly excited to start using his method in my photography. As I mentioned in yesterday’s article I had somewhat of a working knowledge of Frequency Separation, but only just and my results weren’t the best. I also knew I wanted to do certain things with the color layer (the “low frequency” layer) but didn’t know the best way to go about it, which this presentation fully informed me of. What a great sigh of relief that was! Again, very excited to get going. Part 3 of the series is coming up today!
At the end of the day I ended up in Part 3 of the “Mastering Collaborative Video Editing with Creative Cloud” Lab, having somehow skipped over Part 2, so I’ll definitely have to go back and really take all that information in soon. These sessions are going to be available after MAX for a year, so you’ve got the time if you need it. There’s a workbook for this Lab as well, so that’ll be an invaluable resource once I’m actually in a position to need to work within a Teams project. At the moment it’s all me.
On to Day 3
Day 3 is usually pretty casual, giving people time to catch up on things they missed or just walk around the convention center and check out all the booths (sad face), but tomorrow I’ll have a general recap of everything as I see it.
Onward!

Filmtools
Filmmakers go-to destination for pre-production, production & post production equipment!
Shop Now