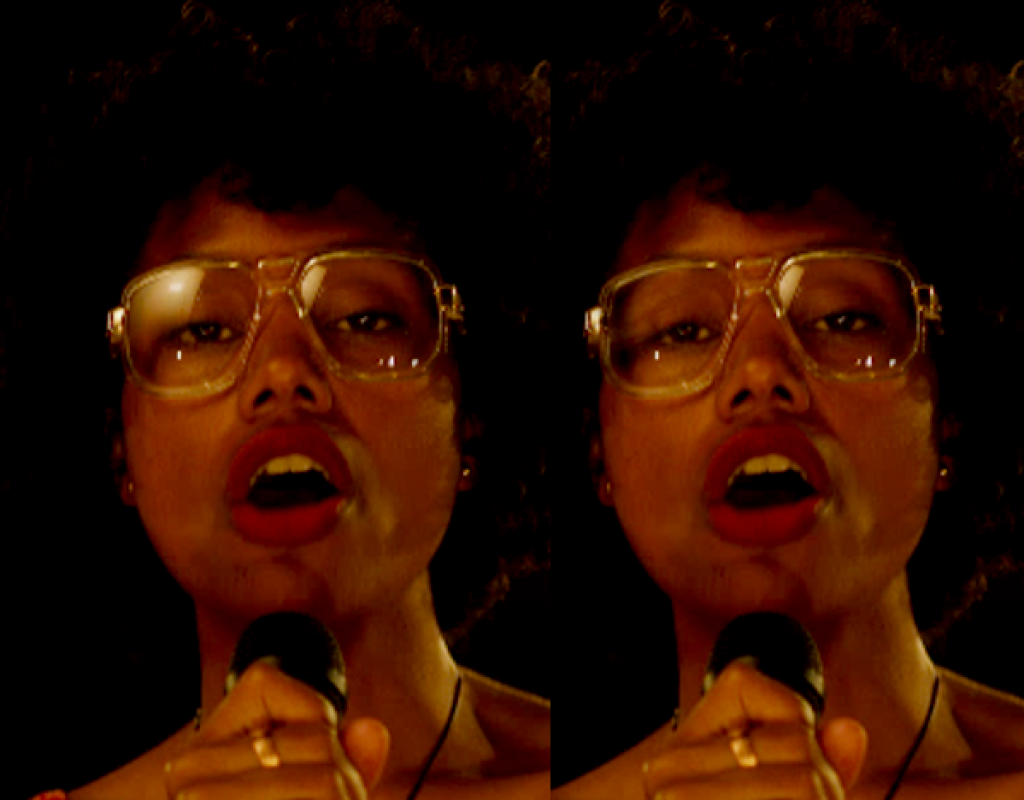
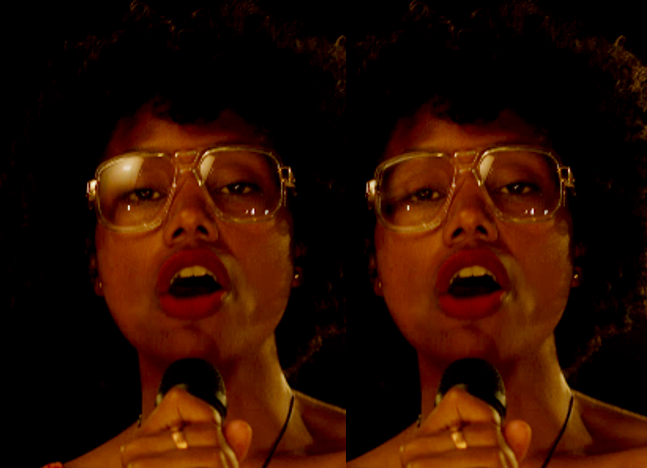
There are all kinds of finishing effects that are within the grasp of the average editor. You just need to know the recipe. Removing reflections and glare from glasses is one of those tricks that seems impossible, but is perfectly achievable if you understand the steps involved.
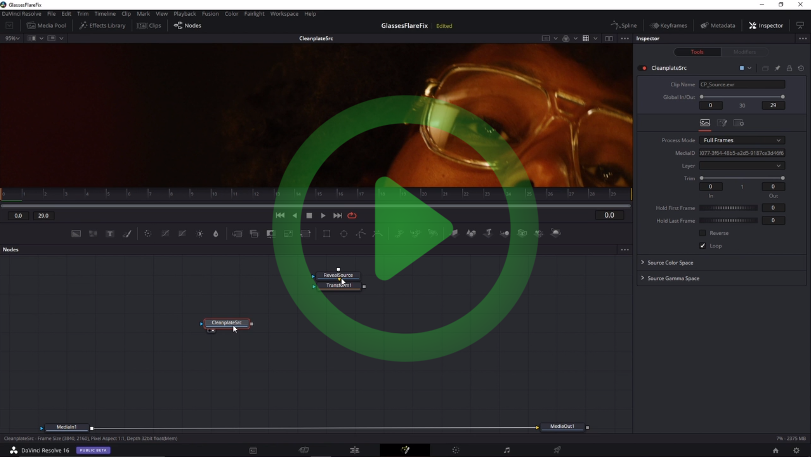
In the video below I’ll walk your through the entire process. In fact, this process is a pretty standard approach for any situation where you need to remove artifacts from a shot. The steps break down like this:
Step 1. Create a cleanplate
A cleanplate is a version of the shot with the artifact removed. This requires the most creativity. You need to find different frames where the artifact has moved and copy those pixels into your cleanplate, or recreate the area underneath using a clone (‘rubber stamp’ in old-school Photoshop parlance) brush. However, it doesn’t usually need to be perfect. You’ll see in the video that I was intentionally lazy and left the cleanplate quite splotchy. However, once it’s applied to the shot you don’t notice the little inconsistencies.
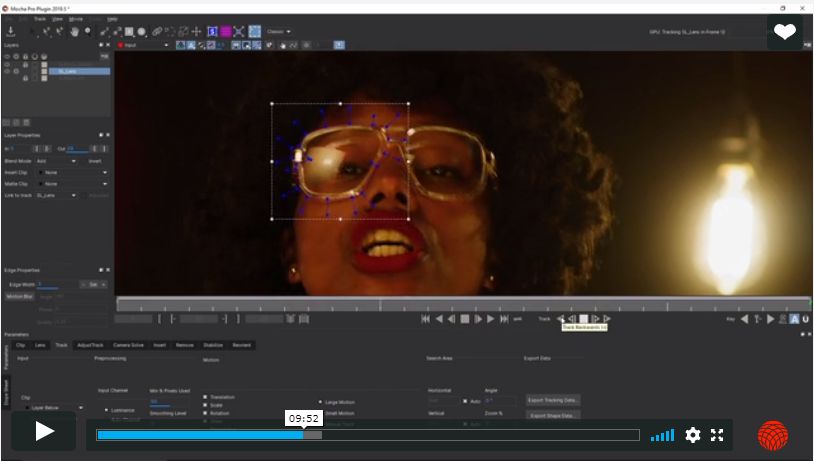
Step 2. Track the surface to replace
When I say track, I mean Mocha track. Boris FX’s Mocha Pro really is the only game in town here. Lots of other applications claim to have a good planar tracker, but I’m yet to find one that rivals Mocha Pro. Mocha is especially good at handling skin deformation–essential when you’re doing facial surgery on a shot with a lot of dialog.
Step 3. Matchmove the cleanplate using the track
Now we take the cleanplate and hook it up to the track we just created. The result is that the cleanplate moves with the source footage so that our cleaned up pixels always line up with the surface they’re intended to replace.
Step 4. Composite the cleanplate
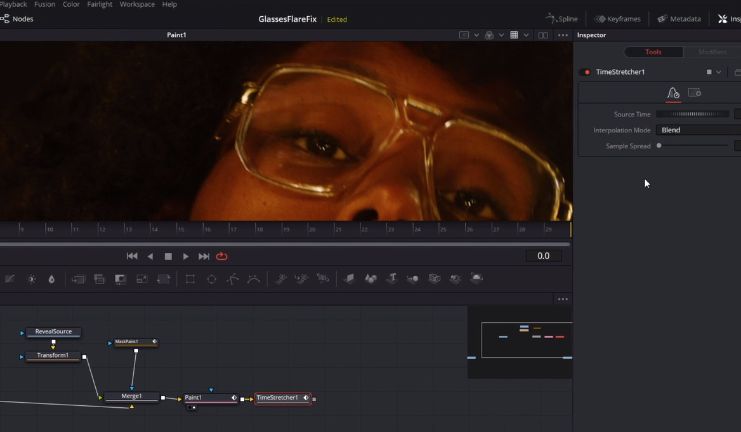
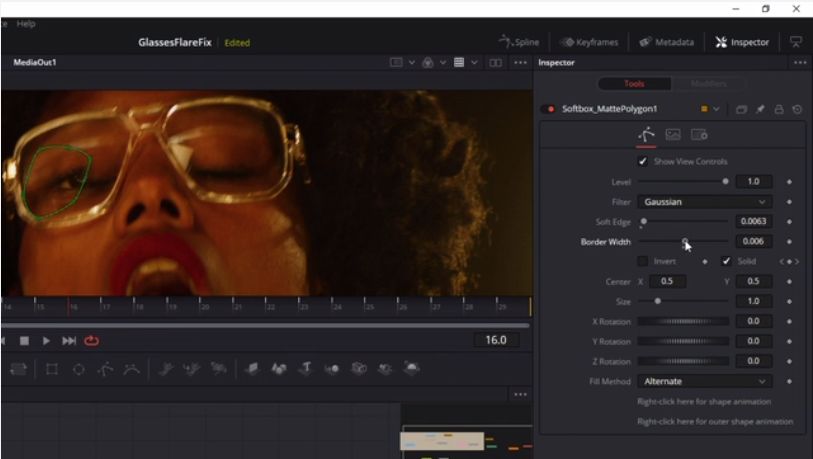
With all the movement aligned it’s a fairly simple matter to mask off the area to be replaced and composite the cleanplate over that area. A little judicious blurring to the matte and the cleanplate should blend in nicely. Often you’ll also need to animate some color correction to the cleanplate to compensate for lighting changes.
Step 5. Fudge the rest with a warp
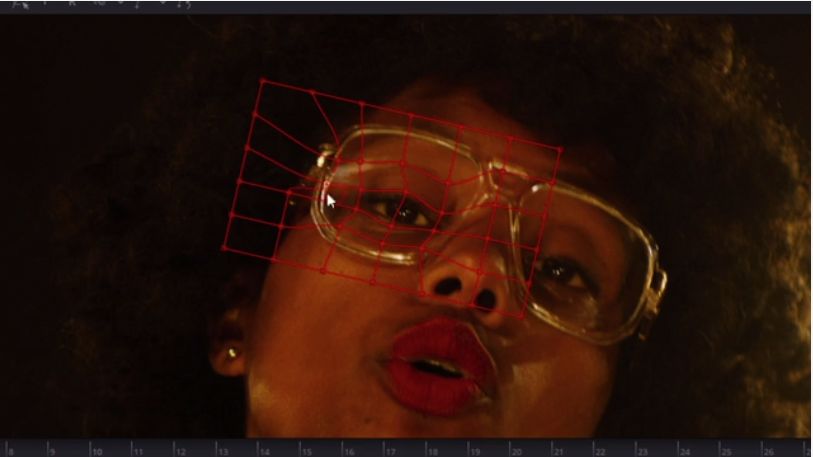
This is the crucial step that most of those tutorials out there miss. Warpers are magical tools. They allow you to take images that don’t quite fit together and force them to line up–in a very believable way. The cleanplate you created in step one will often start to misalign due to changes in perspective of the tracked surface, change in distance from camera, or even deformation in the surface being tracked. By throwing a warper into the mix you can nudge the shape of the cleanplate back into place.
This is all part of our Impossible Shots series. If there’s an impossible shot you’d like to see us tackle, email help@moviola.com.

Filmtools
Filmmakers go-to destination for pre-production, production & post production equipment!
Shop Now