https://www.youtube.com/watch?v=D3jG9BwZjwo&lc=z22dg15itq24slsxq04t1aokgjlyyl5cor0stmxunc1wbk0h00410.1529470456832436
This week on MacBreak Studio, Steve Martin from Ripple Training shows us how to replace a sky in Final Cut Pro X.
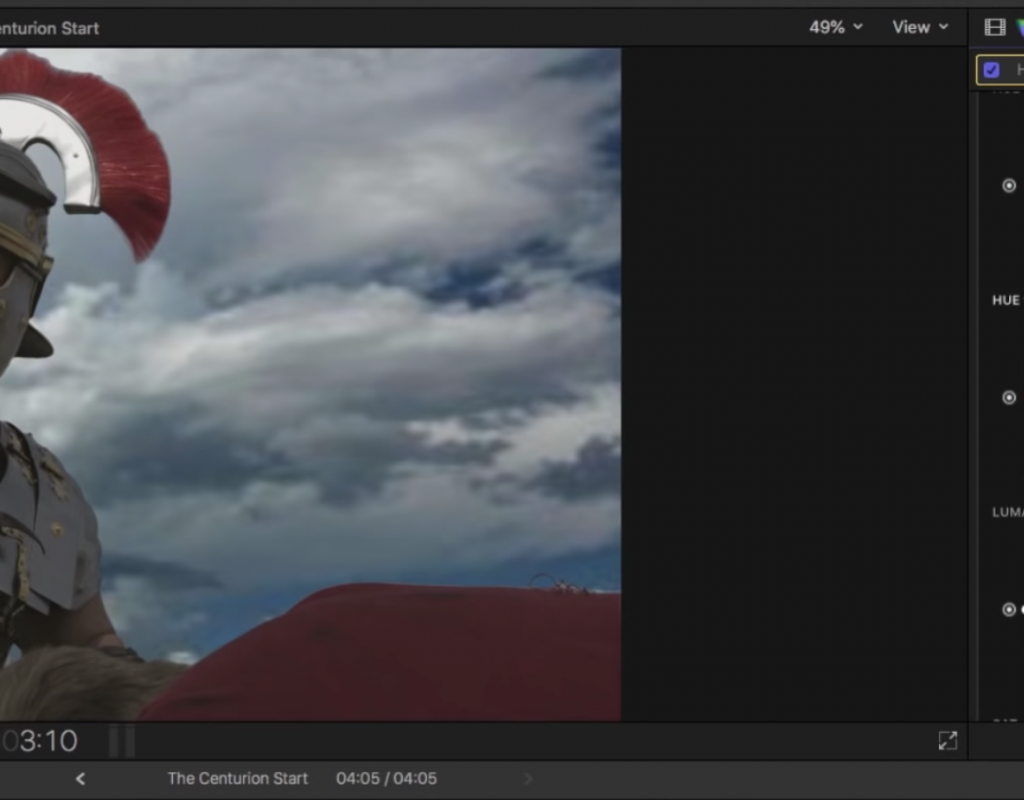
The shot in question a low medium shot of a Roman soldier against a rather dark and overcast sky. Steve starts by color correcting the shot using a Color Curves correction. Using the blue curve, he samples the sky, which creates a vertical line at the brightness value of that sample on the curve.
However, dragging up on the curve at that brightness level adds a blue cast the the soldier as well as the sky, so instead, he first adds control points to either side of that brightness level to restrict the change to a narrow brightness range. Because the brightness values of the subject are different from the sky, he can now increase the luminance of the sky without affecting the subject.
So that’s one option to improve the sky in a shot: by using a targeted correction.
Another option is to completely replace the existing sky. Steve already has an image of a cloudy sky connected to the main clip in the timeline, so he add the Keyer effect to the main clip in order to reveal the sky below.
The default settings for the Keyer don’t work very well here, but it’s easy to adjust. One option is to use the Sample Color tool to drag a rectangle over the sky – doing so dramatically improves the key.
Switching to the matte view, however, reveals broad areas of transparency in the soldier’s armor. One approach to improving the key is to move the original sample around to try to find a better starting point. Steve then uses Fill Holes to eliminate the transparent areas in the armor.
Switching back to the composite view, the key is much better, but there’s now some fringing revealed on the blanket in the foreground. To address that, in the Matte Tools section of the Keyer, Steve shrinks the matte. He then adds some Light Wrap to better integrate the foreground and background plates. Finally, he finishes off by using a Hue/Sat curves correction to address the skin tones.
A lot of good tips in this episode, check it all out above. If you really want to learn color correction in Final Cut Pro X, we have the perfect tutorial for you.


