https://www.youtube.com/watch?v=wHvvnDBdOXU&feature=youtu.be&a
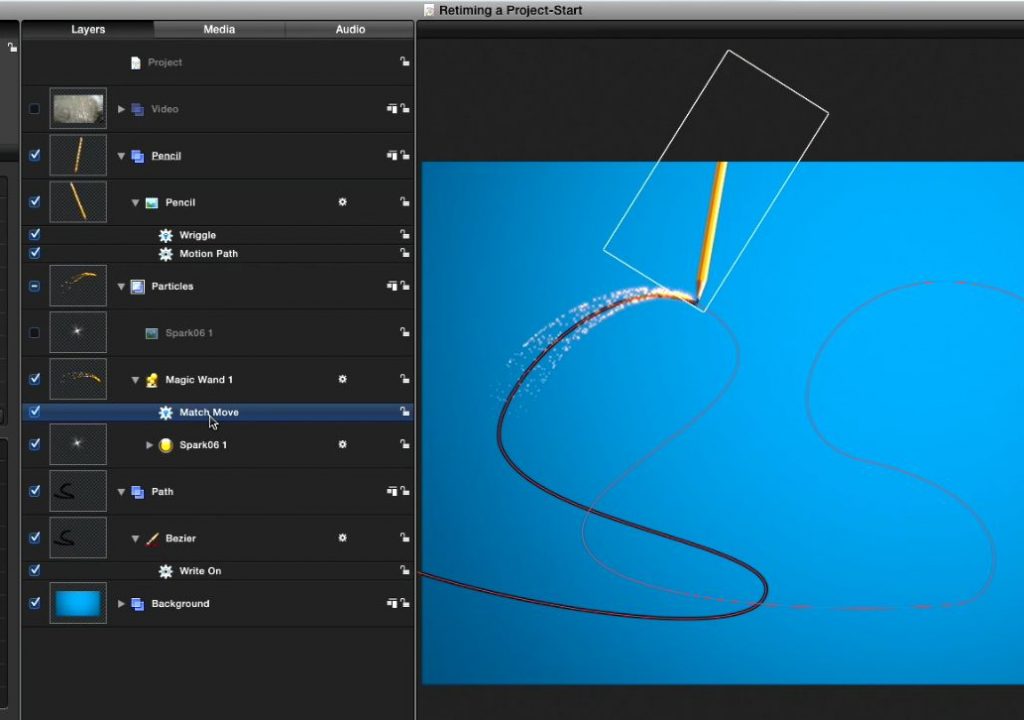
This week on MacBreak Studio, I show Steve Martin from Ripple Training some tips for retiming animations in Motion.
Now, retiming of video clips in Motion quick, easy, and quite a bit of fun: you can apply a constant speed change, for example 75% or 200%; you can apply a variable speed change by setting keyframes to create speed ramps over the course of the clip; or you can choose from a variety of retiming behaviors to create ramps and other interesting time-based effects.
If you’ve animated an object with other types of behaviors, you can retime that animation simply by trimming the behavior’s duration. If you used keyframes, you can adjust the spacing between the keyframes to speed up or slow down an animation.
But what if you have multiple animated parts, perhaps mixing keyframes and behaviors, on multiple layers and groups? Sure, you could proceed to go layer by layer, adjust each object independently, but that can be time consuming and quite difficult.
Or you might try putting all your elements into a single group and retiming the group – but you’ll discover that those nice retiming options aren’t available, and applying a retiming behavior to the group doesn’t work.
Enter clone layers: a powerful way of turning a layer or groups of layers into a single copy. Once you clone an animation, you can using all of the great retiming options available for a video clip. It won’t work on certain types of 3D scenes with animation cameras, but for everything else, it’s a great solution. Check out the video above for all the details. And if you like this information, you might enjoy Getting Started in Motion 5.


