https://www.youtube.com/watch?v=azF_OaYuxc8&feature=em-subs_digest
This week on MacBreak Studio, Steve Martin from Ripple Training demonstrates a very interesting editing technique in Final Cut Pro X he terms “reverse favoriting.”
The scenario: identifying good sound bites in a long interview clip.
The problem: while in List view in FCP X, it is not possible to zoom into a clip. So, if you’ve set a range based on a short sound bite in a long clip, you can’t really see the range. Now, is that really a problem? After all, you can still favorite that range by pressing F, or you could switch to the Filmstrip view and zoom in (albeit with the clip “wrapping” in the window). However, it isn’t that easy to adjust the range.
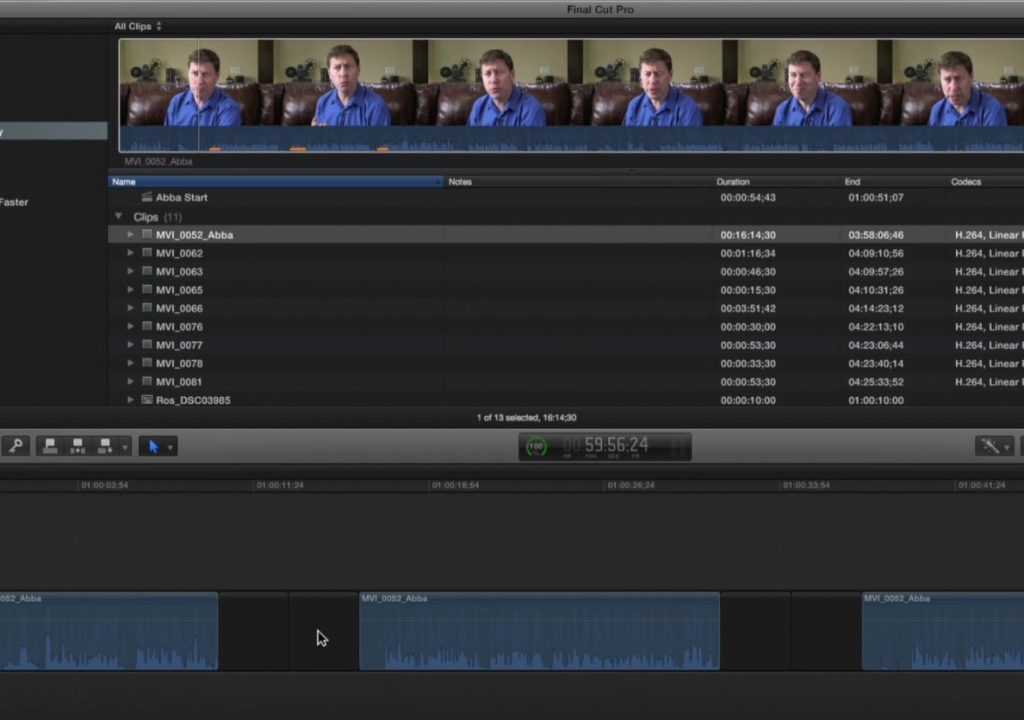
The solution: rather than setting ranges in the Browser, Steve edits the entire clip into an empty project. Then he creates his sound bite ranges by inserting gap clips: so instead of pressing the “i” key to set the in point and the “o” key to set the out point, he presses “Option-w” for each, which visually isolated each sound bite in the timeline. Not only that, it makes it easy to zoom in and adjust the sound bite range without affecting the surrounding clips.
Next, he selects all the parts of the clip he doesn’t want (holding down the Command key to make these non-contiguous selections), leaving just the soundbites and the gap clips remaining.
Now for the interesting part. As long as Show Used Media Ranges is enabled (from the View menu), if you click the disclosure triangle for the clip in the Browser, every sound bite will appear beneath the clip tagged as “Used.” If you then select them all (using the Shift key) and press F, all these clip ranges will be made into favorites (in addition to being tagged as used)!
You can then rename the favorites based on the content; use them in a new empty project, or work with the clips in the current timeline. It’s an unusual workflow that might make sense for you – all good details in the video above. If you want to learn how to edit more efficiently in Final Cut Pro X, check out our Warp Speed Editing tutorial.

