BCC 10 is the biggest step forward for visual effects in your Media Composer NLE in the last 10 years.
This was an interesting review to sit down and write. I think a common problem for many plug-in companies is that they start to run out of steam, once you hit version 7 or 8 of an effects package. Let’s be honest, there are only so many different effects that you can add to a package that an editor would actually use, and then what do you end up having? A plug-in bundle that as the versions start mounting, becomes stale, and way too costly for what you end up getting. And worse, it’s not even worth the upgrade price. Boris FX was a company that could have very easily fallen into this trap, but they did something smart a few years ago. As much as the company is called Boris “FX”, with the “FX” being what most people associate them with, they stopped being about “just the FX”.
I did a lot of research for this article about the update history of BCC to pinpoint where I thing this shift in thinking started to happen and it looks to me like it happened around BCC7. BCC 6 was a huge release for Boris FX, as it brought a huge component/selling feature to the package, and that is the 3D Objects category which included Extruded EPS, Extruded Spline, Layer Deformer, Type On Text, and most importantly, Extruded Text. Outside of Marquee, this is really the first time Media Composer editors had access to true 3D elements in their Media Composer timelines. Now, it was no longer necessary to export your clips to After Effects, to use on of the many 3D plug-ins available to compositors. Everything the editor needed could all be done with one package. I think this release was the fork in the road to either go left, and stick to the “status quo” for large effects bundles, or go right, and really redefine what a plug-in package should be. Don’t get me wrong. At this point BCC was an effects package that had some plug-ins designed to fix very specific problems (Chromakey/Smooth Tone/DV FIxer/Motion Key), and also had a ton of effects (glints, glows, etc). BCC 8 started to introduce some essential tools for editors, that really helped address workflow areas that were very time consuming to do, without the help of third party effects. BCC 8 introduced Beat Reactor, Video Scope and Flicker Fixer to name a few. Almost half of the new effects were “tools” as opposed to “effects”. BCC 9 included the FX Browser, Chromakey Studio, Magic Sharp, Lens Correction and some more enhancements to Pan & Zoom (another “tool” at your disposal”. Again, almost half the new features are tools, and not “effects”. So, where does that put us with BCC 10. Well, let’s see.
WHAT’S NEW
With the way Boris FX is taking BCC, it’s not surprising that the first three new filters in BCC 10 are all tools that every editor will find value in.
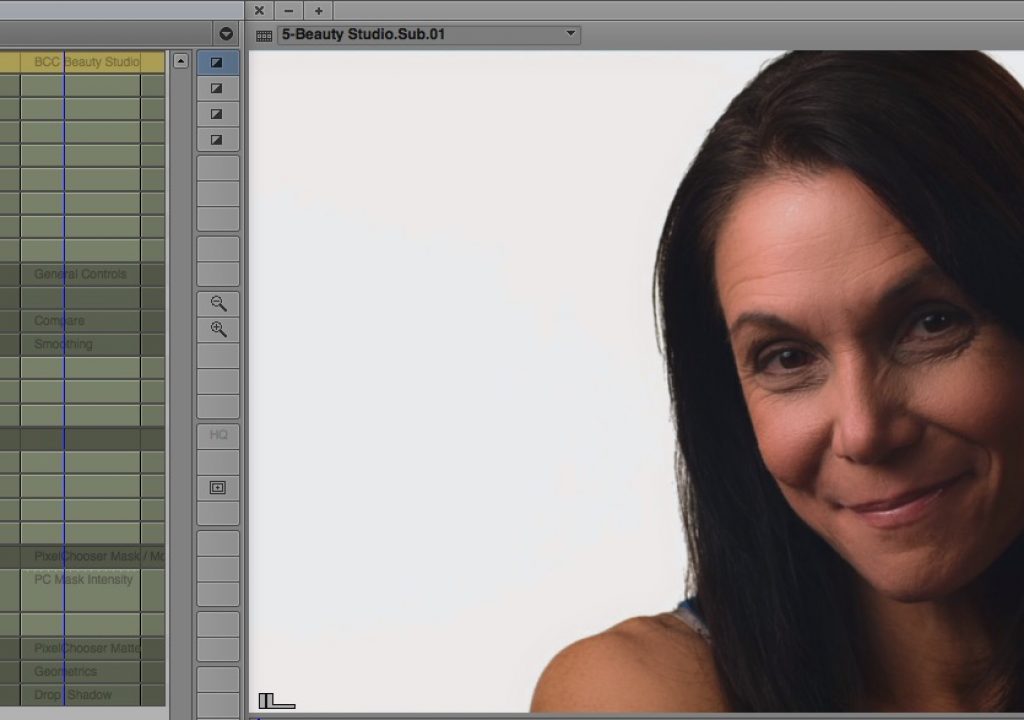
Beauty Studio
Now is the right time for this effect to be introduced into BCC with the move from HD to 2K/4K/UHD, lighting and make-up is even more important than it’s ever been, and sometimes what has been shot on set is just not good enough to get into your edit without some fix to the talent’s makeup, or you have the absolute opposite issue of shooting in UHD/4K, and the quality is too good that you want to soften things up a little. That’s where Beauty Studio comes into play. With the power of the Pixel Chooser, you can isolate specific areas of your talents face to get in and smooth the pores on your talents. Now that, of course, begs the question. Exactly how does the Pixel Chooser assist in this process. Well the Pixel Chooser (PC), at its core, is a matte creation tool (again, a tool) that you can have analyze the any of the different channels of your video (Luma, Red, Green, Blue, Alpha and even Key) to then create a matte, and only the defined areas in the matte will be effected in your final composite. Now, in a situation like where you have a light skinned actor/actress, with darker hair, you can simply leave the Pixel Chooser set to it’s default setting of Luma, and only those areas with the highest luminance values will be adjusted. But what happens when you run into a situation where your talent’s skin and hair color tones almost match? Well, that’s where Mocha comes into play.
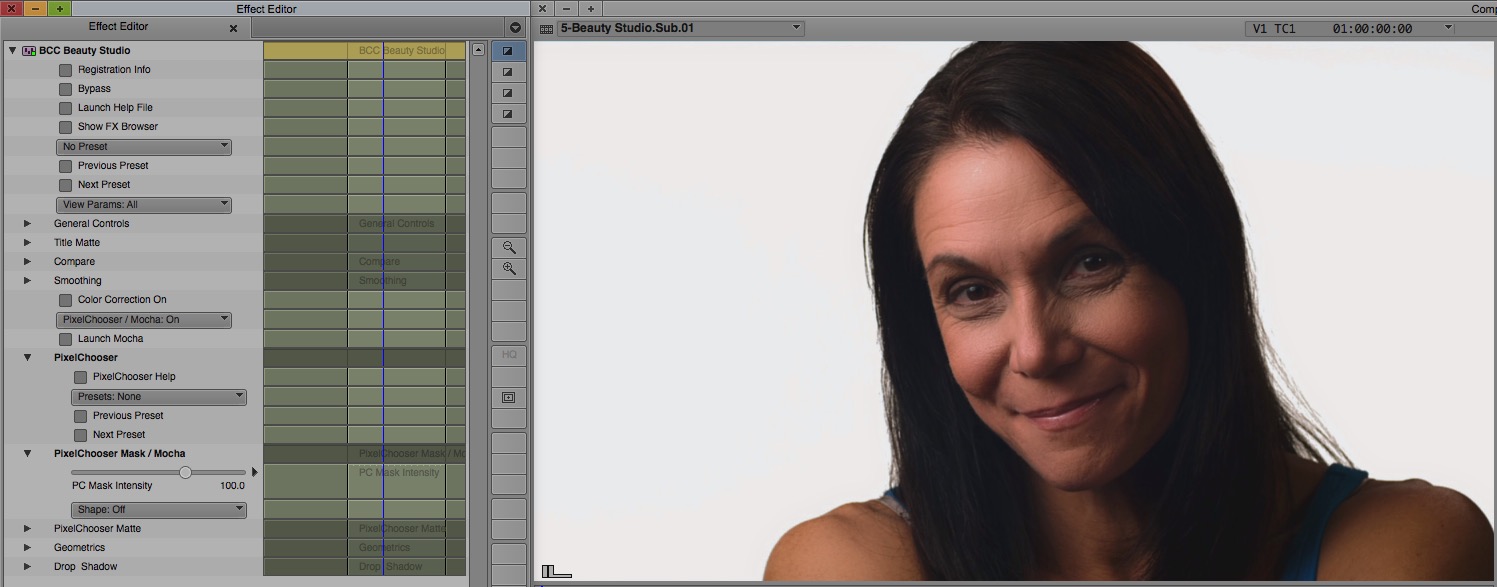
Mocha Mask Tracking Integration
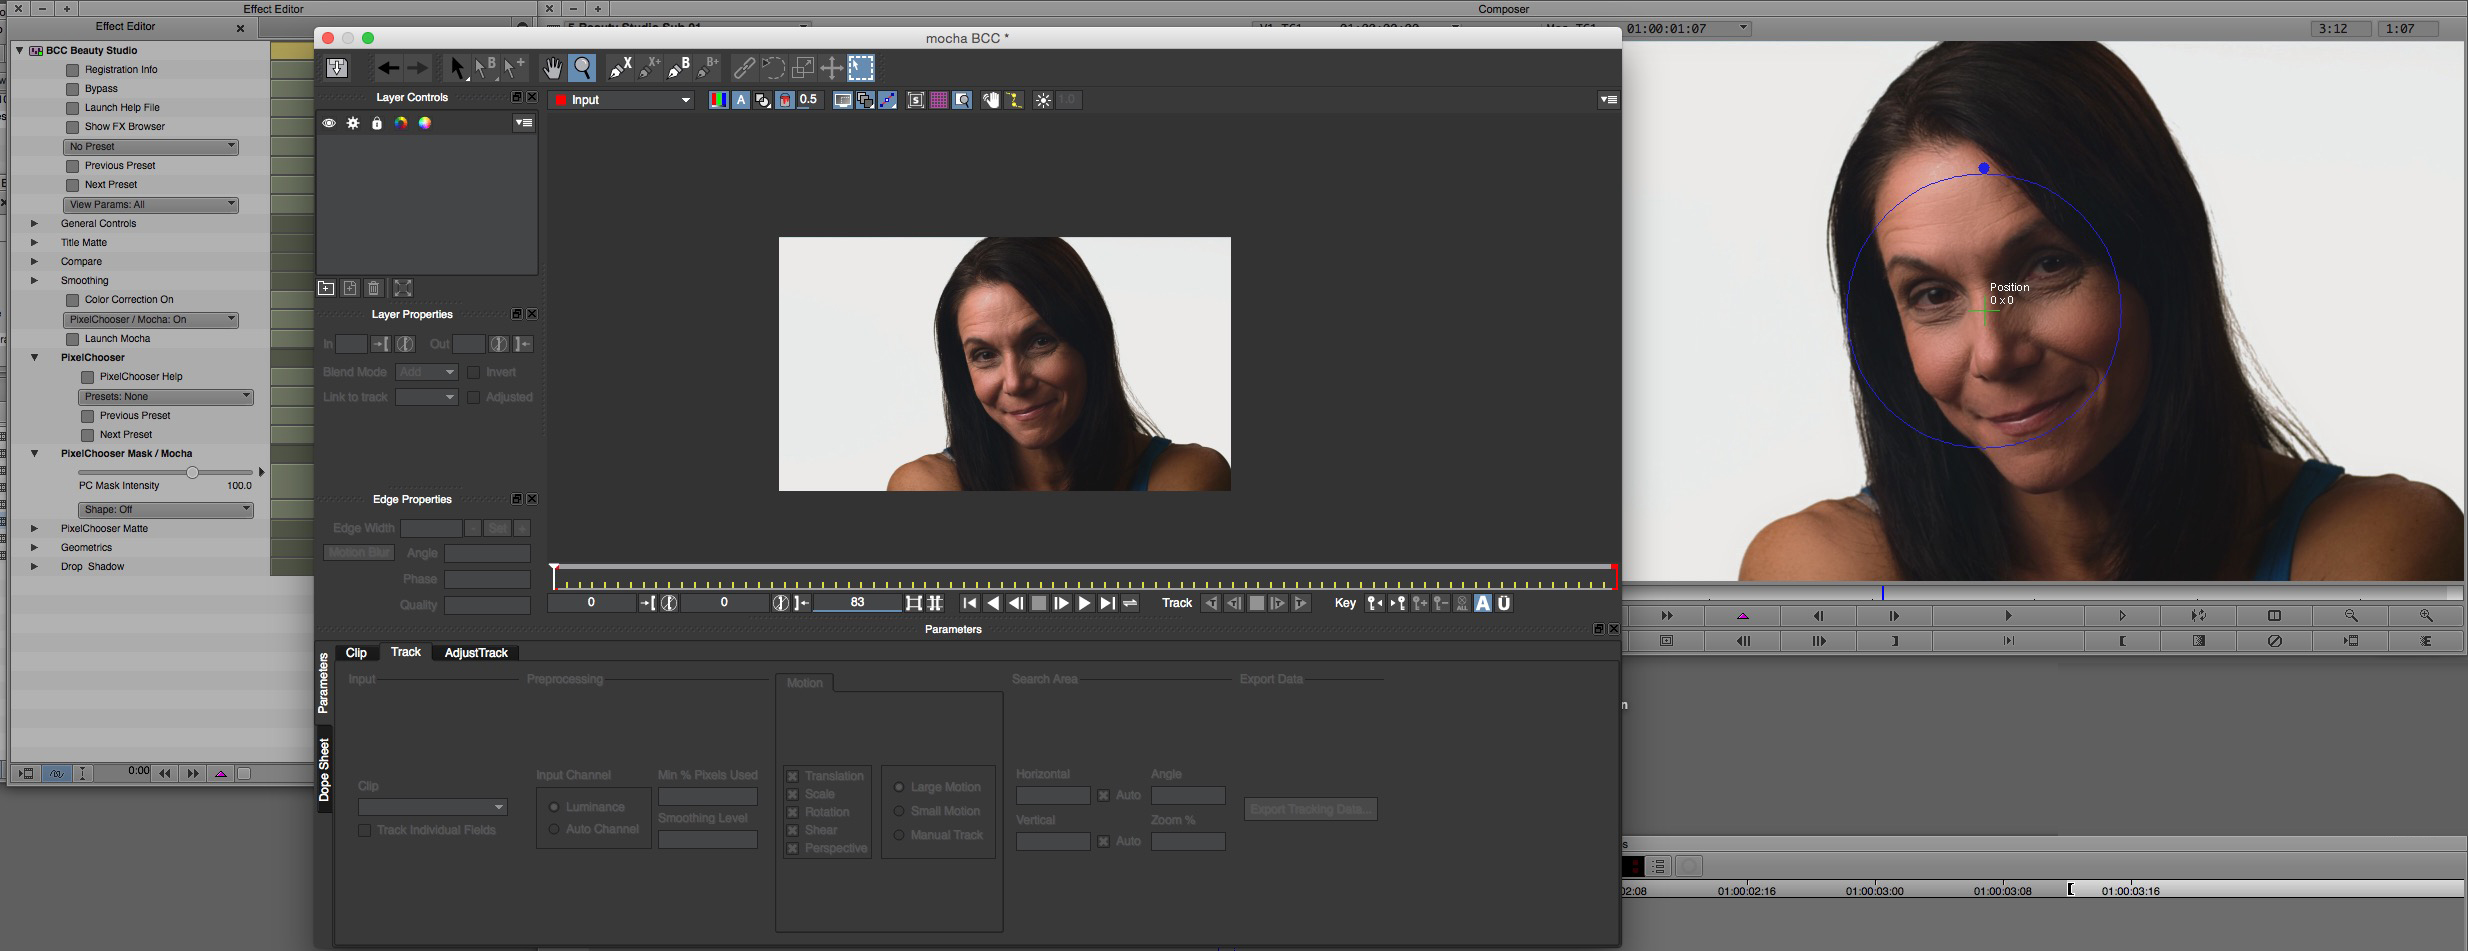
Unless you have been living under a rock, the huge news at the end of 2014/start of 2015 was Boris FX’s acquisition of Imagineer Systems, makers of the Academy Award winning Mocha Pro (and Mocha product line in general). The fruit from the tree of this acquisition has finally come to be, and that is that Mocha has now been integrated into the Pixel Chooser (PC), in BCC 10. Now most people think, “What the heck does that mean for me?? Well, let me give you an example. Let’s say you have a shot of 15 lit candles, and the shot is moving all over the place, and you want to add a film glow to just one of those candles. You could do this process before with the Pixel Chooser, but it would be a long, drawn out process of keyframing and masking that probably would have you throwing your hands up in the air shouting “I’LL JUST DO IT IN AFTER EFFECTS”. Well, that is no longer the case. Now, you can access Mocha directly from your Media Composer timeline, via the PC. All media is sent to Mocha via direct links to the media in your AvidMediaFiles folder on your hard drive, you can quickly track the area that you want to apply the PC Mask to, and once Mocha is done the track, simply close it, and save the Mocha Project, and this mask is now usable to isolate whatever you tracked, so now you can apply the effect to the specific area that Mocha tracked.
Now, you’re probably thinking “Big Deal, Mocha is available through the Pixel Chooser”. Well, it is a big deal, as the Pixel Chooser in integrated into almost every effect in BCC, which means you have access to the power of Mocha in just about any effect you apply to your timeline.
One thing that’s exceptionally important for me to point out is that Mocha Pro is NOT required when purchasing BCC10. Mocha comes integrated, so once you launch it from within the effect, you’re all set to go!
Boris’ purchase and integration of Mocha in to Media Composer is probably one the biggest leaps forward in effects for Avid Editors in the last 10 years. Hands down.
Dropout Fixer
Another thing I like about the switch in direction for Boris FX is that they are looking at all genres of editing, when it comes to designing their new effects. Dropout Fixer is no exception. It’s very rare that I, a commercial editor, ever needs to go back to to the archives (Beta SP) for footage, but documentary editors would be going to the archives all the time, and a lot of that old Beta SP footage has dropouts. In most cases, Doc editors would just leave the footage “as is”, as it too much of a pain to fix, or possibly even not fixable. Not anymore. In a matter of seconds you can get rid of most dropouts, with a few clicks of the mouse.
Remover
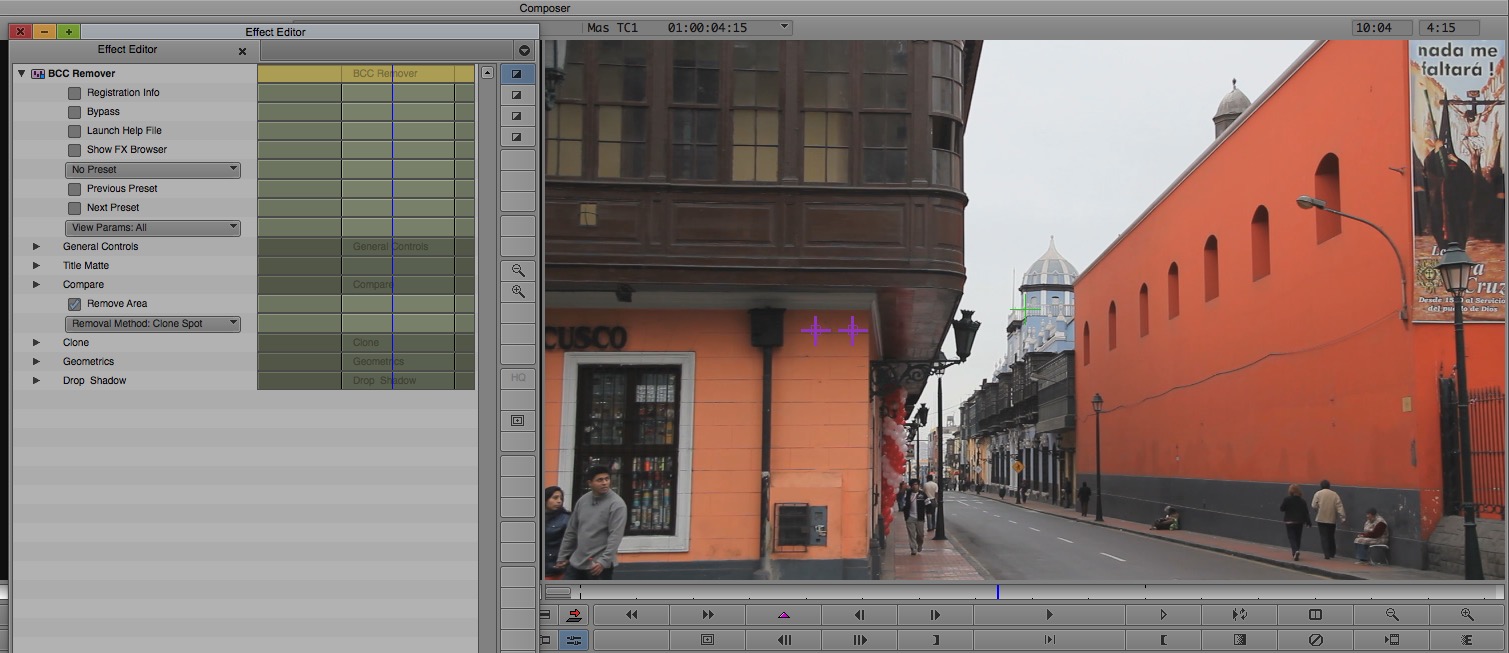
Remover is one of those effects that when you see how it works, you think to yourself that this effect was almost starting everyone in the face from Photoshop, and no one has stepped up to create the effect in an NLE until now. Remover is very simple. It works exactly like Photoshop’s Clone tool. Have a blemish on the screen that you want to get rid of? Simply select the area you want to remove, and then select the area you want to use to cover it over, and you’re done! The effect will clone one selection over the other selection to “remove” it entirely!
Reframer
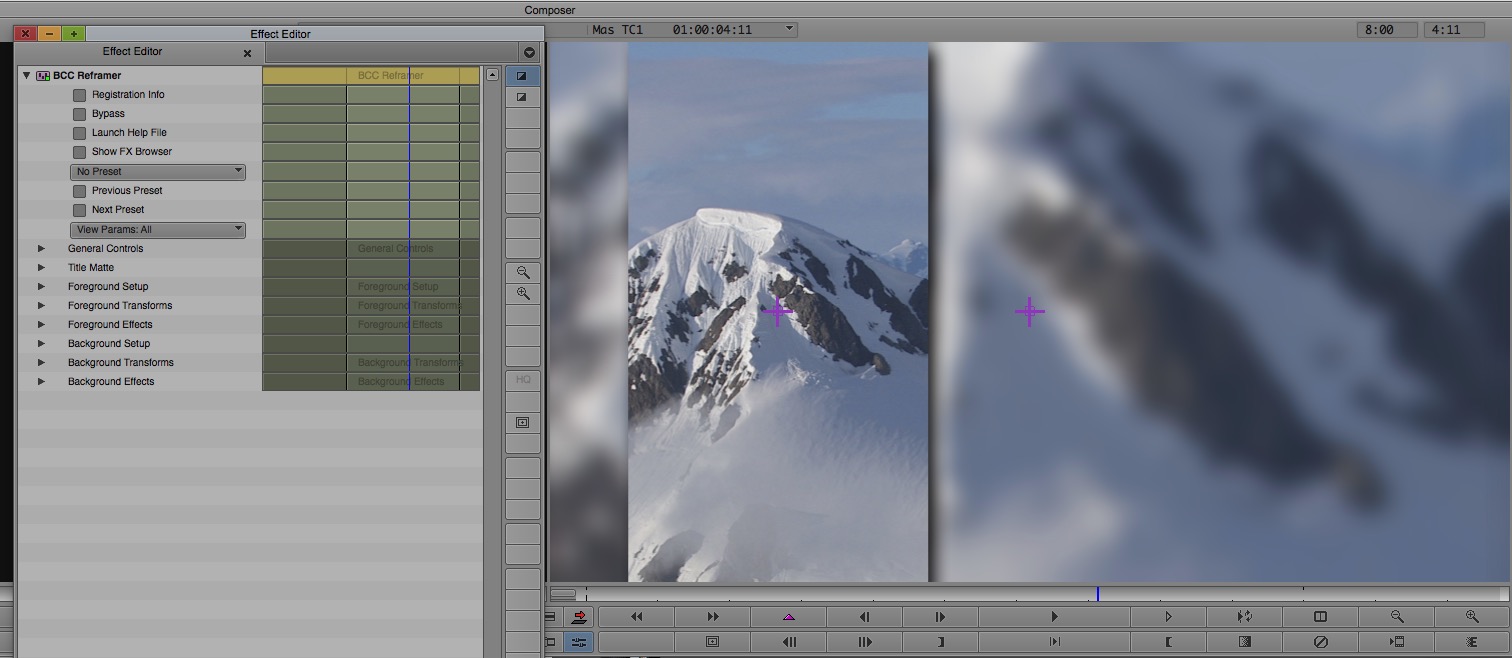
What is the single biggest annoyance for anyone who works in any aspect of television or film? It’s the dreaded “vertical video” that is shot on all smartphones today. We can’t get around it. What do we do with it when we have to include it in our timelines? We normally take the video, make a copy of it, blow it up, blur it, and stick it in behind the vertical video, so we don’t have the huge black pillar bars on either side of a necessary clip. To be honest, the process takes a while, but what if it didn’t have to? That’s where Reframer comes into play. It automates the process for you, so this way any time you have vertical video in your timeline, simply drop this effect down, and be presented with a stylistic option to the standard, ugly pillarboxing
Light Leaks
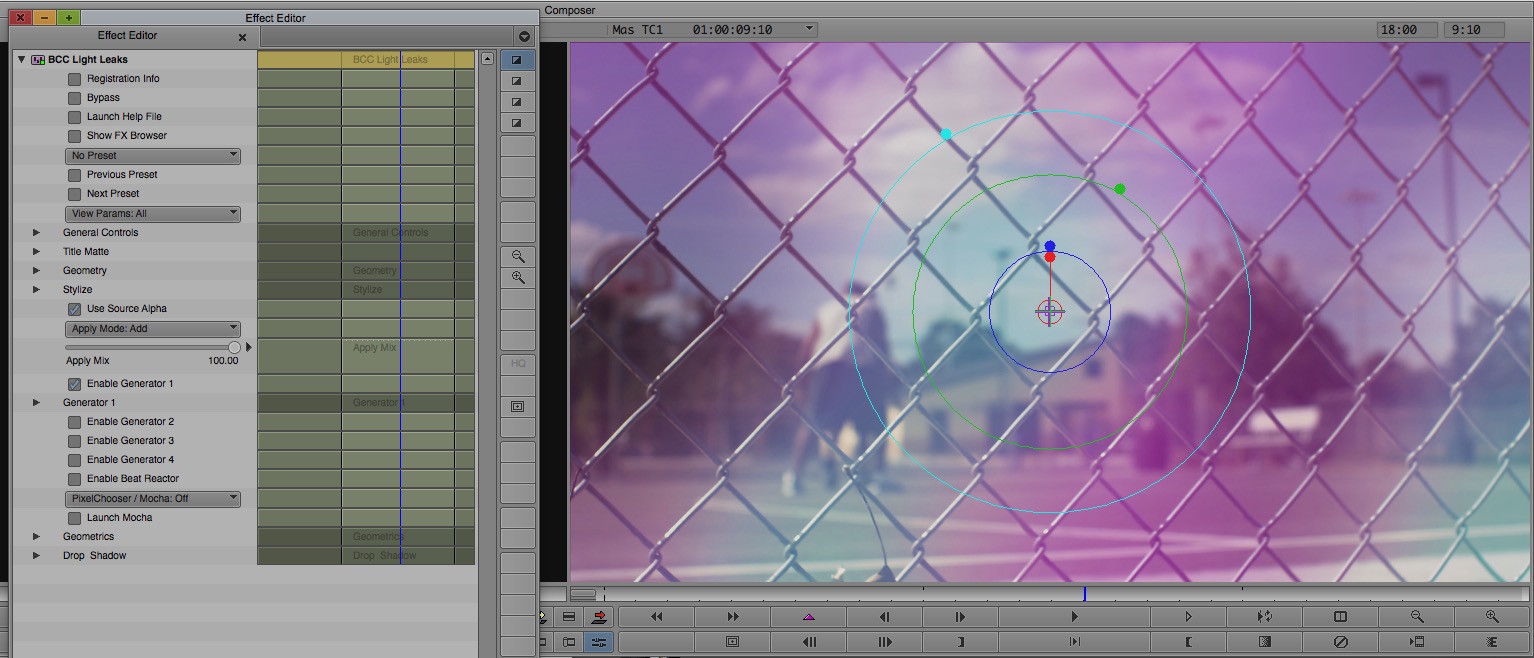
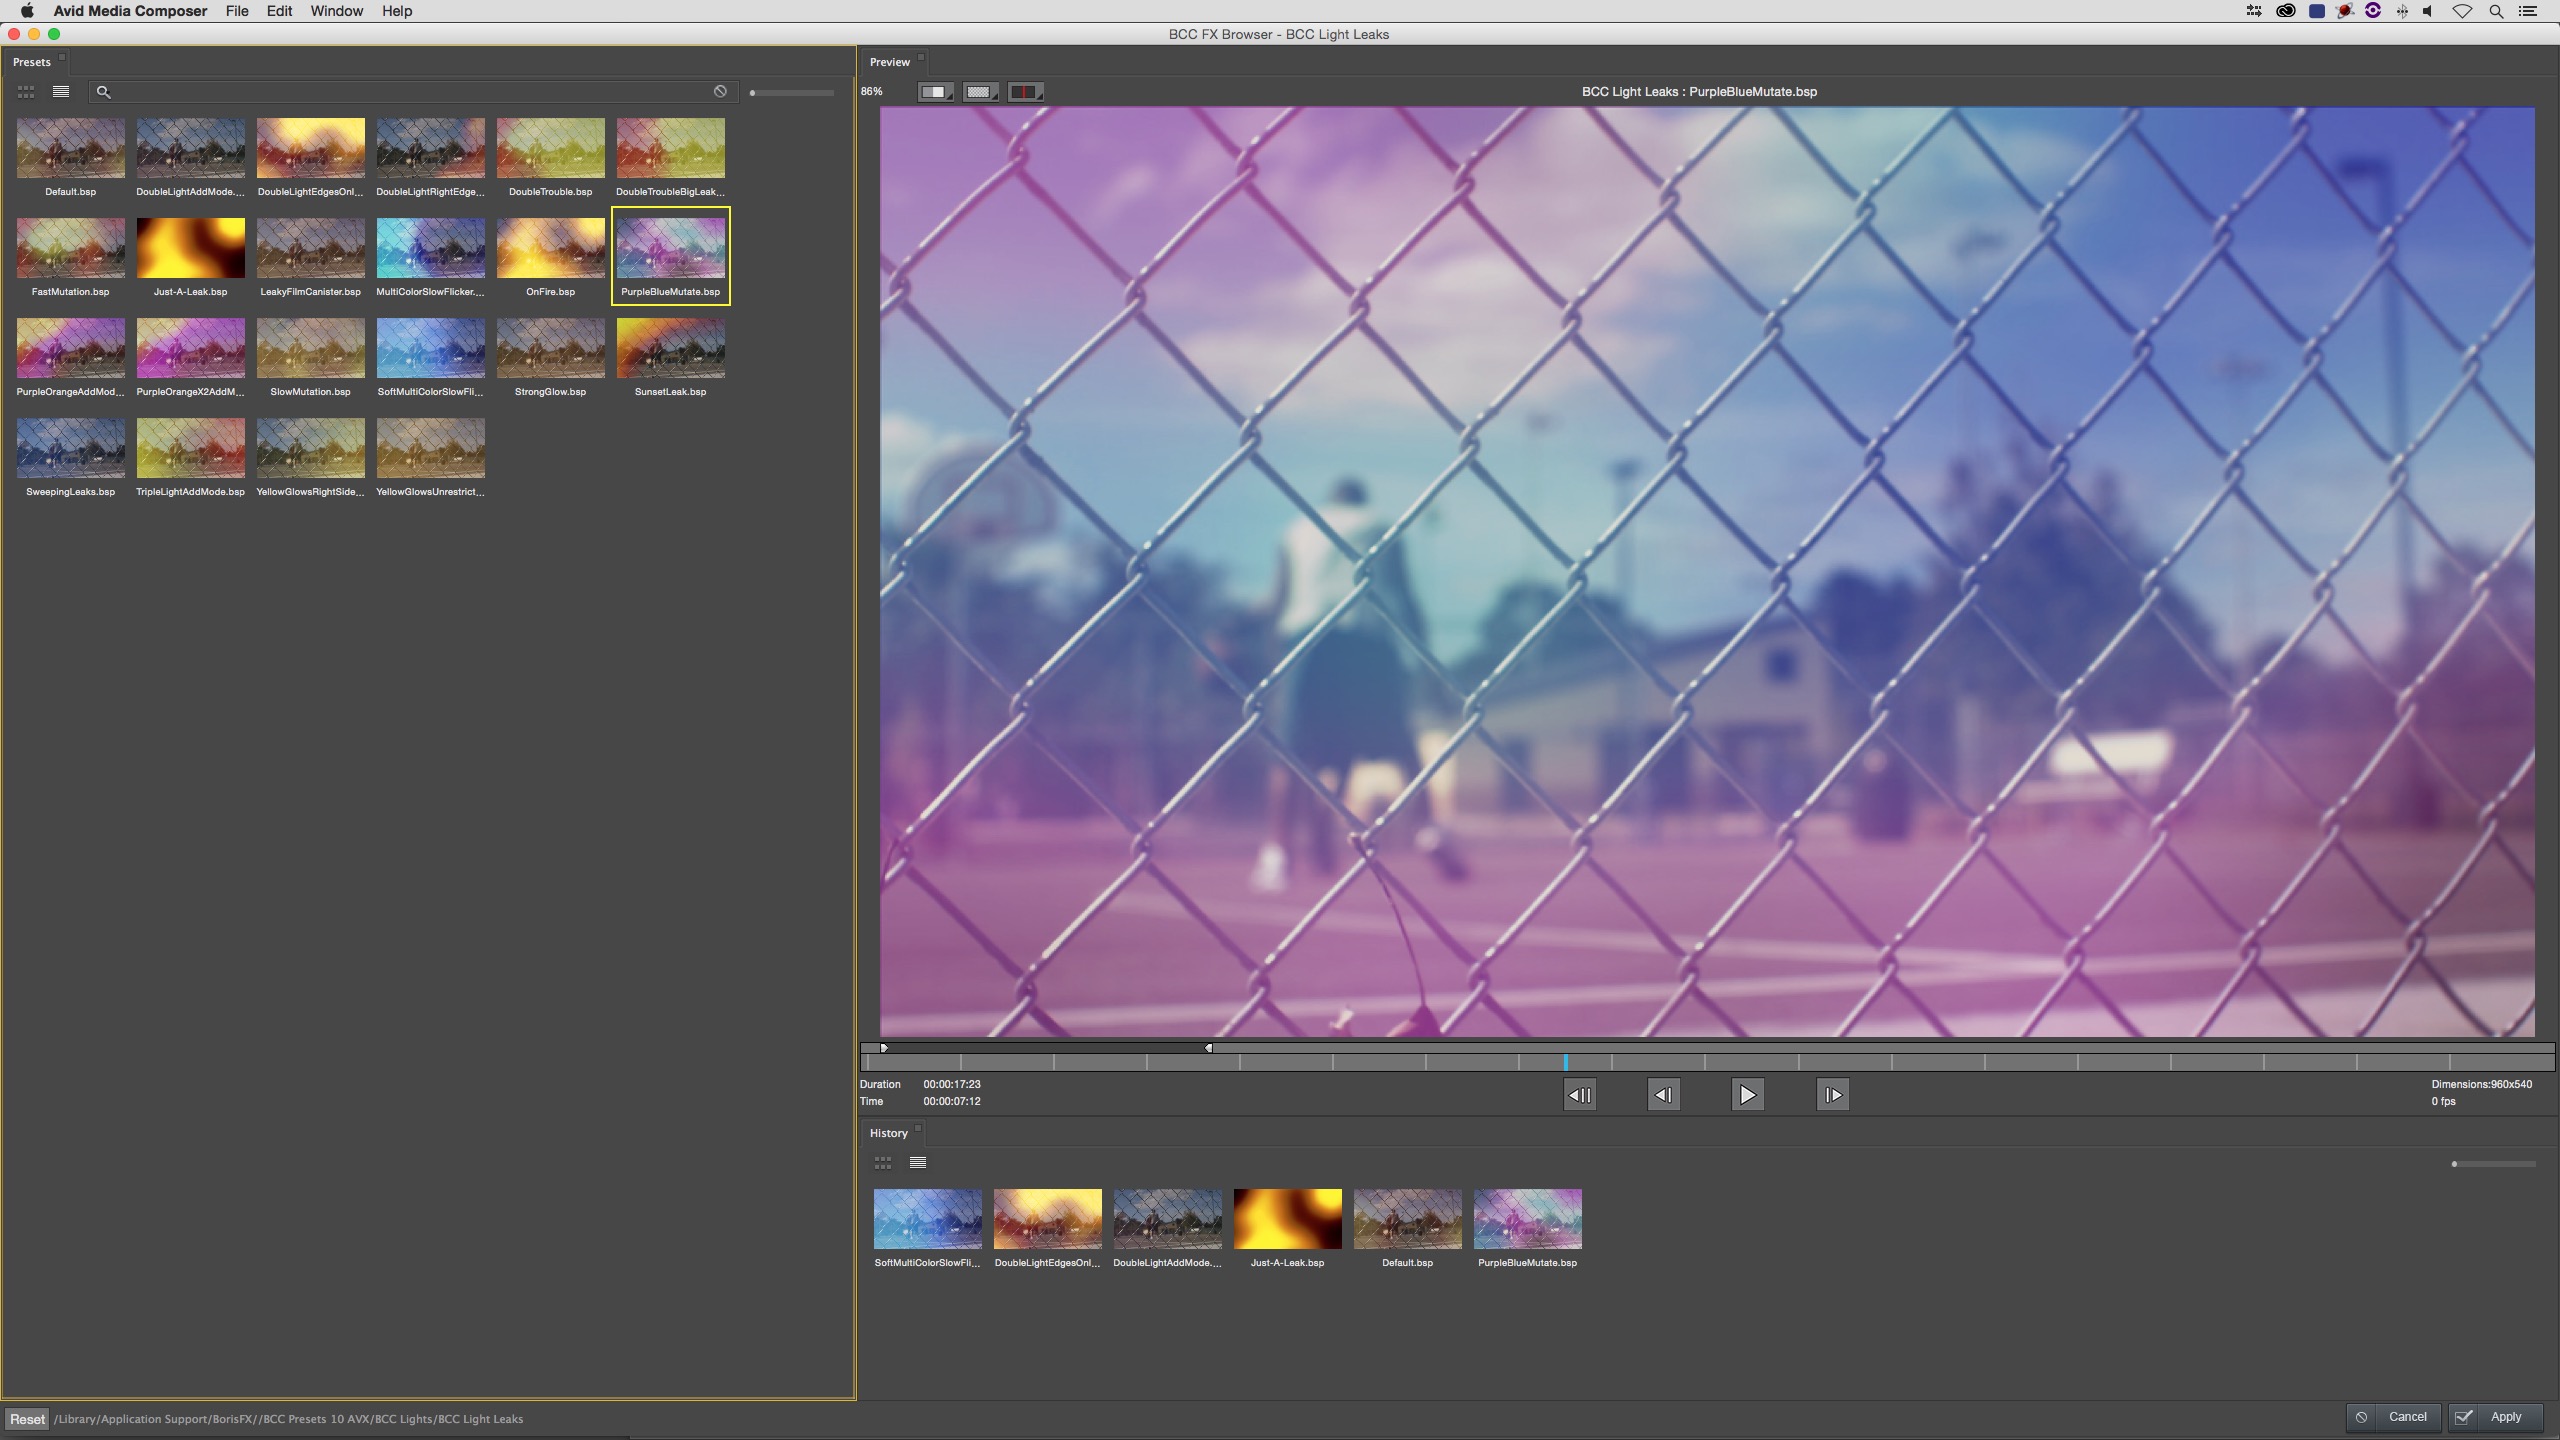
Light Leaks is one of those very interesting effects which is taking BCC, again, in another new direction. Previously, to get a look like this, you needed to purchase QT elements from third party design companies, and use them with BCC Composite, to get the desired look. Now, you can bypass the third party company all together, and have access to not only the effect itself, but all the great presets that come standard with the effect.
Video Glitch
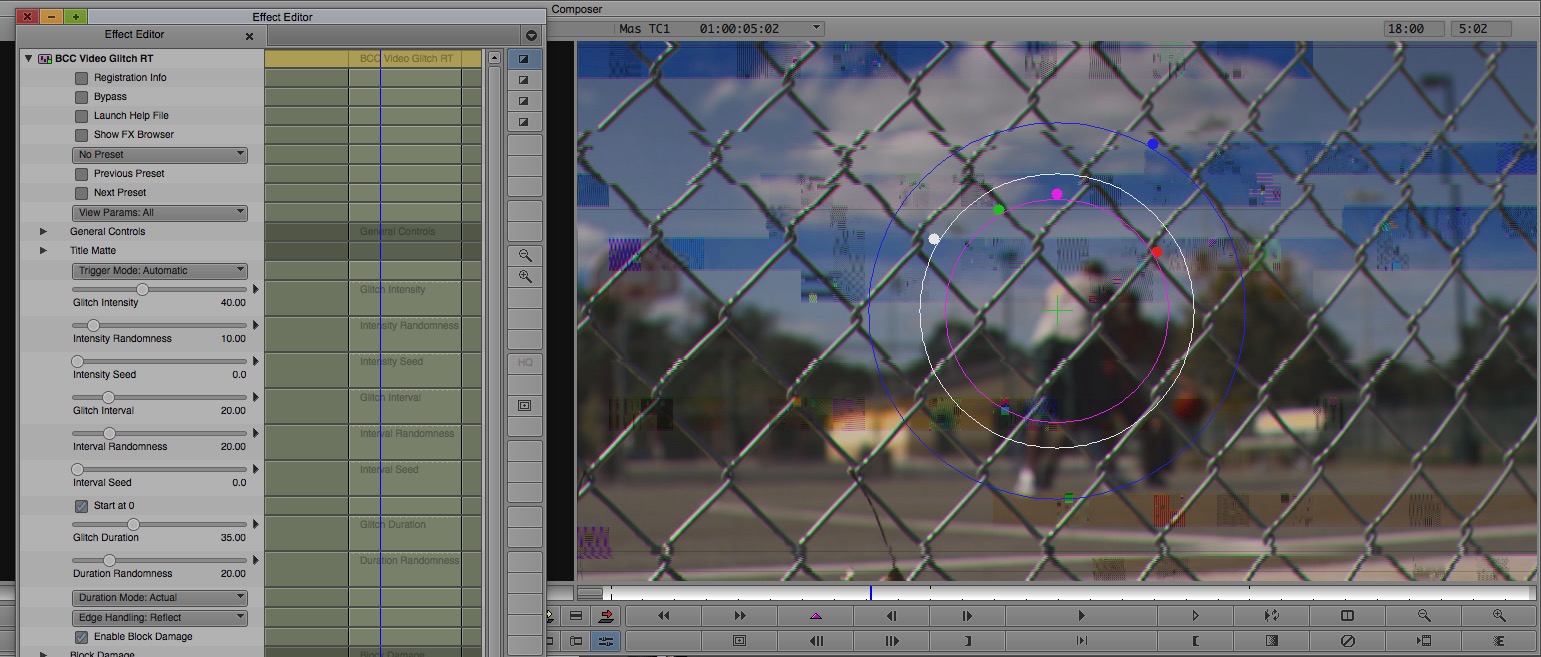
Video Glitch is an effect that has come a long way since I first demoed it back at NAB 2015. The first thing that stuck out about it is that the glitching is not a simple overly, again, like you would would find in a QT element you might purchase. The footage is being broken up, torn, and generally wrecked, and it’s an effect that I really liked, but the big problem I had with it back then was the fact that there was no way to make the glitching intermittent. It was just always there. Well, fast forward to today, where we have complete control over the glitching, how much, how often, and again, we’ve eliminated the need for any third party QuickTime elements.
Title Studio
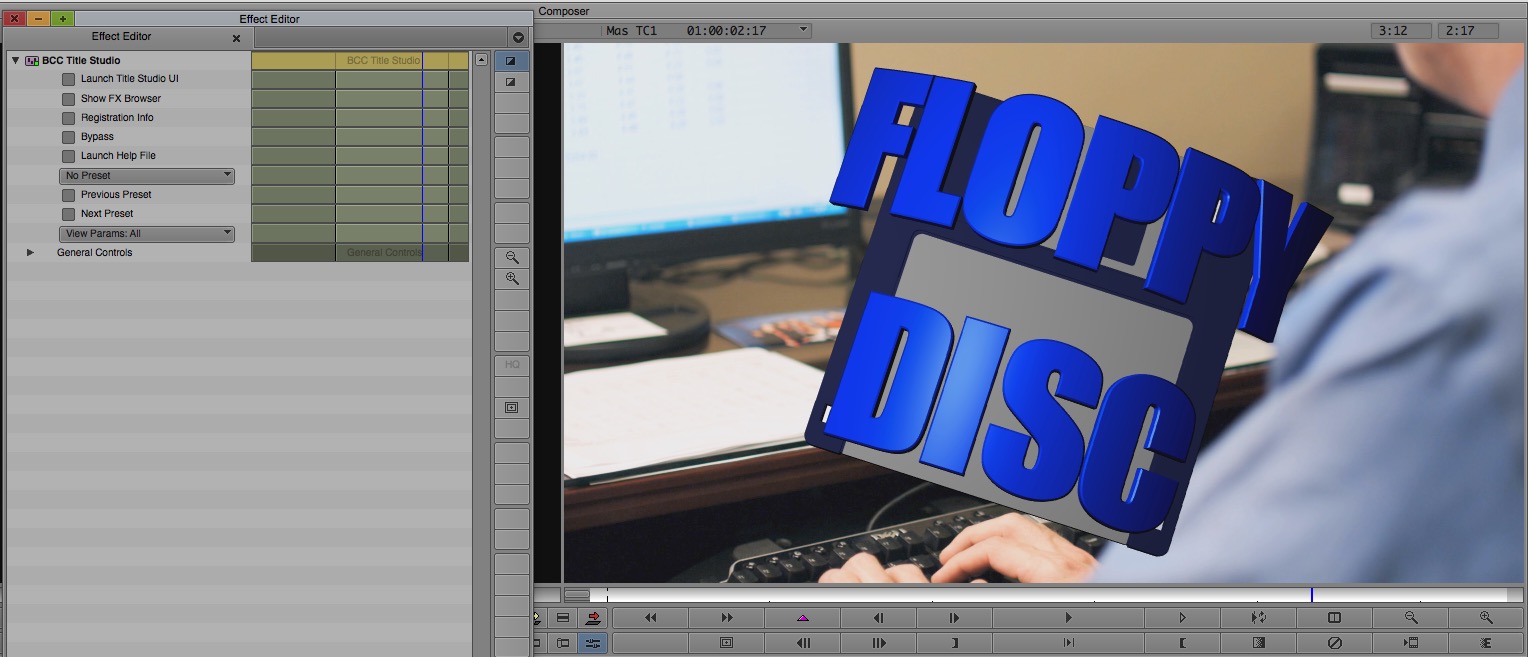
Title Studio is a big one. It has been in development for a while. With the move to larger than HD projects, Media Composer editors have lost the ability to use the Title Tool and/or Marquee Tool. With BCC9 we’ve been able to use the 3D Extruded Text, but it was not the ideal situation. What Media Composer editors need is a single tool that will not only replace the standard Title Tool, but also give editors access to a new tool that will handle both static and animated text, whether it’s animated lower thirds, path text, etc. That’s where Title Studio comes into play. Again, Boris FX is going for the “All-In-One” idea by calling this the Title”Studio” (much like Chromakey “Studio” and Beauty “Studio”), and that’s really what we, as Media Composer editors need. An all-in-one solution that we can use, instead of going to After Effects all the time, to create stylistic graphics, on a streamlined budget. Editors who have used Boris RED and Boris Blue will be very familiar with the interface, and the ability to create extruded text, as well as import a bunch of different 3D Model types (OBJ, 3DS, C4D), will have you creating amazing graphics until the cows come home!
THAT’S NOT ALL
To judge BCC10 based on only the new features is unfair, as Boris FX has spent a few years putting essential tools into BCC to not only take your work to the next level, but to also make the job as painless as possible. If you haven’t seen BCC in a while, some great “under the hood” features included in just about every effect:
FX Browser
The FX Browser was a welcome addition to BCC, and is included in every effect (integrated), as well as a stand alone effect. It’s purpose is very simple. The integrated version of the effect lets you see all the presets for any given effect, and try it out before you use it. It’s interface is simple to navigate and use, has not only a large preview window, but a history, so you can go back a couple presets, if you quickly flip through one you like! The stand alone version lets you sift through all the presets across all the effects in BCC if you have a picky client who really doesn’t know what they want!
Compare Mode
Integrated in every effect, as well as the FX Browser, Compare mode is pretty straight forward. You can drag a divider across the screen to see either a split screen or side by side “before and after” preview of the composite you have added to your timeline. Simple and straightforward.
Beat Reactor
You’re going to notice a trend happening as we go through these great features. All of them are integrated into the different effects inside of BCC. No need to apply something separately. Case in point, Beat Reactor. It’s concept is pretty simple. Give the editor the ability to have parameters move to the beat of an audio track. Great idea in theory, but how do you implement it so that this works the way that an editor would need it to. Well it’s simple. Take Fast Film Glow as an example. What are the three most important parameters you would need to animate to the beat of an audio track? How about the Glow’s Threshold, Radius and Intensity? You can animate each of the top three parameters separately in Beat Reactor, to get your animation to work exactly the way you need it to, and again, it’s included in almost every effect!
Integrated Geometric Parameters
Once you’ve created your desired effect there are many times, like when creating a stylistic title, that you want to take the image (title), and do a scale adjustment, to put it as a bug in the lower left or lower right corner. In many cases, this ends up being a stacked up effect, when ideally it shouldn’t be, and in BCC it isn’t. Again, included in many effects across BCC is the Geometrics option, which gives you control over things like Scale, Position, Rotation, Crop and many others that you can apply either pre or post effect to avoid you having to stack up effects to accomplish the same look.
Apply To Title option
This parameter is commonplace to veterans of BCC, but if you’re new, it’s a big one. We all know Media Composer limitations when it comes to adding effects to titles (effect trickles down to all layers below). Well, this problem has been solved, very simply by one button called, appropriately enough, Apple to Title/Matte. Now you can apply effects to elements (Titles or imported Matte Keys) in Media Composer, without having to worry about that annoying trickle down issue that has plagued Media Composer for years (and years).
Multi-Filter Stacking
Last, but certainly not least, I wanted to include this feature in here as well, as it’s another one essential to our workflows. After Effects users are accustomed to having to worry about the stacking order of effects. Meaning that the order that you have your effects stacked onto an element will drastically change their end look. Well, BCC has the ability to stack effects on top of each other and again, not only avoid the whole “trickle down” effect, but it gives you the same flexibility as a compositor, in deciding the order of effects which, in turn, decides the fine look of your composite.
PRICING
This used to be a bit of a bone of contention for Media Composer editors, as BCC was not cheap. At $1999, especially if you were a one man/woman show, this could be a deal breaker, but Boris FX has re-worked the pricing structure of BCC that will make all editors happy. The original $1999 for BCC alone has now become $1695 for an AVX license only. In place of the $1999 price tag is a new price category for Multi-Hosts. Meaning that for your $1999 you would get BCC for AVX, Adobe and OFX (Resolve, Hitfilm, etc). This is a HUGE, HUGE reason for editors who were sitting on the fence about purchasing BCC to push them over to owners, as most Media Composer editors use either After Effects, Resolve or both in their workflows, and for an additional $300, you can have access to everything across all of your applications.
So what does that mean for everyone who already has BCC9, and is looking to upgrade to version 10? No problem! To upgrade one seat from BCC9 to BCC10 Multi-host (AVX/Adobe/OFX) is $695. To upgrade to just the AVX version alone is $595.
And last, but certainly not least, we have another new option with BCC10, and that is the rental option. That’s right, Boris FX has a subscription option that runs at $595 per year for the Multi-host license. A great way to break up the payment over a longer period of time, assuming your budget needs you to do so!
The new pricing structure not only makes it easier to justify your purchase, but replacing the original $1995 price tag for just the AVX version with the option to get all the host applications for the same price, makes that option a no-brainer, and having the option to upgrade from any previous version of BCC to the Multi-host license for $695 will give editors using BCC8 when it was bundled with the Symphony option of Media Composer absolutely no reason not to get current!
PROS
- 230+ filters/2500+ presets
- Mocha Tracking integration
- Amount of integrated tools is amazing
- A tool for almost every editorial problem you might run into
- New Pricing structure has an option for everyone
- Now not only 3D Extruded Text, but true 3D models in Media Composer
- $695 per year rental price works great for freelancers who can’t afford the $1695/$1995
- You will easily use this bundle multiple times in every project you work on.
CONS
- Honestly………..none that I can think of
To be honest, there are really no downside that I can come up with as to why every editor, now more so than ever, should have BCC as part of their workflows. If you’re looking for a toolbox that’s always there to fix issues you might run into in your edit, BCC is your tool. Looking to add style and flair to your edits? BCC is your tool. There’s nothing left to wait for. The time is right and the price is right. BCC should be your tool of choice for all your effects needs inside of Media Composer. For more information about BCC10, check it out at www.borisfx.com .
To keep up to speed when new Media Composer tutorials are released, follow Kevin on Twitter @kpmcauliffe, send him an e-mail at kevinpmcauliffe@gmail.com, or subscribe to the YouTube Channel to stay up to date on new tutorials each week.

Filmtools
Filmmakers go-to destination for pre-production, production & post production equipment!
Shop Now