Camera technology is getting better and better; 6K, 120fps, Full Frame, HDR capable, “Netflix Approved” cameras are almost standard these days. You pretty much can’t go wrong with any of them. At the same time, filmmakers seem to be fighting against that leap in image quality in search of the enigmatic “film look”. I personally have a lot of opinions about the so-called “film look” (big shocker there), and we all have hopefully read and watched Steve Yedlin’s diatribes on the subject via his website, but generally it seems what people are looking for are imperfections that “prove” that what you’re seeing is film. In the same way that the “VHS or DV look” that is, hilariously, becoming more popular these days is essentially the presence of scan lines and washed-out colors, the “film look” primarily seems to be thought of as having the presence of grain, halation, bloom, and weave. Since “perfect” footage, whether it be film or otherwise, can look essentially indistinguishable from modern digital and vice versa, we seem to want to highlight the inherent and potential faults of any medium to elucidate the fact that what you’re seeing is, presumably, that medium. It’s my belief that in our ever-disposable digital world, where everything is here one second and gone the next, we’ve become romantic about things that have endured, or come from “the before times”, and one of those things is film. If we have a film or video that was or looks like it was shot on film, psychologically (in my opinion) we seem to hope that it will imbue that piece of work with gravitas since it was made, or looks like it was made, with a medium that endures and is more substantial in some way than something more “modern”.
If you dig deep you can find colorists and DPs talking about the differences in color response between film and digital, but after a certain point applying that knowledge is really just for you, as the average audience member doesn’t and wouldn’t know the difference. The majority of people wouldn’t be able to look at a still taken from a movie or a photo taken on film and call out exactly what film stock it is without extra context clues. For instance, we know Cinestill just by virtue of the fact that the anti-halation layer is missing and therefore there’s a ton of red halation around point sources and the edges of over-exposed areas. One can guess whether or not a photo was shot on Portra pretty easily if you’ve seen enough of it, but also because it’s by-and-large the most available and popular film to shoot. Stuff like that.
Now, I just watched Demolition Man last night -shot by Alex Thompson in 1993- and none of the aforementioned defects are present, but it still carries a certain look that digital has yet to replicate (which comes down to a large number of things, not just the fact that it was shot on film). You could honestly pick a movie off your shelf and I would bet that you don’t see any intense grain, halation, or weave because usually filmmakers were trying to get away from those aberrations. But that was then and this is now, and today we have Dehancer!

Dehancer is a plugin that easily allows you to add all those delicious defects to your footage, as well as simulating 60 different films, both motion picture and still, to get your footage looking exactly as nostalgic (or not) as you’d like.
I’ve spent a ton of time on my own figuring out how to replicate these looks in Resolve over the past couple years, some of which are kind of elaborate to execute, and what’s nice is that this plugin does all the heavy lifting for you in one node. Plus you don’t have to “dehance” your footage, you can use it simply as a grading tool if you’d like, utilizing it as a kind of beefed-up Color Space Transform and look applicator all in one. I’m actually planning on testing a few of their film stock emulations against the real thing in a sort of “part 2” of this review at some point in the future, but for now I can say that they all do look quite nice, and overall the program does an excellent job of giving your footage that aforementioned ”image in our mind” of film.
The plugin is very simple to use, conceivably allowing you to do an entire grade on one node. You’ve got your input (camera or gamma/color space), film simulations, exposure and contrast controls, a kind of printer light set of sliders, grain control, halation and bloom parameters, vignette control, and breath and weave adjustments. You can enable or disable any of those effects to fine-tune the look you’re going for with a simple toggle under each. As far as camera support, right now they’ve only got the Alexa, C200, M50, Mavic Air, Mavic 2 Pro, Xenmuse X5s & X7, the X-T3, Mavo LF, GH5/S, RED Helium & Monstro, the Sony A73 and A7R3. I’m looking forward to more cameras being supported (especially since I have a C500mkII) but if you’re an Alexa or current RED shooter you’re in decent shape. At least my X-T3 is supported!
My super basic workflow with the plugin has kind of been to have a node before Dehancer that does any base or creative grading (saturation, contrast, etc), just as personal taste, and then in the Dehancer node I’ll adjust the exposure comp, pick a film profile (I dig pretty much all of the motion stocks, favoring the 5219 and Eterna emulations, but I’ll get to that in a sec), dial in the Tonal Contrast, usually jack up the Color Density to 100, color correct the image using the “Color Head” tab (sort of replicating printer lights), dial down the grain to taste (depending on the shot it can be a little heavy in my opinion), adjust the halation so it’s subtle but still present, and then usually add some vignette. I’ve found I don’t tend to use the Bloom or the Breath and Weave parameters just because they kind of “take me out of it” if that makes any sense. They dehance the image too much. If I want bloom I’ll use a filter, I don’t want my image to look like it’s been shot on bad stock (breath), and weave is an artifact of projection usually and you’re more than likely watching my stuff on the internet.

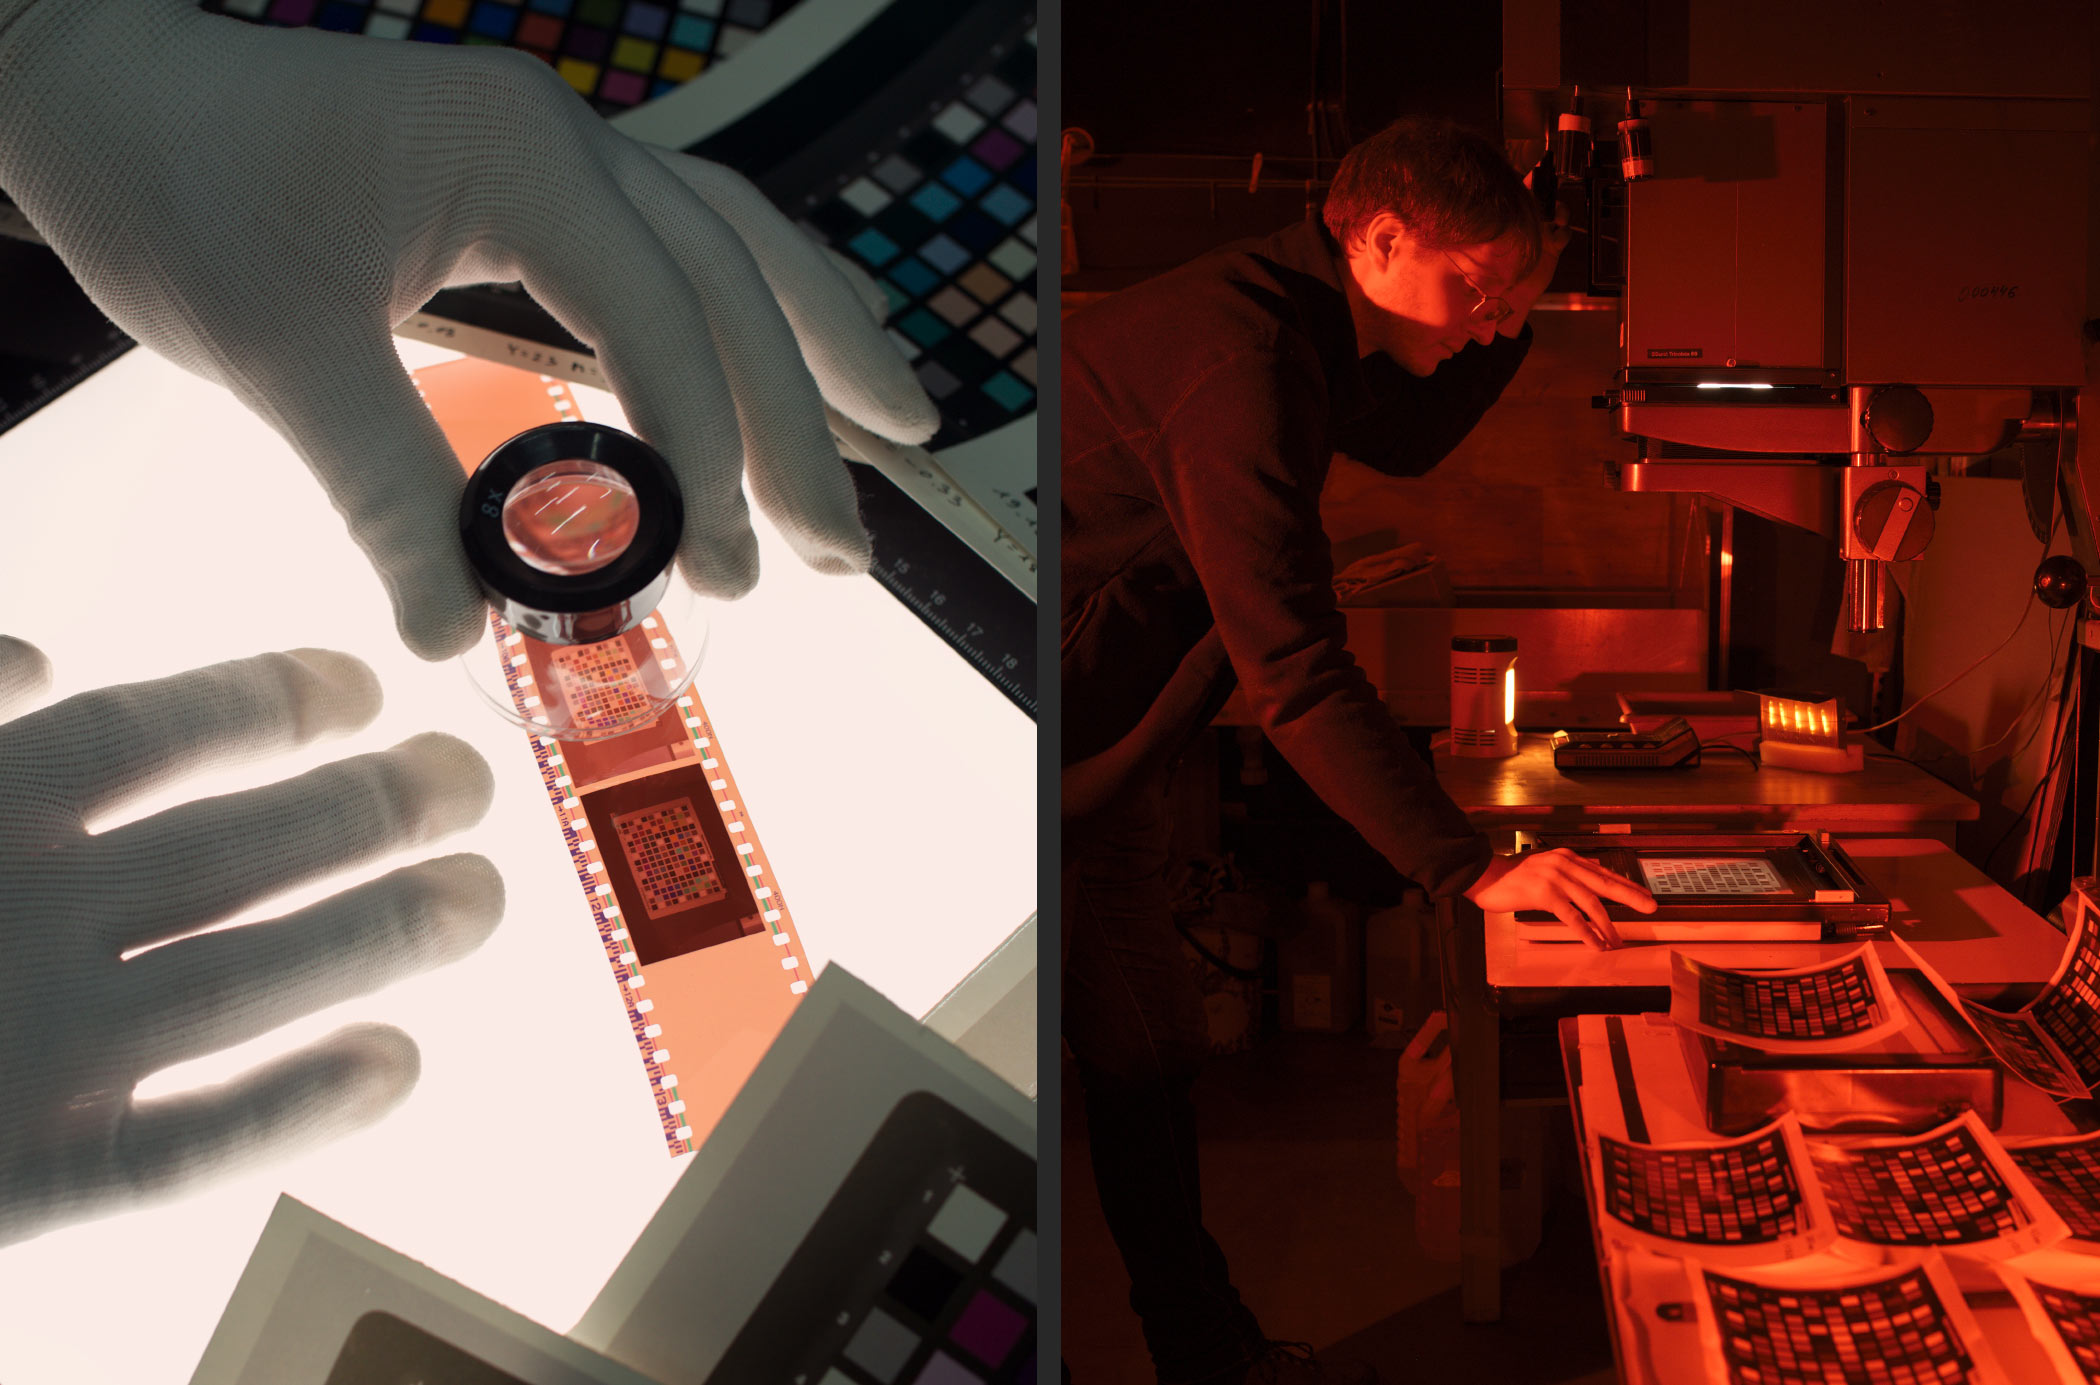
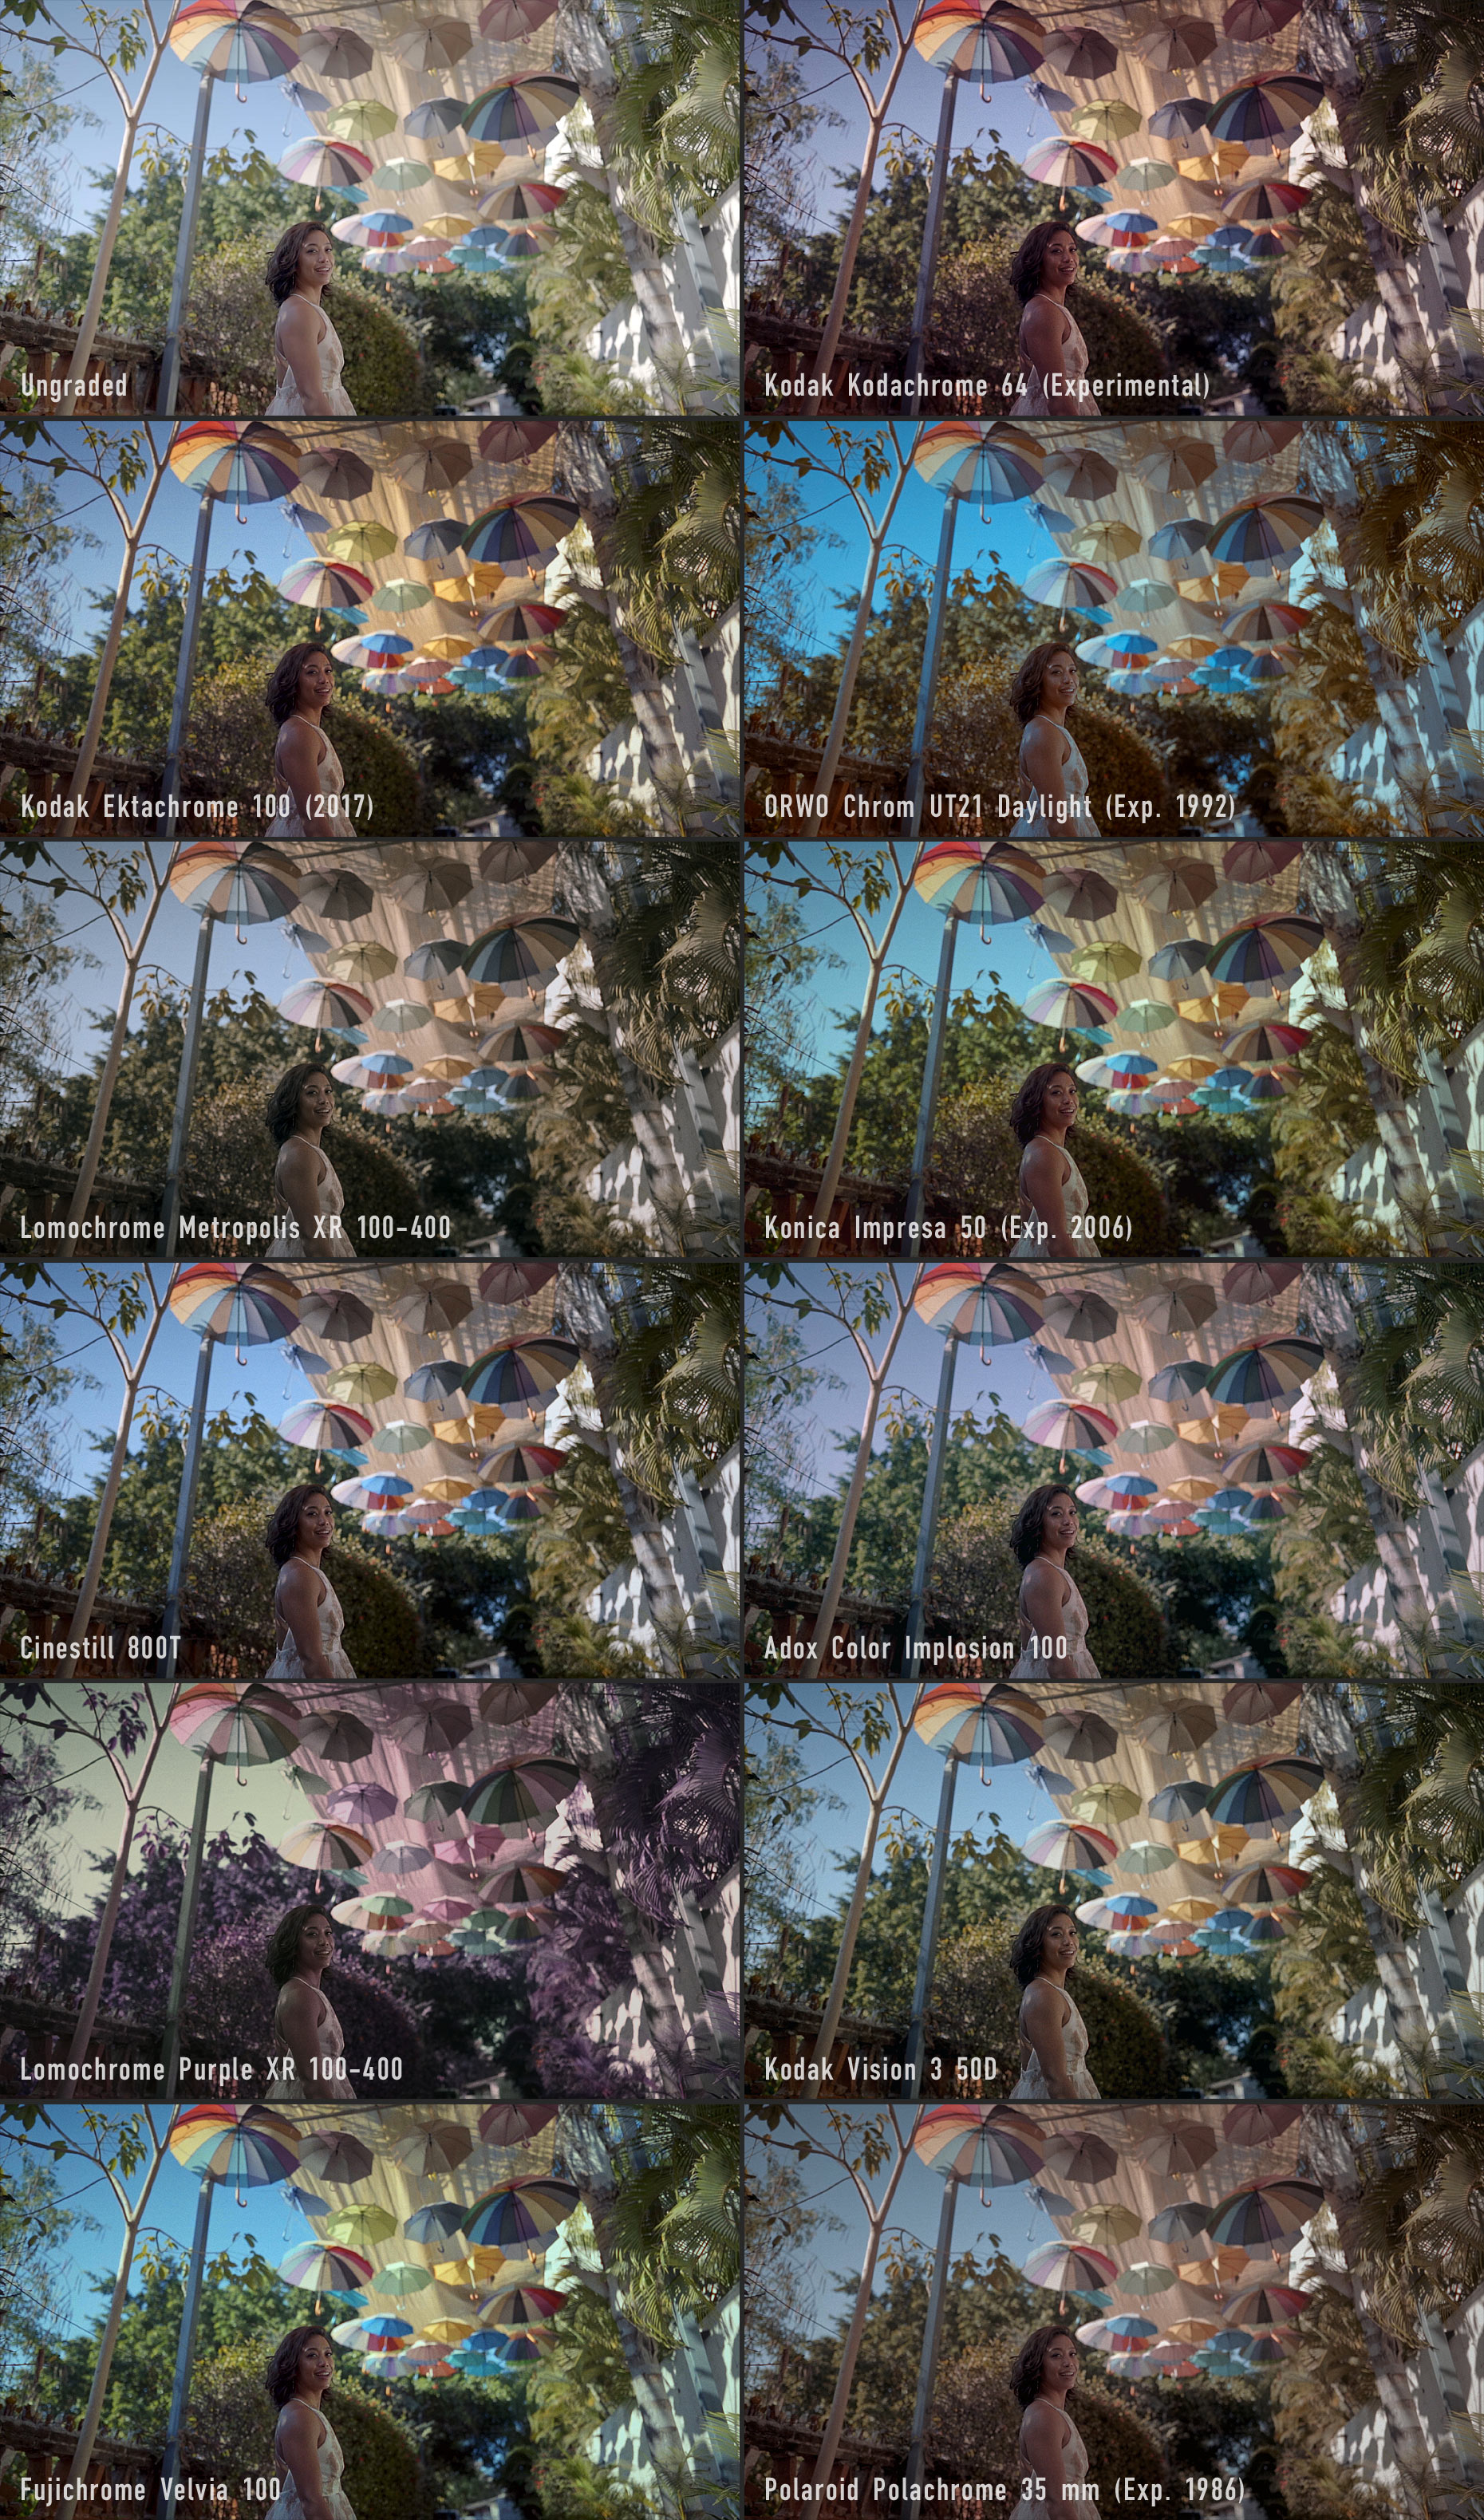
You can read about how Dehancer creates their film profiles (going so far as to sample under and over exposed versions of each stock so you can creatively decide exactly how your image should look, if you’re attempting to replicate that) but simply put it seems that they’re doing their due diligence and really putting in the work to make these emulations accurate. All of the profiles are good, handling skin tones, contrast, blue skies, greens, all that stuff in different ways, but I did find a few profiles that I just couldn’t see myself using:
Adox Color Implosion – Purple, lowcon
Agfa Chrome RSX II – Yellow, lowcon
Ambrotype – Looks like a wild west tintype or something
Fujifilm FP100c – Incredibly blue, mostly correctable but… it’s a choice
Lomochrome Metropolis – Kind of a bleach bypass look. Not bad, just very stylized.
Lomochrome Purple – It’s all purple and yellow
ORWO Chrom UT21 – Interesting lowcon/high vibrance look. Dream sequences maybe?
Polaroid Polochrome – Super washed out and flat.
Prokudin-Gorskiy 1906 – Well, it’s experimental for a reason I suppose. Looks like early digital almost.
I tend to prefer the emulations that are more natural looking, and those (to me) are:
Agfa Agfacolor 100
Cinestill 50D/800T
Fuji Eterna Vivid 500
Fujicolor Pro 400H
Kodak Aerocolor IV 125
Kodak Colorplus 200
Kodak Ektar 25 (Exp. 1996)
Kodak Gold 200
Kodak Pro Image 100
Kodak Supra 100
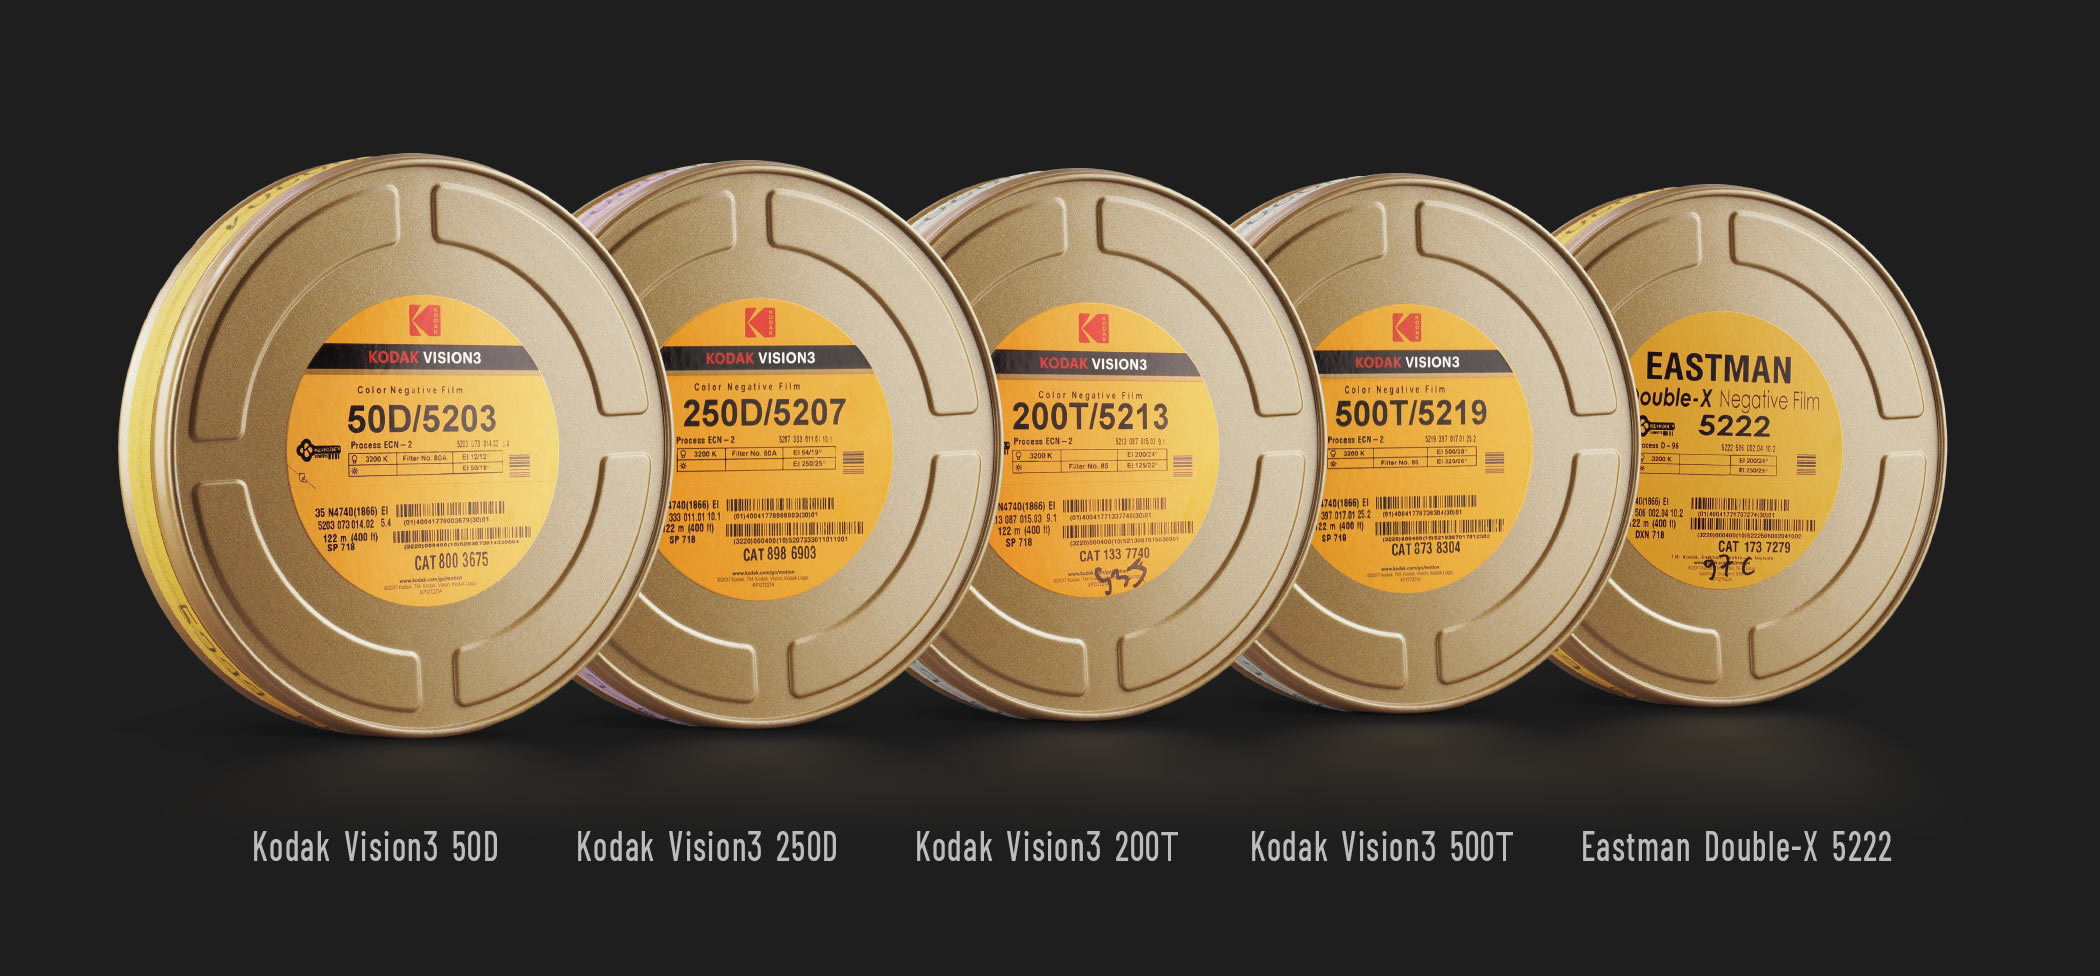
Kodak Vision3 200T
Kodak Vision3 500T
Rollei Ortho 25
It really does depend on the shot as to which profile might look best, but I would probably be leaning on the Agfacolor, Vision3 Tungsten stocks, Pro 400H, and Eterna looks the most. The great thing about this plugin is there’s just so many options that you can easily find your own look and style within them and we won’t all be making stuff that looks the same. I found myself not liking the Kodak 250D or 50D looks at first and then sure enough I tried it later on a completely different clip and it looked pretty great! The program encourages and rewards experimentation!

Also something I’ve noticed is that, while the Resolve Film Grain OFX is great, I do much prefer the Dehancer grain algorithm. It just looks way more cohesive with the image, where the Resolve OFX can look almost like an overlay. Obviously with some tweaking you can get it dialed in just fine, I certainly have, but the Dehancer grain just “feels” better. So there’s that. Once again, Yedlin has shed some light on the differences between just straight-up scanned grain and an algorithmic approach.
I will say that, as a Windows user, the plugin is kind of slow. I get about 5-16fps playback of 4K footage on my system (i7-7700K, GTX1070, 64GB RAM) depending on the drive it’s reading off of and how many modules I’m using. The gang at Dehancer say they’re working on that, but right now it’s really optimized for Metal Mac systems apparently. I’m really looking forward to the day when the Windows version is optimized, but also I’m working on 4K footage with a 4GB video card, which Dehancer’s System Requirements Page specifically says isn’t a great idea, so that’s partially on me. I also tried to re-color my reel entirely using Dehancer and after about half of the timeline rendering, my GPU VRAM would be “too full” and it would just shut Dehancer down and keep rendering, so half was colored and the other half wasn’t. Lesson here is you’ll absolutely need a decent graphics card to run the plugin if you’re going to be working with any serious footage.
We really are at the point where reasonably affordable tools truly can give us the big-budget looks many of us are after, and I’d be comfortable slotting Dehancer in there among them. At $350 it’s more expensive than Resolve itself, but if you’re in a position where you want the speed of having a nearly one-node solution to your grades and you or your clients are after this kind of look I can say it’s definitely worth giving a shot, and after coloring a couple music videos or something with the program I could see it paying itself off pretty easily. In the video below I run through how the program works and show off a few example looks on some test footage I shot early last year:
From Dehancer:
Dehancer was created by Pavel Kosenko, a well-known colorist, photographer with 40 years of experience in analog photography, and author of LIFELIKE book (published by Treemedia, 2013), and Denis Svinarchuk, a respected Signal and Image Processing expert, software engineer, C/C++ developer, with over 20-years experience as a computer data scientist. In 2014 Denis and Pavel combined their impressive expertise in film, digital photography and programming to launch a massive 5-year research which became the foundation for Dehancer platform.

Filmtools
Filmmakers go-to destination for pre-production, production & post production equipment!
Shop Now


