I recently did a series of head-to-head tests of some of the newer A.I.-based upscalers vs the old guard like Davinci Resolve and After Effects. As the other article covers in more depth, when Topaz Labs and others talk about Artificial Intelligence, it is better thought of as machine learning or pattern recognition – training software by giving it thousands and thousands of before and after pairs of low and high resolutions images or video. That way the algorithm is given a real-world education on how to restore clips. With up to 8K on the menu, it’s a brilliant idea and one which is very likely to get better year after year.
One of the leading A.I. options is Video Enhance AI from Topaz Labs, who have a range of products designed to improve your photos and video when they’re soft or noisy. Video Enhance AI is their video-specific upscaler, with additional functions recently added too – as they put it: “World-class upscaling, denoising, deinterlacing, and frame rate conversion on your desktop.”
I thought I would do some more thorough testing on Video Enhance AI as well as talk through its real-world use and why you might want it.
Cost
Firstly if you’re at all interested, use the 30-day trial. It’s in the use that you see if your computer can handle it and whether you can get enough out of it to tempt your wallet.
Video Enhance AI as I write is $299.99 and a quick bit of googling will easily find you 15% off by finding one of their partners’ coupon codes (tip: google “topaz video enhance coupon”) and is also on sale at various points during the year. Topaz Labs make it clear that with this you only get one year of updates (excluding maintenance updates) and offer you an additional year for $99 which I didn’t take. The pricing page suggests one can purchase this later, say in two years’ time or whenever they release version 3, to update then. So far this year Topaz Labs have released a number of different updates, with some major changes and new models, so clearly updates are something you might want to pay for at some stage.
System requirements
Firstly it is a standalone app and not a Premiere or OFX plugin as yet, nor available in the cloud, though I imagine this might change at some point. It can run on Windows and Mac and lists support of M1 chips too. The official system requirements are listed as pretty low – 2GB VRAM, 8GB RAM, Intel processor from 2015, etc. In the real world, I couldn’t get it to run on my laptop at all, which is well above those specs.
There is no question this is one of the most hardware-intensive & slowest programs you can find & runs best on a desktop machine with a good GFX card. Again, be sure to use the trial before you buy.
Quick start
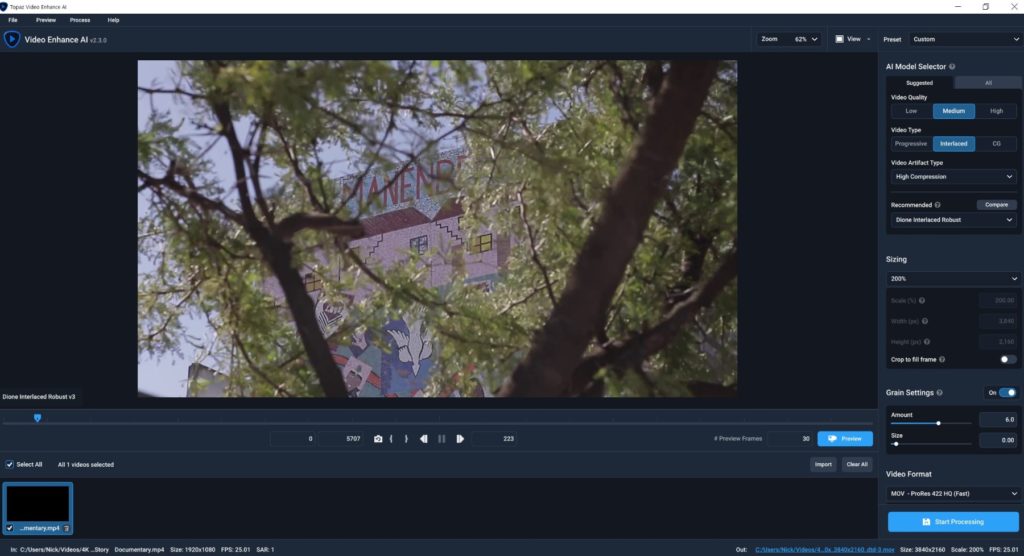
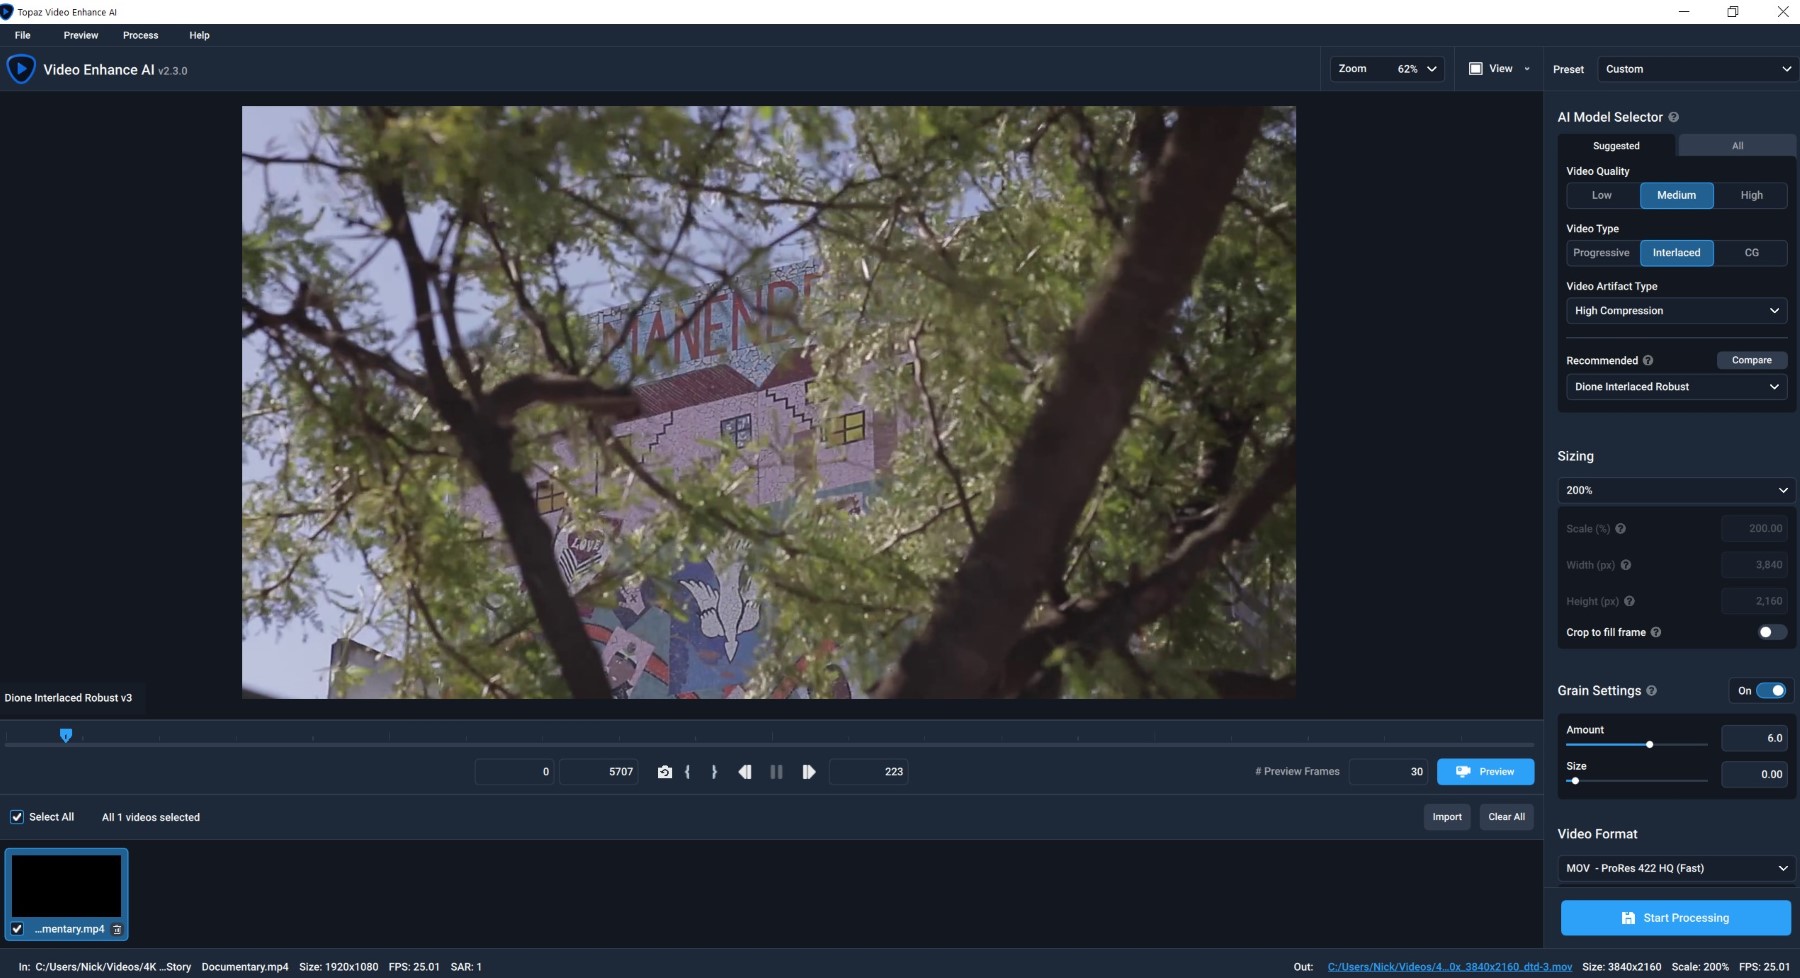
Opening the standalone application you are greeted with a rather simple-looking GUI which for me at least didn’t fill me with confidence. Three tutorials are offered at the bottom and these are well worth your time.
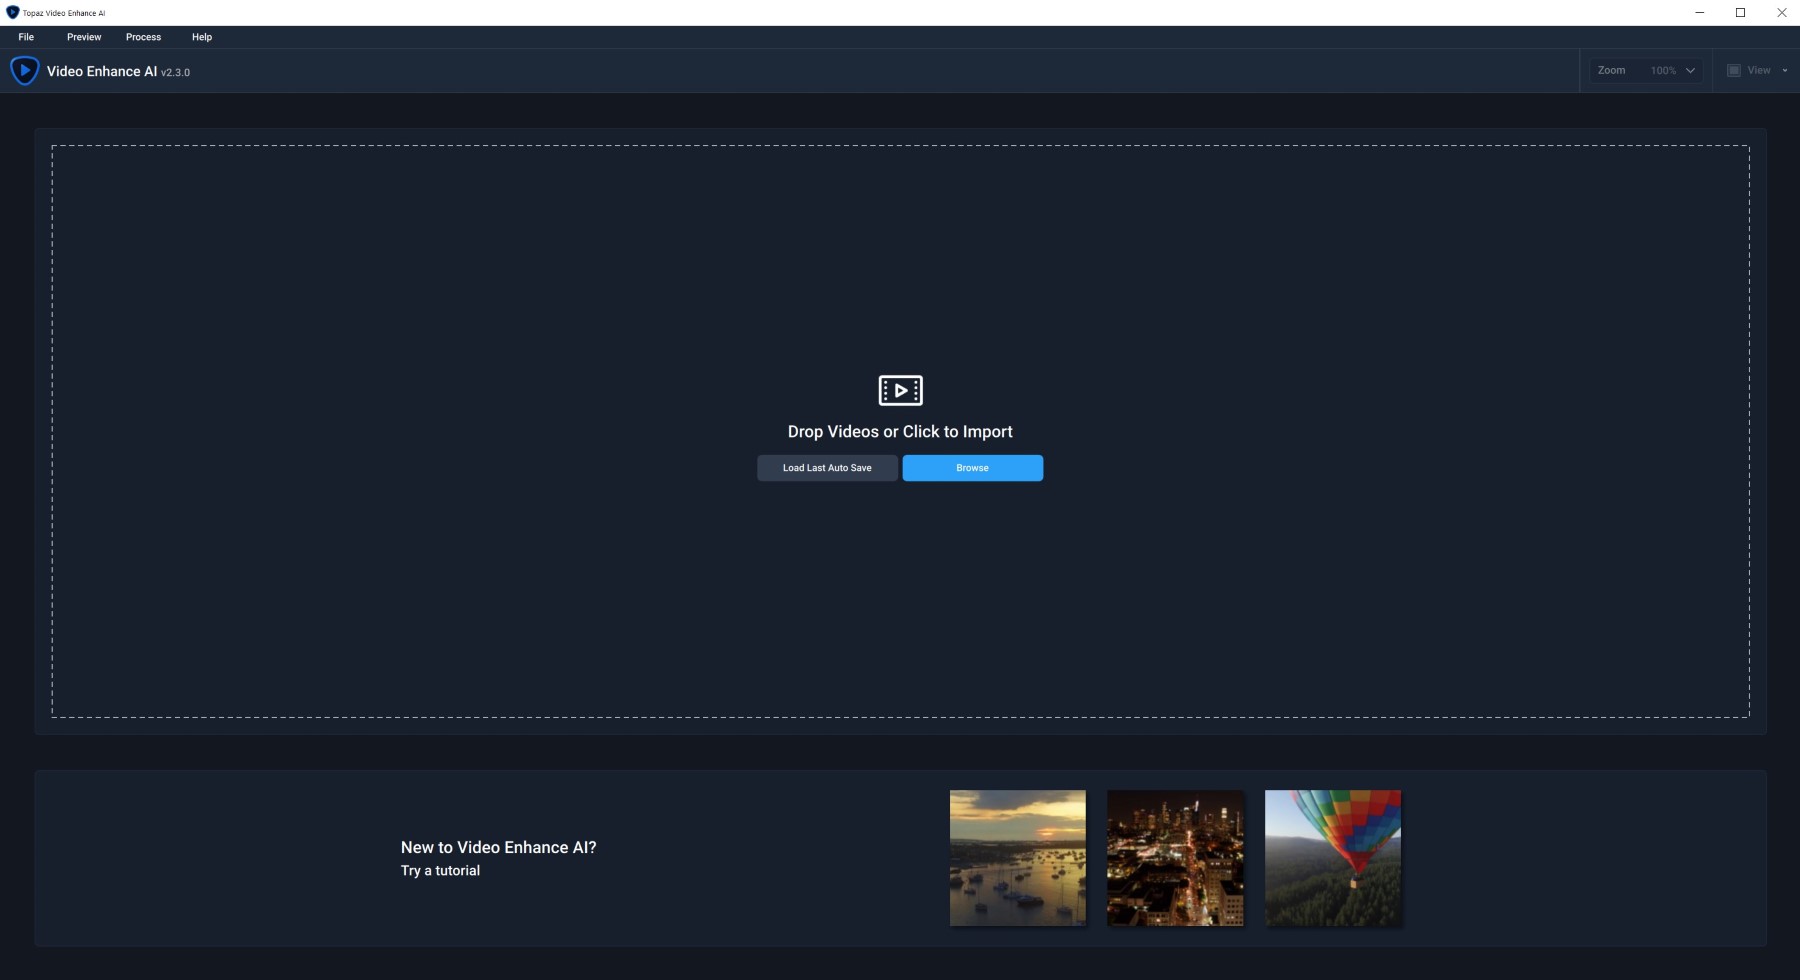
Once you bring in one or more clips, you can set in and out points if needed and then work your way down the right-hand column – choosing a model, choosing your output size, optional grain settings (grain can make it look a bit more natural) and video output format. I use ProRes 422 HQ, but there are advantages to working with image sequences, like being able to partially render out a clip and continue where you left off.
There are various views to look at your clip – Single view, Split view, Side-by-side view, and Comparison view, but it’s important to note that there is no live preview like you would have when applying a filter in Photoshop – in all the view modes you are not seeing the result of the model until you hit the blue “Preview” button.
Models
The complicated bit here is choosing the model. I mentioned that the software is trained to accurately upscale and restore footage – well Topaz Labs have developed several models (or algorithms) to tackle different types of source footage, which I’m sure leads to better results, even if it carries with it a steeper learning curve. It does take a bit of time to experiment with these and get used to what works best for you. Though since it came out in v2.3 I have started using the Proteus model more and more.
What is helpful is that as you get used to fine-tuning settings and picking models you like, Video Enhance AI has a well-designed preset manager to help you save your settings.
If you click on the “Suggested” tab in the AI Model Selector window, it will recommend a good option by you picking out the video quality, whether the clip is progressive or interlaced or computer graphics, and what type of artifact if any is predominantly in the clip. It also offers the “Compare button”, to audition the best three.
Previewing
Whichever view you prefer, it’s only by hitting the “Preview” button that you load the model to do its thing (takes a while, especially the first time a model is used) and then render by default 1 second (also takes a while) to see what the output will be. The Comparison View has the advantage of directly comparing three models against the original which is excellent and well worth using as you start to get used to the software. The downside is, even with a pretty decent GPU, it can be quite a few minutes before you have all three rendered.
Once you exit Preview mode, you can click on the model you prefer and it will be highlighted and ready for you to hit the blue “Start Processing” button after changing your output folder if needed.
New Proteus model
New for version 2.3 in June this year is the fine-tunable Proteus model.
As the tutorial shows, it has a much greater ability to fine-tune parameters such as how sharp you want the output to be, which can help with dialing back what the model is trying to do – as well as a handy auto button. I found one of the biggest challenges is a model trying to do too much and giving fake cartoony output, so this model is really helpful in that regard.
New Chronos model for time changes
Also new is the Chronos model which takes on Twixtor, Optical Flow, and Alchemist in one fell swoop in that it can change frame rates – 30fps to 24fps say – as well as do smooth super slow-mo.
This is pretty impressive stuff and certainly increases the value of the software.
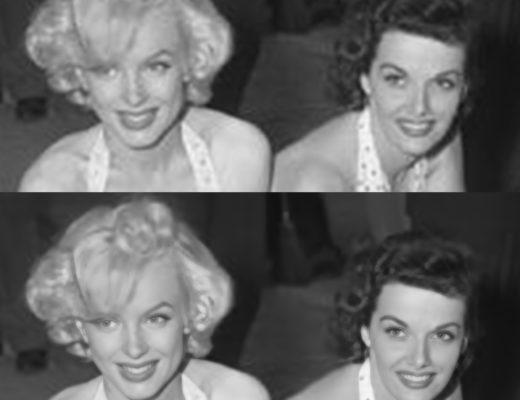
Test 1 – Restoring Archive
I decided to run a series of real-world tests to see how well the software could upscale different clips.
This series of tests can be seen in up to 4K – click the gear icon to change resolution.
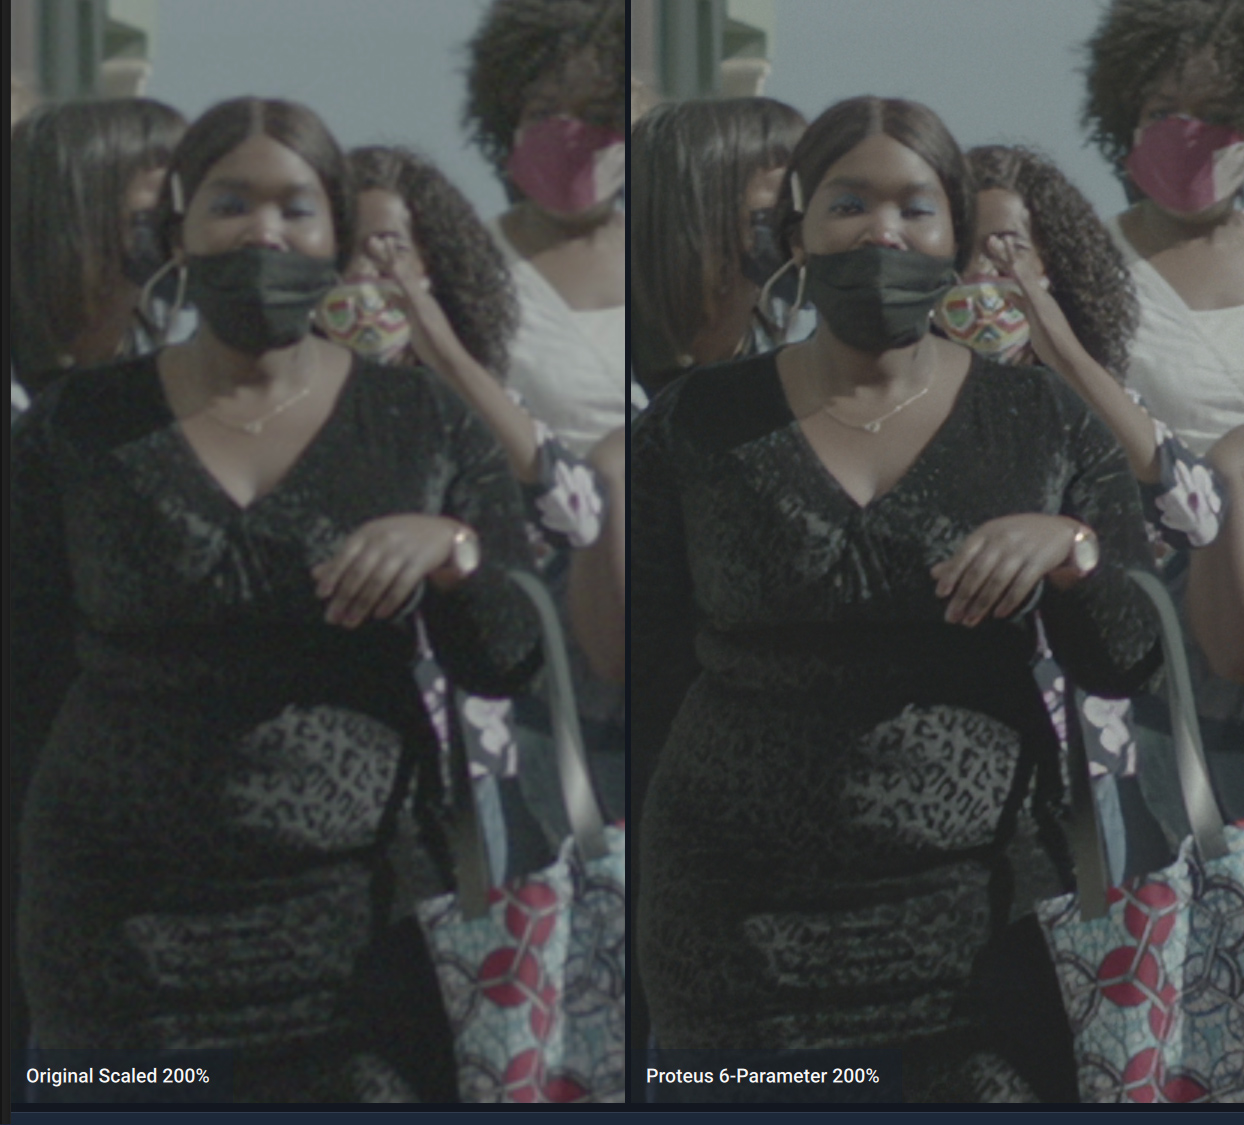
Proteus model

Proteus model

Artemis Strong Dehalo v1 model

Dione Interlaced TV v3 model

Test 2 – Noise Reduction
Video Enhance AI can be used as a standalone noise reduction engine and a very good one at that. The downside being it’s not a plug-in and it’s slow. In the final test of this section, the times taken were Davinci Resolve: 5 secs, Neat Video: 30 secs, Video Enhance AI: 85 secs.
Proteus model

Proteus model

Test 3 – Frame Rate Conversion
Frame Rate Conversion is quite often needed, with film festivals or Broadcast having their specific specs which might be different from your finished file. This is probably best done at a post house that knows what they’re doing and has something like Alchemist, Teranex, or Tachyon. But on a lower budget, it’s good to have other options. Of course, Optical Flow in Premiere and Davinci Resolve also compete here.
Chronos model

Chronos model

Test 4 – Super slow-mo
Chronos model

Chronos model

Test 5 – Delivering 4K UHD from HD
Proteus model

Render speed
Here are some sample times of how long Video Enhance AI took to upscale a sample 1 second clip by 200% (not including the initial once-off model downloading time). My specs are 24 core Threadripper 3960X 3.8GHz, 128GB RAM, Nvidia RTX 2060 Super (8GB VRAM).
Summary
Topaz Labs Video Enhance AI is a pretty impressive piece of software that has already greatly improved since this time last year. It has the ability to take old footage of pretty much any quality and restore it to a level far above the original. It’s even better at upscaling good quality HD to 4K. This year it has added the ability to change speed and frame rate at a very high quality.
That said, even on a high spec machine it takes a long time to do anything and the results can sometimes look quite fake when it’s asked to do too much – it does feel like an emerging technology. But if you can build that into your workflow and perhaps use it to impress your clients, it can be a valuable tool in the post-production arsenal.

Filmtools
Filmmakers go-to destination for pre-production, production & post production equipment!
Shop Now