In the previous column, we detailed a number of techniques for animating multiple layers in Adobe After Effects. In this column, we turn our attention to Apple’s Motion and Maxon’s Cinema 4D.
Motion’s Replicator
A significant new feature introduced in Motion 2 is the Replicator. You can apply it to any object (the shortcut is L), akin to Add Behavior or Make Particles. Once applied, Motion turns off the original object, makes a copy of it, and uses that object as a Cell for the Replicator. A few of the Replicator’s parameters appear in its floating Dashboard; open its Inspector tab (shortcut: F4) to access its true power.
First you need to pick a Shape and an Arrangement for how the object will be replicated. Motion provides templates for a variety of line-oriented shapes (such as Line, Burst, and Spiral) as well as those that fill an area, such as Rectangle or Circle. You can also choose another object to guide the Shape. If you pick a closed Shape (such as a star), the Arrangement popup decides if the replicated objects fill the space either randomly or using a grid, or if they trace the outline of the Shape.
An interesting – and easy to overlook – parameter is Offset. This causes the objects to travel along the Shape. If you pick a Shape with a center origin, such as Burst or Spiral (see below), the parameter makes the objects either explode away from the center, or converge upon it and then shoot out again into space.
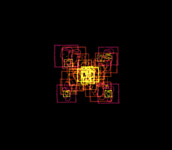
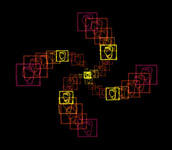
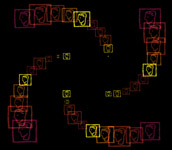
Motion’s Replicator can take a single object and reproduce, colorize, scale, and otherwise transform it in a variety of patterns, with animation.
The Cell Controls are where you can decide how each object is rotated, scaled, and colorized. The first parameter in a set – such as Angle – decides how all objects are affected, and the second one – such as Angle End – decides how the parameter varies from the start to the end of the replication. The Origin popup (in the global parameters, not the Cell Controls) decides if the variations flow from the center outwards, from the outside inwards, or in the case of Shapes such as the Rectangle, from which corner. The Shuffle Order checkbox randomizes this arrangement.
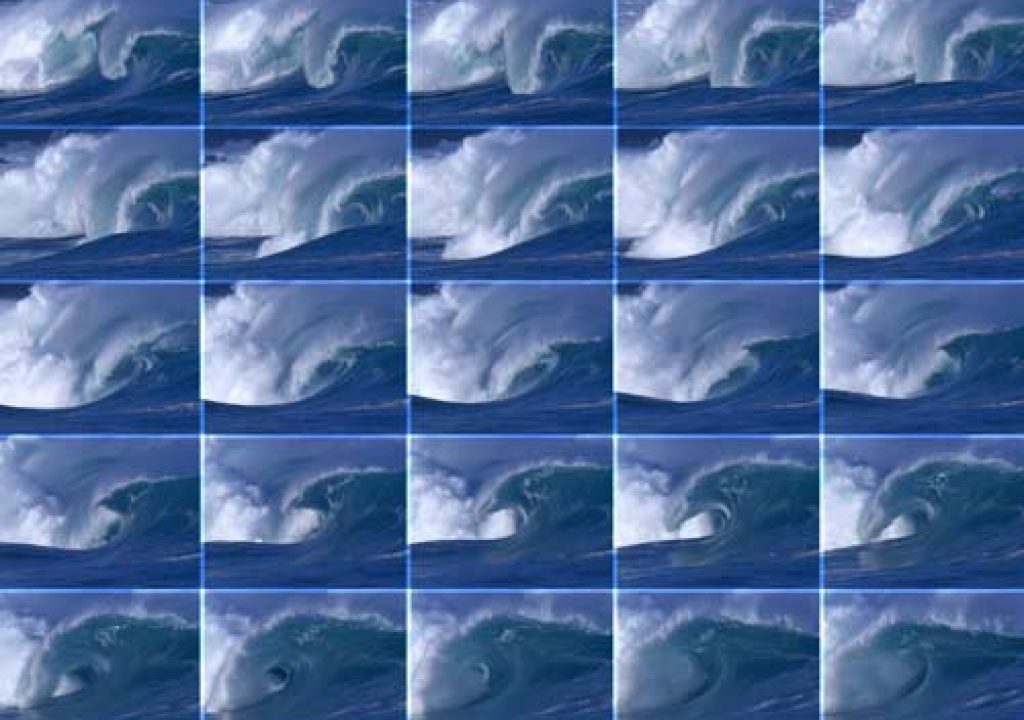
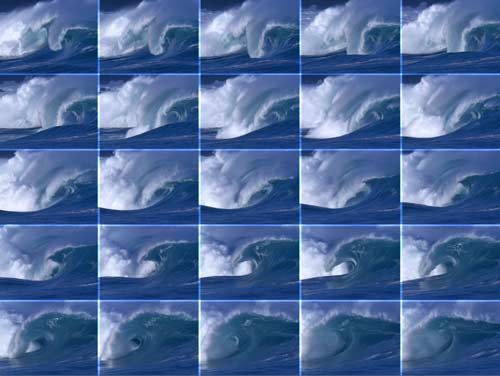
You can use movies as Replicator cells. In this case, a new set of parameters appear under the Replicator Cell tab which control how the movie plays back. It’s fun to build an array and tweak the Source Frame Offset to stagger the timing across the screen (see figure at top of page), creating artwork akin to that of Robbert Flick. This can really bog down playback; pre-render your source movie at a smaller size for Motion to be more responsive.
When copies of the object overlap, you can change who draws on top of who via the Reverse Stacking checkbox. The Additive Blend checkbox causes colors to brightly intermingle at the overlaps. Blurry objects and Additive Blend are the secret to creating hot, glowing looks with particles; it’s the same with the Replicator.
To make changes ripple through objects over time, you need to select the Replicator object (not the source image), and along the top of the canvas select Add Behavior>Replicator>Sequence Replicator. This will open the Behaviors tab in the Inspector. Click on the Add popup next to Parameter, and choose the property you want to animate: Rotation, Color, Opacity, Scale, or Position. Start previewing in Motion, and experiment with Sequence Replicator’s parameters to control how changes in this parameter ripple through the replicated shape.
Randomizing the Replicator
Randomizing replicated objects in Motion is not entirely intuitive. There are Angle and Scale Randomness parameters, but they don’t self-animate; they fix a particular pattern of randomness. Changing the Random Seed changes the pattern, but this cannot be smoothly animated.
Adjust Frequency and Noisiness to taste; we usually start with values of 1 and 0 respectively. To overcome the “pulsing” nature of these, increase Noise very slightly (try 0.2 for starters) and decrease Frequency as needed to balance. You can also duplicate the Randomize or Wriggle behavior and enter different Frequencies to break up the pattern. It takes a few frames for Wriggle or Randomize to build up; if you are using Wriggle, edit the Wriggle Offset parameter. If you are using Randomize, slide the Replicator layer earlier in time.
Even after all this work, you will notice that the “random” animation follows a pattern based on where your Origin is. For example, if you use a Shape of Circle, Arrangement of Tile Fill, and Origin of Center, you will notice the “rings” of objects emanating from the center animate together. To break up this pattern, return to the Replicator’s Inspector tab, increase the Randomness parameter associated with the property you are animating (such as Scale Randomness), and optionally enable Shuffle Order.
To create this complex animation in Cinema 4D, we animated the Radius and Slice of a single torus, and then animated the Radius and Frequency of its parent Array object to coordinate the unfolding of multiple copies.
Cinema 4D’s Array
We’ll end our exploration of cloning for fun and profit by venturing into 3D space. Most 3D programs have a way to easily duplicate and arrange multiple copies of an object. In Maxon Cinema 4D (our 3D weapon of choice, due to its tight integration with program such as After Effects), a cool tool to do just that is the Array.
To build an array, create a 3D model (a simple cube will do for starters; scale it down from its default), and click on the Array Object: the icon that looks like a pixelated green and blue flower. Then drag your 3D model onto the Array in the Objects panel. Voila – you have multiple cubes. Select Array, reveal its Object Properties, and have fun experimenting, making sure you set both Amplitude and Frequency higher than 0 (or very little will happen!). Press F8 to preview; note that Array auto-animates.
You will notice that there are values for both Frequency and Array Frequency. Array Frequency is akin to Noisiness in Motion or Octaves of Noise in After Effects in that it creates more complex patterns. To better understand how these two parameters interact, set Frequency to 2 and Array Frequency to 1: You will now have a simple wobbling ring of objects which rotates every 90 frames. Then start increasing Array Frequency, noting how the pattern changes.
One potentially confusing area in Cinema is trying to animate the child of an object such as the Array. In this case, if you select your model (such as the cube) and animate its Coordinates, nothing happens. For a child to be able to animate in its own world apart from the parent, insert a Null Object between them. Click on the Array icon until the popup menu appears, and select the icon that looks like a set of 3D axes with a 0 hovering over it. Drag this Null Object to be a child of the Array, and then drag your 3D model to be a child of the Null Object.
You can create fun animations in Cinema using just Array and primitive shapes. Remember that many primitives allow their own parameters to be animated. Figure 4 shows one such idea where we animated a source torus, and then animated copies of it using Array.
After this column was originally written, Maxon released their awesome MoGraph module for Cinema 4D. Go here and check it out – you won’t be disappointed…
Go Forth, and Multiply
We hope the past two columns have given you some ideas of how you can use various tools in After Effects, Motion, and Cinema 4D to create complex, coordinated animations with far less work than may have been obvious.
The content contained in our books, videos, blogs, and articles for other sites are all copyright Crish Design, except where otherwise attributed.


