https://www.youtube.com/watch?v=GHP8SD_JaWA&feature=push-u&attr_tag=lkYlKr2vVFdun3mz-6
This week on MacBreak Studio, I show Steve Martin from Ripple Training a specific use case for our Ripple Whips transition plugin for Final Cut Pro X.
Ripple Whips is a set of dynamic, camera-driven transitions that add customizable camera moves to transitions between clips. And while they work great on video, they can also be used on photographs. And by combining them with the Ken Burns effect built into Final Cut Pro X you can create smooth, ongoing movement over a series of images.
The Ken Burns effect is enabled by first selecting the Crop tool in the Viewer, then clicking the Ken Burns button. Two frames appear on your image: a green frame for the starting positions, and a red frame for the ending position. You can change the scale and position of these frames to determine where the virtual camera starts and ends its movement while the playhead passes over the clip.
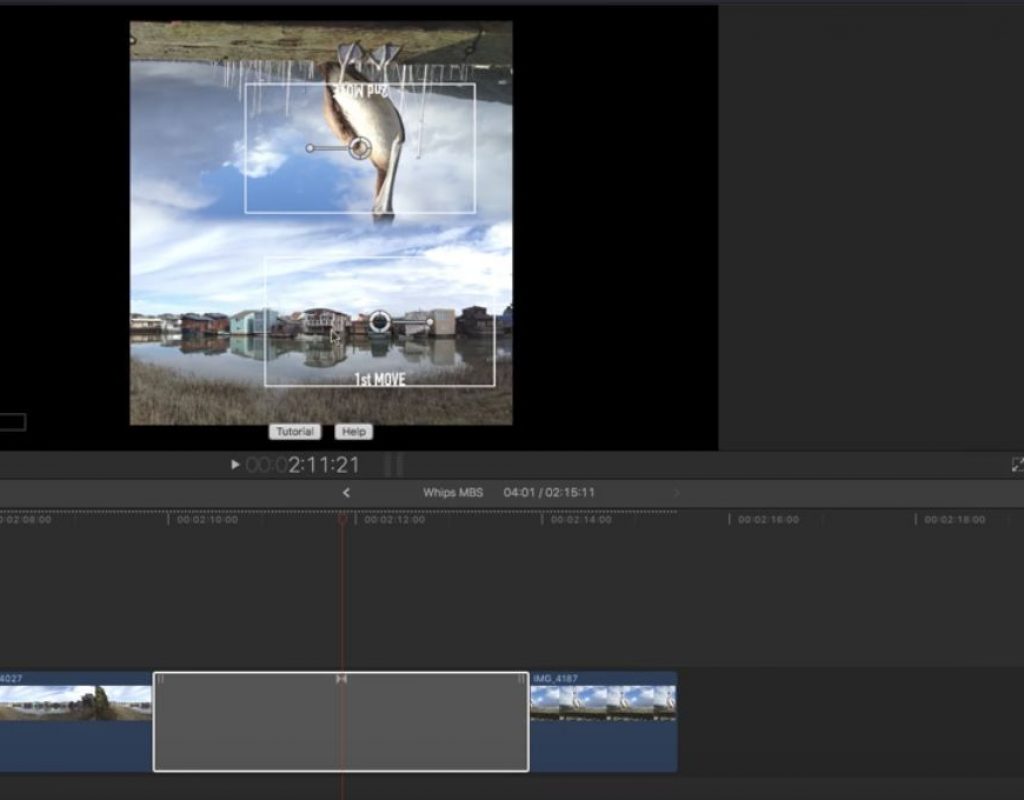
In much the same way, Ripple Whips has an “Adjust Framing” view that includes frames for the outgoing clip and the incoming clip so that you can create a camera movement from one clip to the next. You can move and scale these frames just as you would with the Ken Burns effect.
By combining Ken Burns with Ripple Whips, you can therefore create continuous movement on multiple photographs: pans and zooms on each photo itself, and then a pan and zoom to move from one photo to the next.
Ripple Whips adds an adjustable masked and feathered overlap when moving from one clip or photo to the next so that you can blend them seamlessly together.
Check it all out above. If you are intrigued by Ripple Whips, you can try them out for free via the FxFactory application. Full disclosure: as the developer of Ripple Whips, I receive compensation if you choose to purchase.


