Rovio Entertainment began as a mobile game developer in Helsinki, Finland in 2003. The company became a global phenomenon in 2009 by creating Angry Birds, the most downloaded paid mobile app of all time. Today, the company has expanded its international brand into an entertainment company that includes publishing, education, theme parks, and animation. Currently, Rovio Animation Studio employs 125 animation professionals and veterans from both Finland and abroad.
Rovio Animation Technical Director Jussi-Petteri Kemppainen and Pipeline and Tools Developer Pauli Suuraho helped create the first season of Angry Birds Toons, which can be viewed on the company’s multiplatform video channel, ToonsTV. ToonsTV just passed the three billion views milestone and the studio is now preparing season two of Angry Birds Toons using a workflow featuring Adobe Creative Cloud.
Adobe: How did Rovio Animation get started?
Kemppainen: After Rovio’s amazing success in mobile gaming, the company decided to expand its offerings to include more entertainment and publishing offerings. I founded a studio in 2007 named Kombo, which Rovio purchased in 2010. I then became one of the co-founders of Rovio Animation and was responsible for creating an Adobe After Effects rigging system for the characters in the Angry Birds Toons cartoon.

Adobe: Tell us how you’ve developed your animation processes using Adobe Creative Cloud.
Suuraho: For the first season of Angry Birds Toons, we produced 52, two-and-a-half-minute episodes featuring a total of 1,600 backgrounds. We created a lot of custom tools in Adobe Photoshop and Adobe After Effects to handle that kind of workload. I worked on the Photoshop and After Effects tools, mostly for exporting files and custom tools for rigs, and Jussi built all the animation rigs for After Effects.
Adobe: What do the Photoshop tools do?
Suuraho: Photoshop makes it possible to export backgrounds as .psd files that contain all layers and painting data. However, when we export to After Effects we don’t want to export the whole .psd file because we end up with a lot of unnecessary layers, blending modes, and adjustment layers. The script we created takes the original working file in Photoshop and makes a series of .png files. It crops and tidies up different elements and then we have another script in After Effects, which make it easy to rebuild the background.
We have another helpful tool for what we call field guides that include all framing and camera movements. If the director wants to review how an episode’s backgrounds will look before compositing, we can export camera information from Photoshop to make a “background reel,” showing the basic timing structure of the episode with just the backgrounds.

Adobe: Once everything is ready for compositing, how are you using Adobe After Effects?
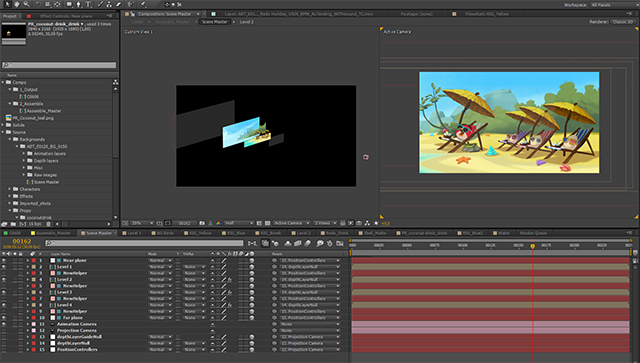
Kemppainen: In After Effects, we created a script to import backgrounds from Photoshop. Then we do this kind of parallax background layer position with a unique tool we have written for After Effects. It helps make 3D depth with mathematically correct camera movements in 2D images by setting far and near planes. It distributes different layers on 3D depth.
Adobe: Why did you come up with such complex tools?
Kemppainen: We’ve used After Effects since the very beginning. We made the decision to upgrade the tools and the After Effects pipeline to match the quality of what we wanted to produce. Essentially, our goal was to do 3D-like rigging in After Effects and still produce 2D animation with hand-drawn qualities that 3D animation lacks, including elements such as brush strokes to create a natural look.
Adobe: Did you have to do a lot of research?
Kemppainen: Most of the research we did was into whether something was already on the market. We didn’t find anything that suited our needs, so we pursued internal development in After Effects. We wanted our animators to use a rig, get feedback, and then modify the animation until we achieved a certain look.
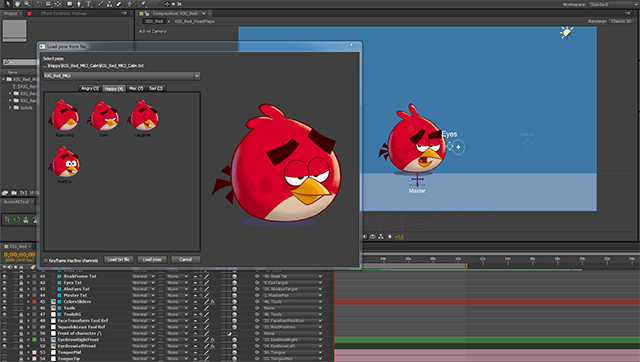
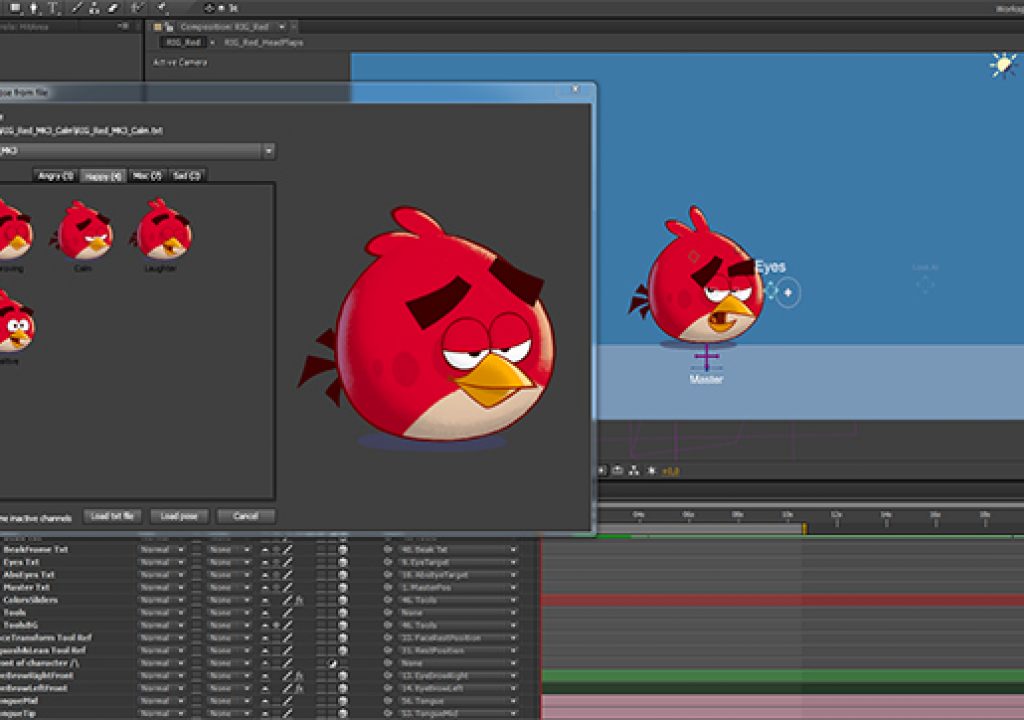
We built the rig to be approachable and understandable to animators. They wouldn’t have to dig into layers, go to effects, or figure things out. We gave them a toolbox that let them control the animation externally. Our animators have controls like in a 3D rig, including a console that lets you copy animation from one character and paste it onto a new character. Actually many of the custom tools we build for After Effects originated around that concept.
Adobe: Were there specific animations you wanted to support?
Kemppainen: We wanted to animate the birds’ beaks, such as their expressions and lip syncing, in a way that looked hand-drawn, but without having to draw millions of frames. We focused on the eyes and eye movement, as well as the eyebrows. We also rigged body shapes and feathers.
We also used After Effects for dynamic lighting. When the animation is complete, animators can re-light the character, changing the color of the light, the direction of the main light, adding backlighting or front-lighting, and so on. We also have characters following a ground plane, as they would in a video game. Characters and shadows are dynamically linked to the ground plane, which helps avoid secondary animation.
We had the goal of having everything we animate ready for print, so it could be used for marketing and packaging. Working in Adobe Creative Cloud made that easy to accomplish.
Adobe: How long did it take to develop the tools?
Kemppainen: The main chunk of development was done in the first five months. We spent the next six months or so on refinements. I was the only person rigging characters, ten in all. Granted, each one is really only a head, but I’ve never seen anything this complex done in After Effects.
Watch the video with Jussi-Petteri Kemppainen and Pauli Suuraho
Watch Pipeline and Tools Developer Pauli Suuraho's presentation from IBC 2014
Watch Art Director Jussi Kemppainen's presentation from IBC 2014
Learn more about Adobe Creative Cloud

Filmtools
Filmmakers go-to destination for pre-production, production & post production equipment!
Shop Now


