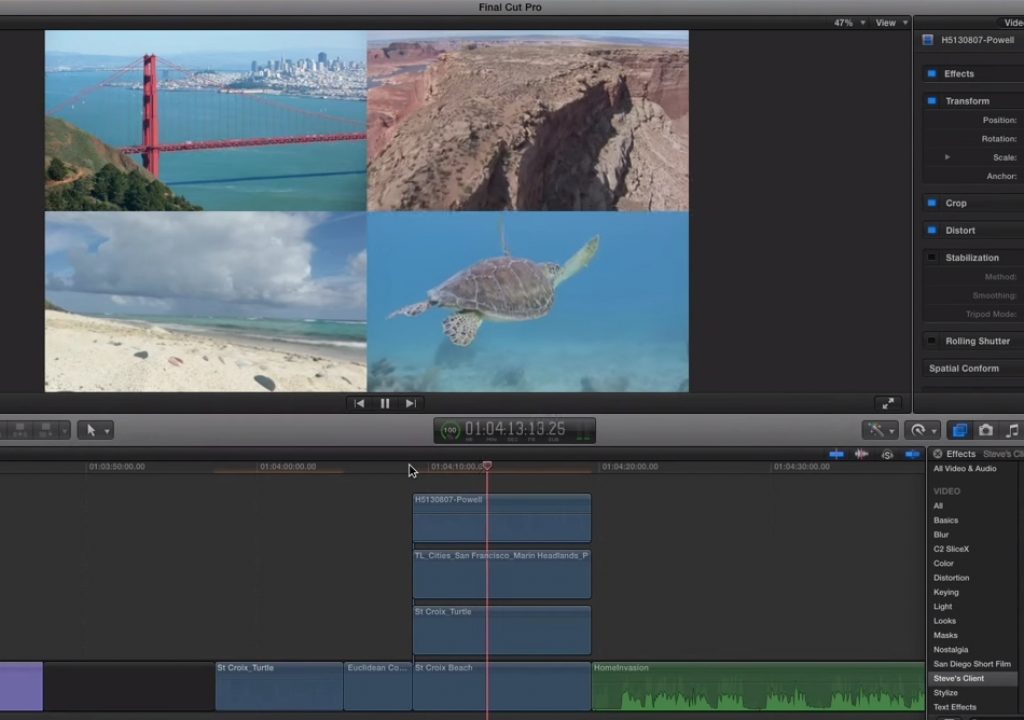
This week on MacBreak Studio, Steve Martin from Ripple Training shows us how we can save our carefully crafted keyframe animations in Final Cut Pro X for later reuse.
Many Final Cut Pro X editors used earlier versions of Final Cut Pro and can get frustrated when they try to make FCP X work the same way. Today we show you how to acheive something you may have done in version 7 or earlier in the new world that is Final Cut Pro X.
Steve creates a animation using keyframes, but first he helps us understand the coordinate system in Final Cut Pro X so we can see how he easily adjusts the anchor point (the point on a clip or graphic around which that clip or graphic scales and rotates). By first adjusting the anchor point, he is able to accomplish an animation by keyframing scale only, rather than both scale and position, which can end up with a less than perfect move. This tip alone is worth the price of admission.
Then he shows us how we can save our work as a video effect preset, and how we can choose exactly which attributes of our animation we want to save. Check it all out above.


