Secondary color correction is the process of color correcting a selected portion of a video image instead of color correcting the entire image. Often, at NAB or in software demos, secondary color correction is demonstrated by altering the color of a car or a piece of clothing from one color to some radically different color, but professional colorists most often use secondary color correction in much more subtle and effective ways.
Secondary color correction is the process of color correcting a selected portion of a video image instead of color correcting the entire image. Often, at NAB or in software demos, secondary color correction is demonstrated by altering the color of a car or a piece of clothing from one color to some radically different color, but professional colorists most often use secondary color correction in much more subtle and effective ways.
Most often it’s used to make more subtle changes to three specific things: sky, skin and grass. Obviously colorists use secondaries to do more than just those things, but those are three things that all people have kind of innate understanding of a natural color. And many times, if you try to adjust the entire image so that one of those colors (sky, grass, and skin) looks right, then you’ve really screwed up the rest of the stuff in the picture. So instead, you use a primary color correction to get most of the picture in good shape, then use the secondary color correction to fine tune the specific color that’s not falling in to place correctly.
Secondary color correction is really a two-step process. First, the colorist must make a “qualification.” This means that the colorist selects the part of the image that he wants to affect separately from the grade that is applied to the rest of the image. This qualification is done in three ways: It can be done by selecting a pixel value that the colorist wants to alter (such as a specific hue, saturation and brightness value, or combination of the three). It can be done by choosing a geographical portion of the picture using a matte that is often known as a vignette or “window,” usually created by drawing a geometric shape like a circle, oval, square, rectangle or a hand-drawn shape. Or it can be done as a combination of pixel value and geographic area, for example “only select sky blue within a window restricted to the top third of the image.
The great thing about pixel-value-based secondary color correction is that foreground elements that cross in front of the secondary correction do not have to be tracked or rotoscoped because the foreground element is not of the correct pixel-value (color) so it is unaffected by the secondary behind it. This is a good reason to use pixel-value-based corrections as opposed to creating a hard mask over a portion of the image.
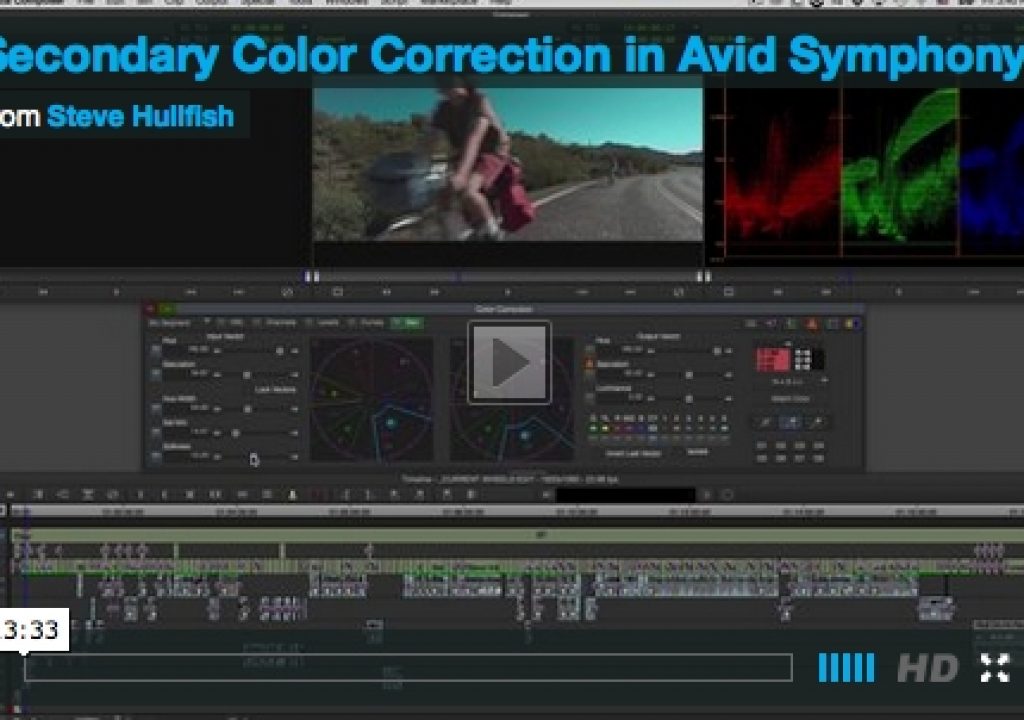
Here’s a video tutorial showing secondary corrections in Avid Symphony. If you do not use Avid Symphony, the button pushes might not be the same in your preferred software, but hopefully the broad strokes of the video will help you understand the basic concepts involved.
Secondary Color Correction in Avid Symphony from Steve Hullfish on Vimeo.


