We’ve all heard it, but how many actual know the benefits of shooting in a raw format? Most modern camera systems have the ability to capture raw photos or even video.
An Easy Way To Think About It:
Let’s take photography as an example; your camera lets you shoot in either raw or a compressed format such as a jpeg.
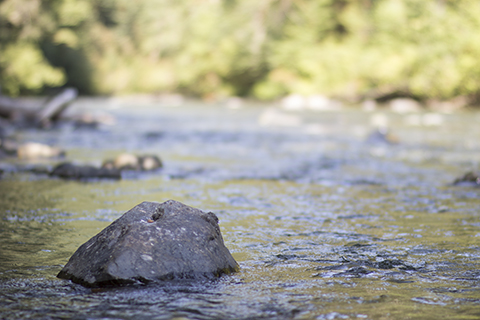
Raw files capture a lot more information than a jpeg would. Let’s take this image for example:

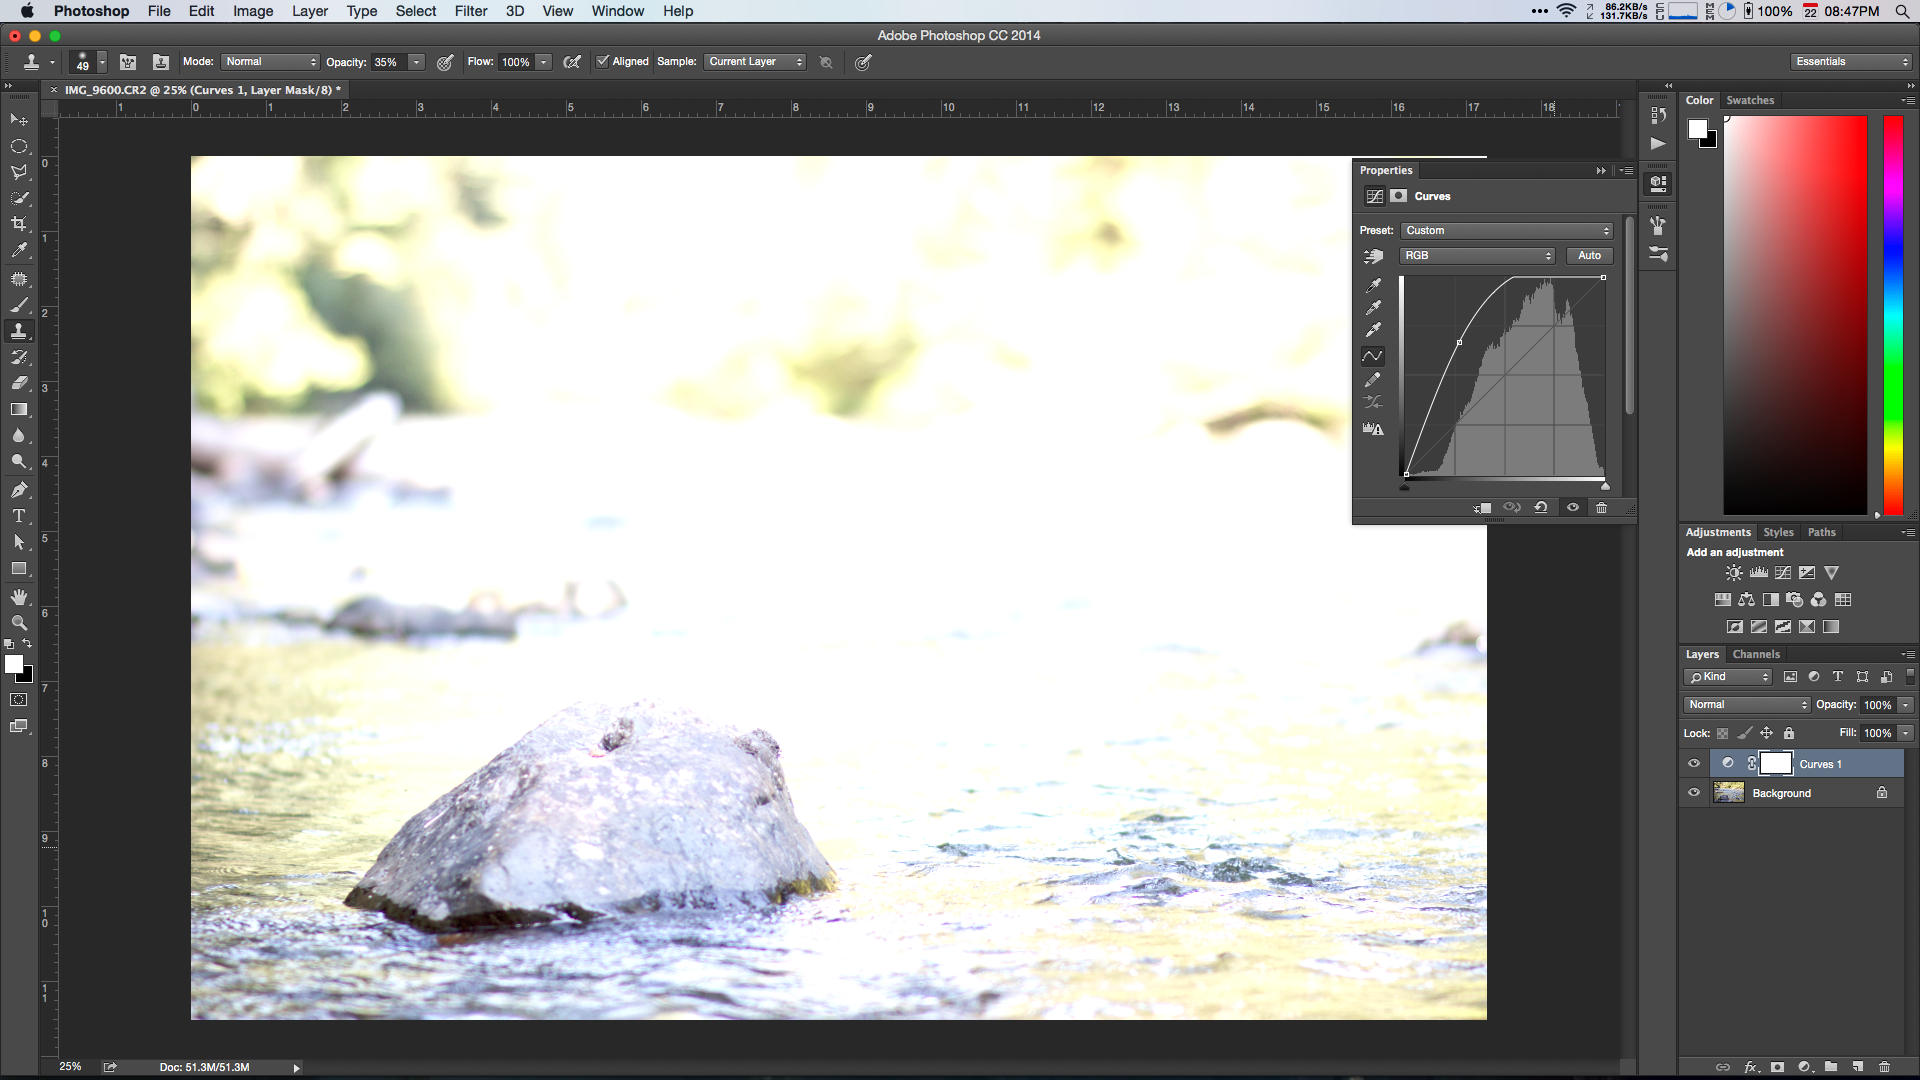
This image was captured both in raw and in a jpeg format. For now, I’ll open the jpeg. I’d like to make changes to this image to better match the look and feel I’m going for. To do this, I’ll open up Photoshop and try and brighten it. Because this file is a jpeg file, what you see is what you get. I can attempt to brighten the image, but what I’m actually doing is just adjusting the luminance values on the pixels. This does appear to brighten the image, but you’re also drastically changing the pixels values and therefore actually hurting your image by destructively editing it.

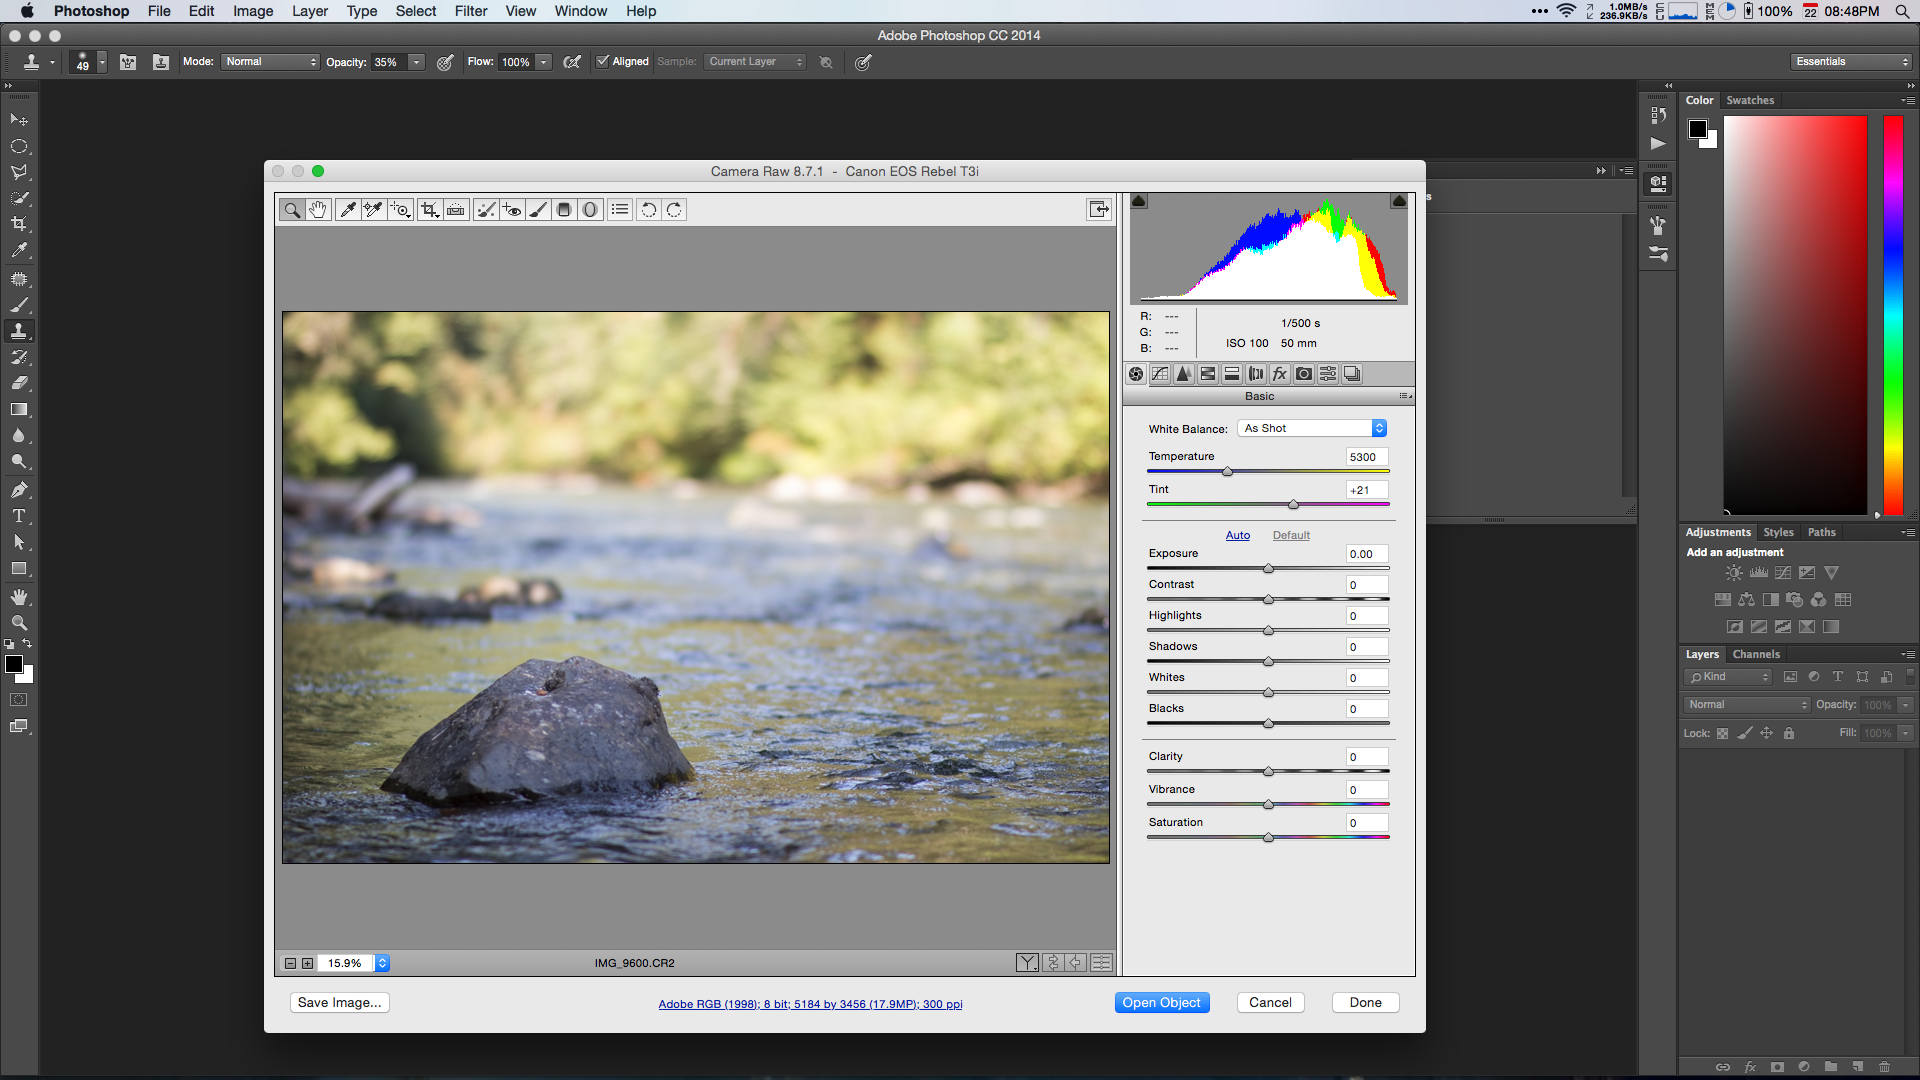
Here is the same exact image captured in a raw format. When I try and open this into Photoshop, it recognizes the raw file and natively opens the Photoshop raw filter. This allows me to make edits to my photo. Because this image is raw, the photo has actually captured more data, so I have more room for improvements and creative changes. Inside of Photoshop Camera Raw, I can make the changes I need without forcibly changing the value of the pixels. Inside of Camera raw, you’ll find a bunch of other handy tools – like the ability to change white balance, and many other great adjustments.

Here is an example of the image open in Photoshop Camera Raw. There are lots of controls to change and mess with, before the image actually gets into Photoshop.
Here you can see I pushed the image 3 stops overexposed. This can be extermely helpful if you have an underexposed or overexposed image. Raw files give you the power to have more control over your photos.
Shooting in a raw format not only gives you the ability to correct for mistakes that may happen (white balance, exposure, etc) but also gives you more creative control over your image. Shooting raw video is essentially the same. It was a big reason for me to purchase a Blackmagic Cinema Camera. Raw video gives the flexibility to make changes in post, previously impossible, and allows for more creative control over your image and color grade.
Here I’ve made some changes to the overall exposure, vibrance and clairty.
Before we go any further, lets check out the clarity and vibrance sliders near the bottom. These are actually great controls, they use special complicated math to figure out what should be more vibrant and what should be more clear. I use these both on almost every image with great results.
In the above image you’ll also notice that you have control not only over saturation on a per color basis, but also the hue of certain colors. With portraits, I often raise the saturation of the oranges, because it makes skin tones pop. Let’s also note the “Open Object” command near the bottom. By default camera raw give you the ability to open your image as a smart object, so you can go back in and make further adjustments in Camera Raw and have more flexibility inside of Photoshop. Often I’ll open these files as a smart object, because I always like to duplicate the image and see the before and after. It also keeps my workflow non-destructive, so I can go back in again, and make any necessary changes.
Camera raw also gives you the ability to fix both chromatic abberation as well as lens distortion. Most of the time, Camera Raw can automatically detect both make and model of the camera and lens, and can automatically apply lens distortion fixes.
Also, if you have many images in a row that need similar correction, you can actually save out a preset and apply it later. I’ve found this to be both incredibly powerful and time saving.
*Qucik tip: Photoshop files saved with layers as a tiff can be opened by clients as a flatten image, or reopened by you as in Photoshop. Tiff’s save all the Photoshop information!
The Real World: Photography
When I’m shooting photos on vacation or just walking around taking interesting pictures, I’ll often weigh out the effect of shooting raw. Raw images are way bigger than jpegs. On my 17 megapixel DSLR, a jpeg is around 5 mb. A raw image however is typically more like 25 mb. In most situations, I shoot both in jpeg and raw (my camera has the ability to capture both at the same time). This means I’m storing roughly 30mb per image, but I maintain the flexibility of raw with the speed of a jpeg. That way I can quickly look through my jpegs to find my selects and make any necessary changes to the raw file that is with it. It also means, if I want to make no changes to the file, I can have the flexibility to post instantly to places like Facebook without having to open the file and convert it.
This process while taking up the most space is generally the safest bet. The only time I would shoot raw files only would be in a situation where I’m not next to a hard drive or a place to backup my files. Basically a place where space is important. A vacation without my computer for example, I would bring all my cards and record to them, but try and only shoot raw to not run out of space on each card.
The Real World: Cinematography
Because raw files are huge, sometimes it can be hard to justify their use. On my Blackmagic Cinema Camera (BMCC), I’ve often been very impressed with the flat ProRes HQ images. On the BMCC, each raw frame is about 8mb. This means one minute of footage is around 11.5gb of storage. This can cause issues from a backup, storage and timing standpoint. The raw files coming out of the BMCC are quite nice, but require a color grade pass. Also forget about editing them natively, you’ll need to create proxies to actually see your footage play in real time (depends on your machine, but most can’t play back raw 2.5k footage in real time). So while raw usually is the better option, many clients want quick turnarounds and for this, I shoot in ProRes HQ. When I have a narrative project that usually has a more relaxed timeline and also requires a more creative tone to the grade. This is where the raw footage really shines.
I would highly recommend shooting raw and seeing it’s flexibility for yourself. It can change an image both by fixing any small mistakes you had during production and gives you more creative control over the final look of your piece.
Also check out Art Adams’ “Log vs Raw: The Simple Version“, where he talks about the difference between shooting raw and log.
Download the image above and play with it yourself!
Here is an example of some graded raw footage I shot:

