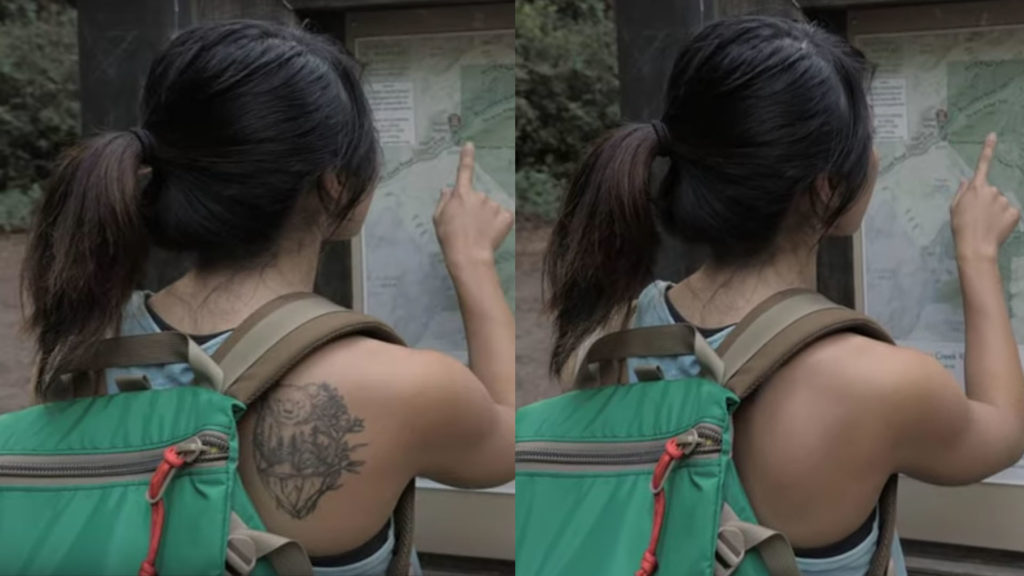
Silhouette Paint from BorisFX goes far beyond the roto/paint/tracking tools found in Adobe After Effects (and not found in Premiere Pro at all). It can stabilize detail that needs to be removed in place, automatically transform and deform custom paint strokes over time, and it allows you to get past the standard giveaways of paint work.
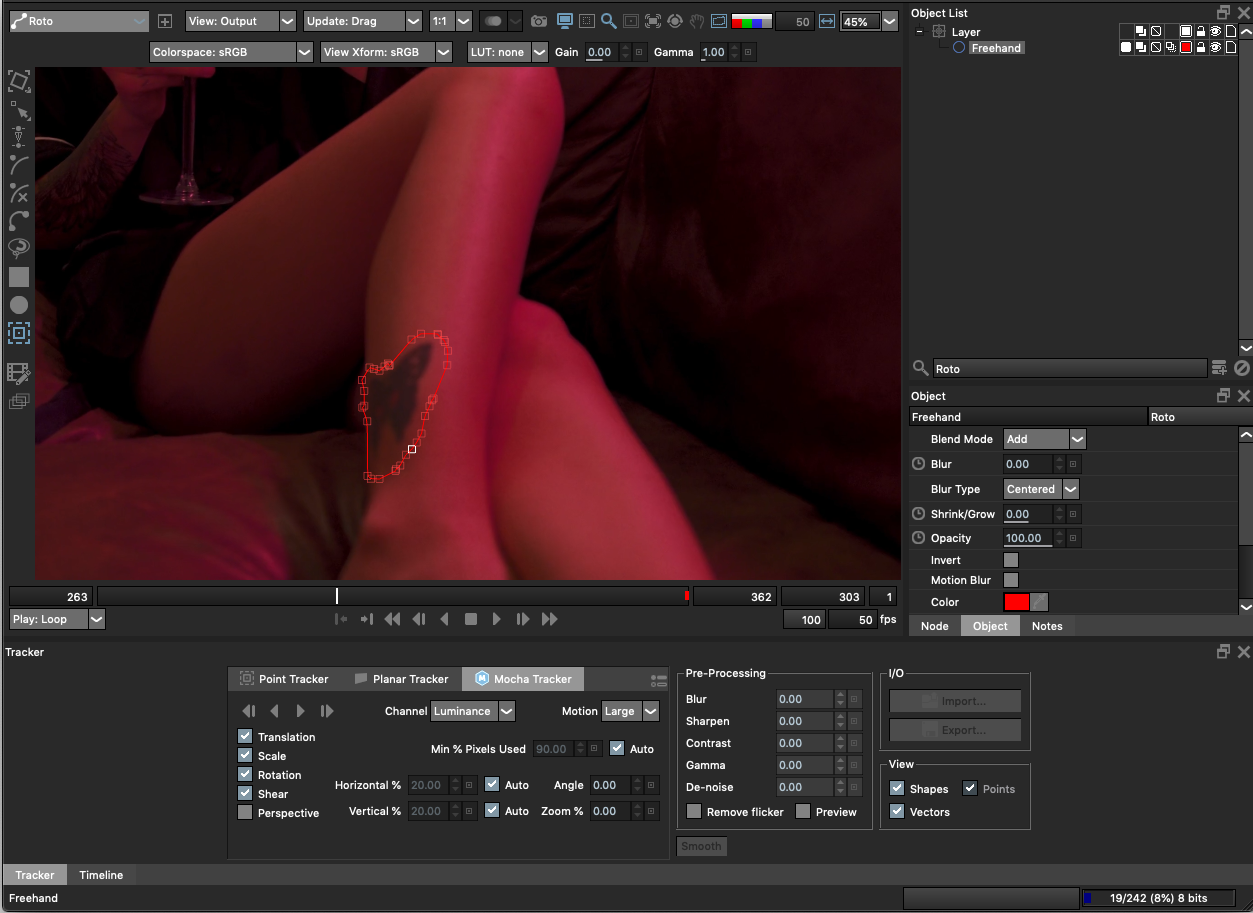
You can clone not only by averaging multiple sources (useful when dealing with gradiated light) but even clone different characteristics of a given source (just the texture of the skin, or facial details). Better yet, if you’re at all skilled as a painter, you may have the greatest success building up your own replacement strokes with color and letting the tool swap in detail, texture and grain.
I worked with the Silhouette Paint plug-in for Adobe, which allows you to work in After Effects or Premiere Pro. Like many plug-ins of this magnitude (and like BorisFX Mocha), the plug-in operates as a stand-alone application within the Adobe environment on Mac or Windows. It is available on a monthly or annual subscription basis, at a cost (as of this posting) of $25/month or $195/year.
Why paint?
In my own training for VFX at School of Motion and LInkedIn, I refer to paint as generally a tool of last resort. In cases where tracking and roto can be used to remove, replace or augment an area of a shot, they are much more straightforward (which is not to say easy) to execute.
But there are cases where only paint will do. The key word to understand these situations is “organic.” If you are removing detail from an irregular, organic area—faces and skin being number one, but also skies, landscapes, gradient-lit interiors—tracking in a patch tends to fail. Likewise, if you are the type of artist who likes the organic feel of a pen on a tablet more than adjusting masks point by point, that is a factor in the decision of the right tool for the job.
And what if you don’t consider yourself an artist at all? Although there are other After Effects nerds like myself that read reviews on this site, I’m aware that it is editors who may get the biggest leg up by being able to quickly edit the contents of a shot, as follows.
Suppose you have a one-day turn-around for an edit of a show, and are able to complete the basic cuts in a few hours, leaving you an hour or two for improvements to the shot that don’t involve a full VFX workflow. This could be beauty work, removing or adding an object from the scene, even changing some fundamental detail. This is where Silhouette Paint could make the biggest difference, and heck, could help you to raise your rate.
Getting Started
The one main hurdle you need to overcome to get up-and-running with Silhouette Paint is unfamiliarity with its sophisticated and unfamiliar modal UI. This is not a tool to learn by noodling. The learning process won’t take that much time—I was able to get the hang of it in an hour or two, if the process is less familiar it would be a day at the most.
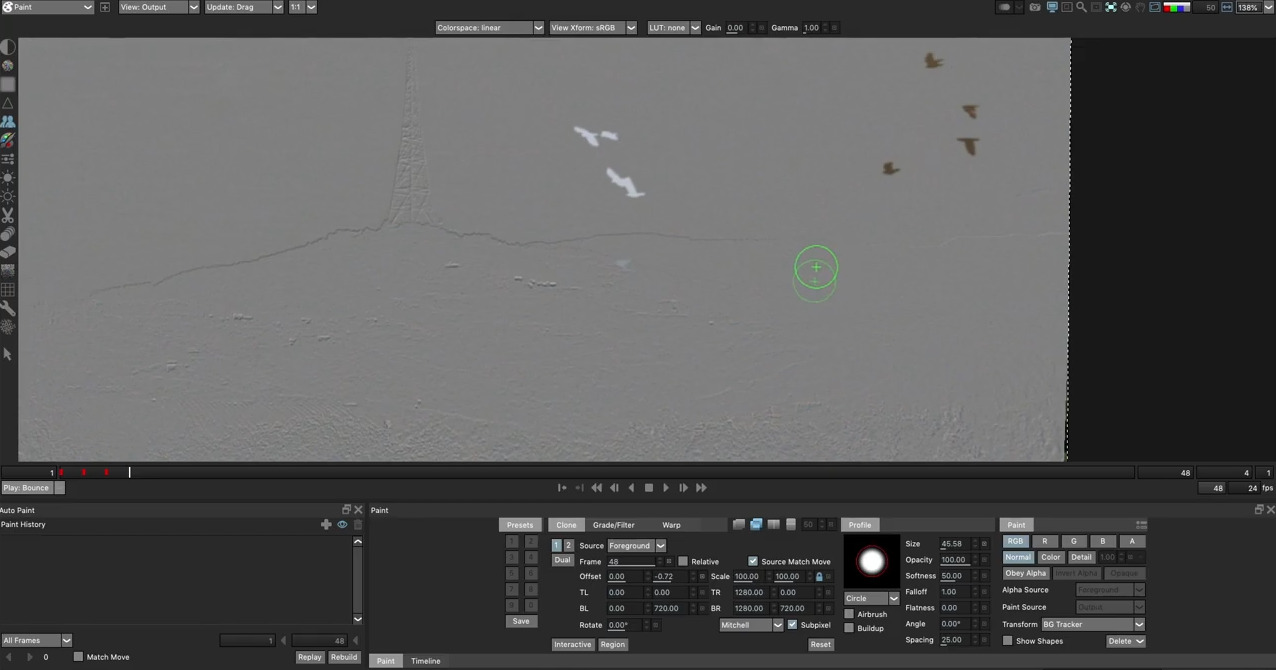
But this is not a case where you can simply dive in and learn as you go. Many of the key tools are modal—they don’t all appear in the same place in the UI when you open the app, but just in specific contexts. The two main modes are Roto and Paint, and most of the time, you are likely to use them together. Within Roto is a Tracker that operates in three unique modes: point tracking, planar tracking, and Mocha tracking (the most powerful but also the most unfamiliar when getting started).
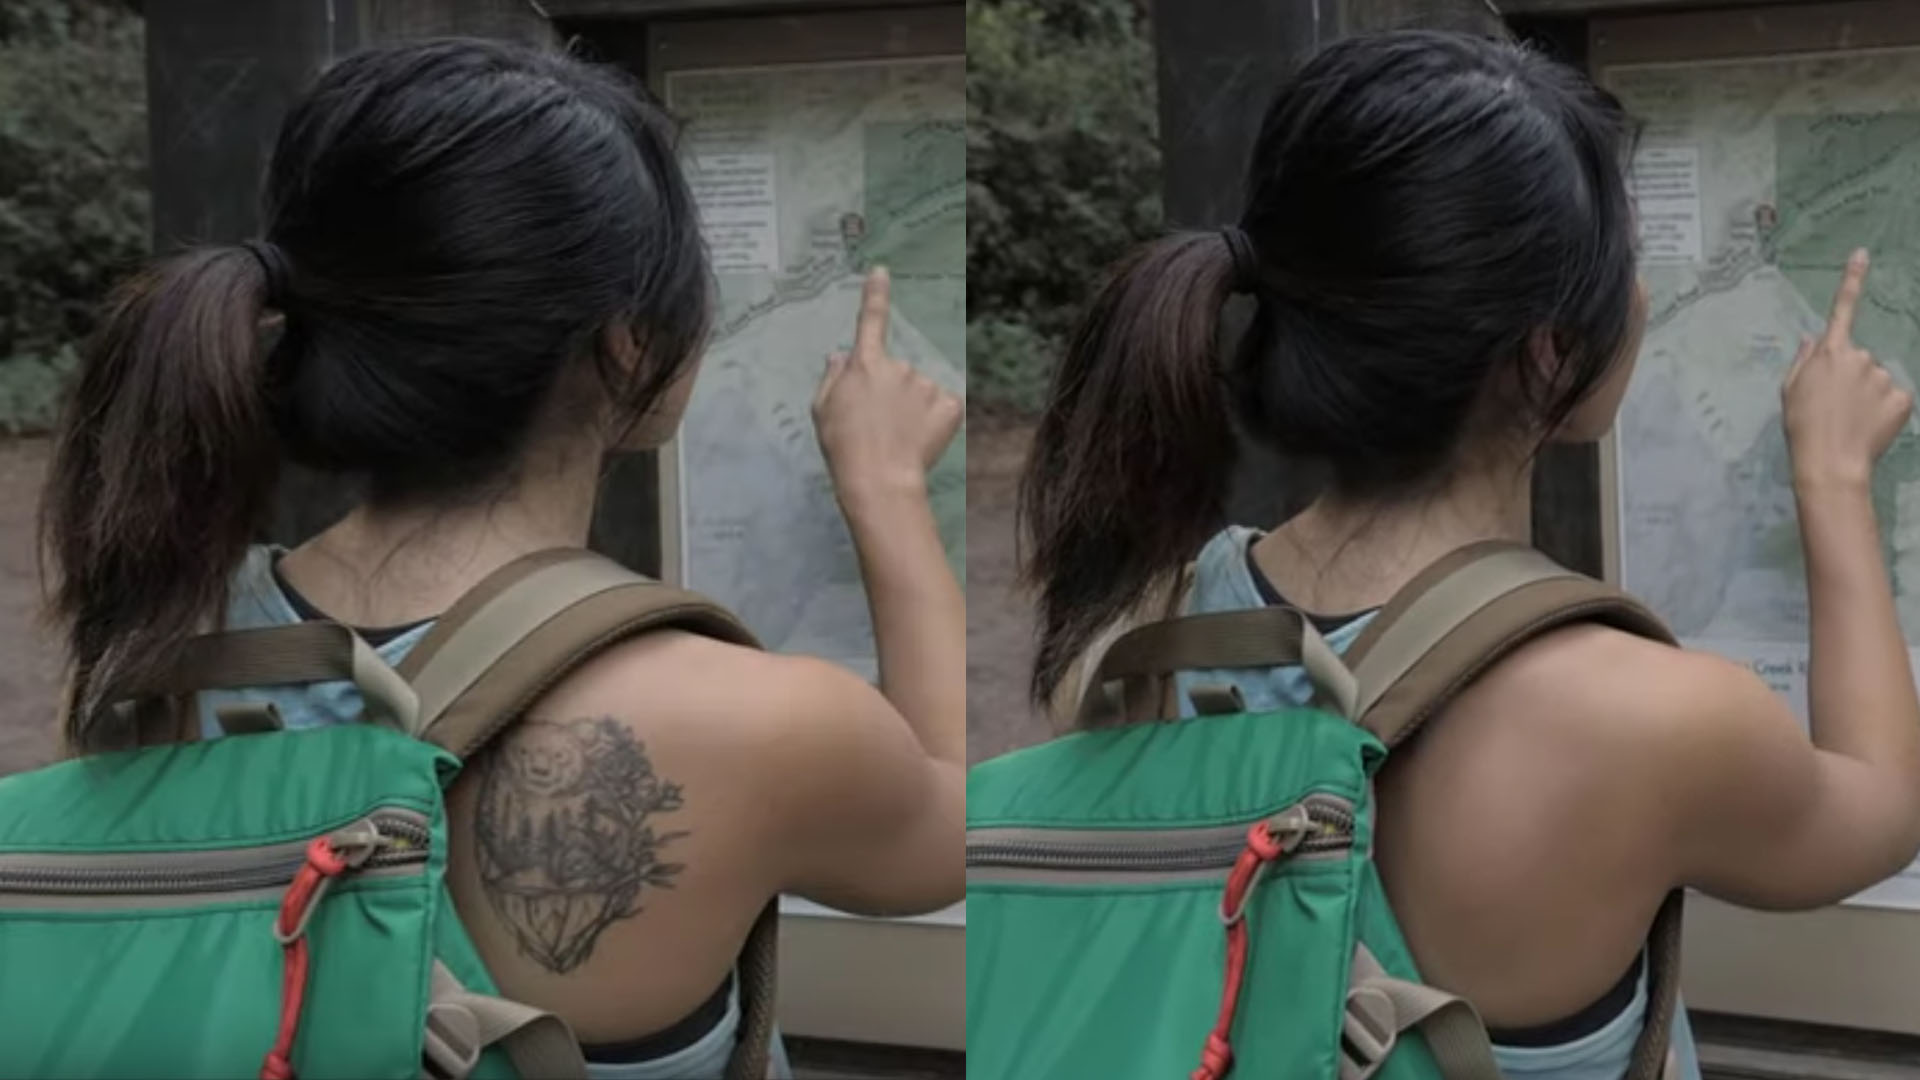
The icons in the various toolbars (there are multiple) won’t be instantly familiar. You can get their labels with tool tips, but you’ll go a lot further starting with a tutorial that shows you how to do what you want to do. In this case, I’m not providing a tutorial of my own with the review, but for an excellent idea of how to perform one common paint operation—tattoo removal—there is an excellent 10 minute tutorial from Mary Poplin at BorisFX that shows you the process, step-by-step, start to finish.
Most useful features
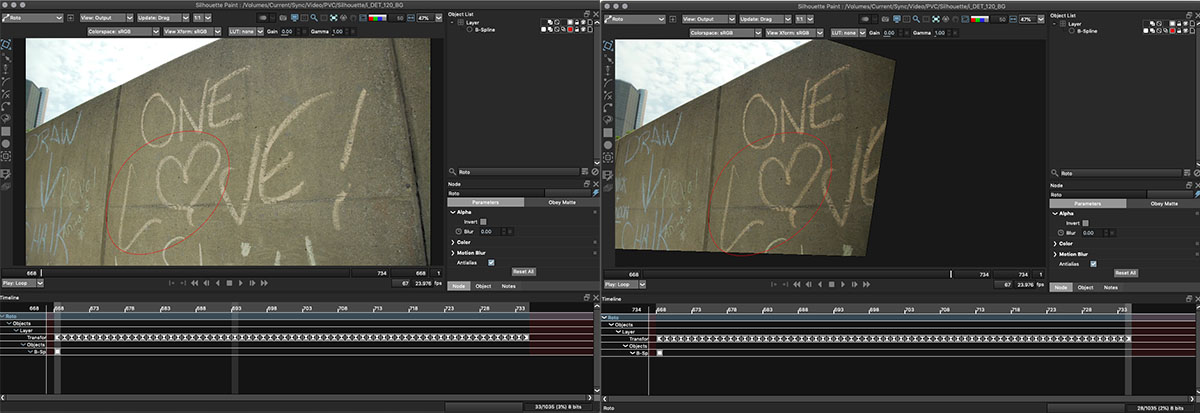
Silhouette Paint has a few killer features built into it, depending on your usage. One thing you’ll never want to give up once you start to use it is the ability to stabilize an area of the shot in place, work on it, then reverse it. This allows you to isolate and work on a detail as if it were from a locked-off shot. It’s something that is a big pain to do with native After Effects tools, and can’t be done at all with native Premiere Pro. With a detail that you want to remove or change in static position, you just work on it as you would a still frame.
The other tool that is essential to make this process work is Auto-Paint. This allows you to perfects a single frame only, and let the application matchmove it for you. This might seem like not such a big deal—you already tracked it, right?—but as I mention above, simply tracking in a single frame patch tends to fail in situations that have organic detail and lighting. Auto-Paint tracks changes to shading and proportion over time.
Along with that, there are brushes that go beyond what the clone brush in After Effects can do. The Detail Brush effectively separates color and detail, so you can get one of them right without worrying about the other. In other words, you can get the shading of skin correct with a smear of color, and then restore the detail of the face.
Likewise, the Blemish Brush performs blur and grain in a single tool. For beauty work, this means you can knock out any unwanted detail without having to come up with a replacement, let alone one that holds through the entire shot.
Or, if you do paint or clone to replace an entire area of a shot with a static set of strokes, the Grain Brush will restore matched grain. This is one more essential that you don’t want to have to actually think about very hard, and the tool set anticipates a solution in ways that native After Effects does not (even though it does offer ways to add and match grain).
Cloning can be done from multiple sources. For a great example of why you might want to do this, check out this segment of a training video from Steve Wright in which he removes an outlet from a softly-lit wall. Technically, he is working in Nuke rather than After Effects, but other than how the plug-in handles input differently, the workflow is identical to what you would experience in Adobe applications.
The bottom line
Althogh Silhouette Paint does stand out clearly from the other options on the Adobe platform, there are other ways to achieve some of what it can do.
Earlier this year I reviewed Lockdown, a completely different approach that makes roto and tracking more organic by deforming to match natural surfaces. This tool does essentially one very jaw-dropping thing—replace a moving, deforming surface with the image (still or moving) of your choice. There is no paint involved whatsoever (although you could use it with, say, the clone brush).
There’s also Mocha Pro (or the Mocha AE version that ships with After Effects). It provides the tracking but looks at the whole world as flat planes, whether they are or not. Anything you could solve by adding a layer like a patch, Mocha will likely help. But not every situation lends itself to that approach.
Each of those tools likewise necessitates learning an unfamiliar UI. Again, to reassure you, we’re talking about the type of learning that happens in a half-day, not the months you would spend learning a full new graphics or editing environment.
That leaves you with what’s built into the Adobe stock tools and any other plug-ins you may own. If you’ve ever thought you could get a better result, or a better rate by fixing more about a shot than you can achieve with the tools you have. Silhouette Paint is worth a look, along with the tutorials I mention above and more that can be found at borisfx.com. Download the demo version and wiithin a matter of hours, aided by this video training, you too can decide for yourself if this is a tool for you.

Filmtools
Filmmakers go-to destination for pre-production, production & post production equipment!
Shop Now