Photoshop001.png

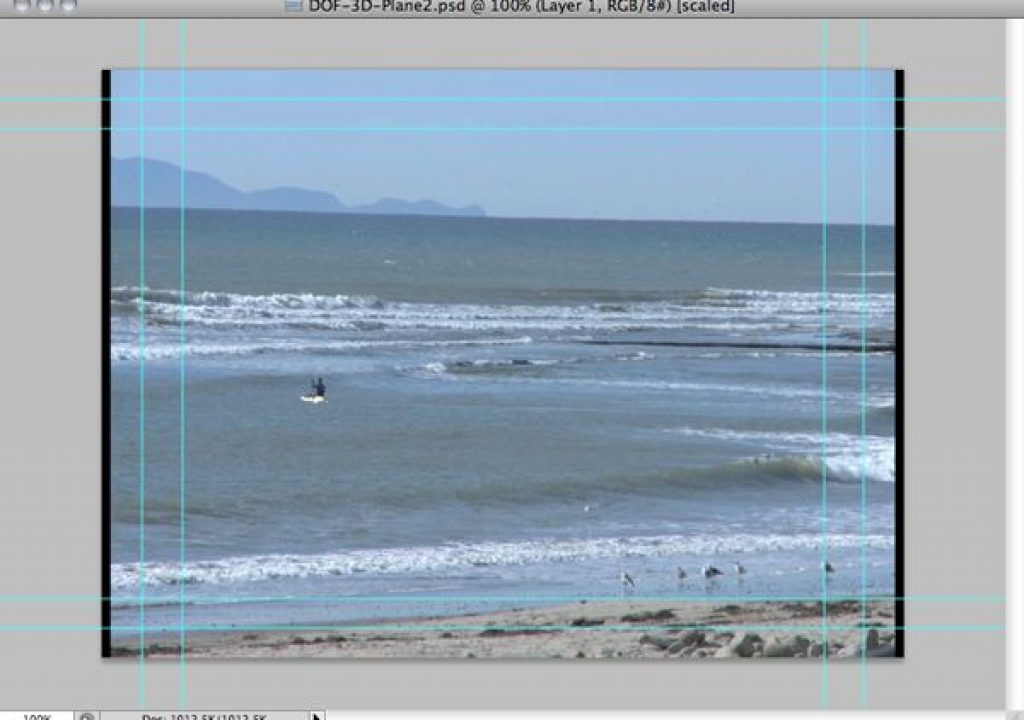
Since the video layer is now converted to a Smart Object, I can “pre-distort” the video layer to compensate for the 3D layer effects we’ll encounter later. I’ll select the Perspective transform option (Edit > Transform > Perspective) and pull the bottom in so there’s about a 15º angle on both sides as shown in the figures below.

Simulated Camera DOF In Video with Photoshop CS5.5 27
Simulated Camera DOF In Video with Photoshop CS5.5 28

Import a Video Layer and Convert to Smart Object

Next, I convert the layer to 3D by selecting 3D > New 3D Postcard From Layer and select the 3D Object Rotate Tool then “tilt” it back away from the camera in the X rotation. In this case, I selected X -30. Next I select the 3D Object Scale Tool and scale it up to fill the frame and compensate for the 3D camera. I scaled the X dimension 1.5 and the Y dimension 1.3. This fills up my frame nicely and gives me room to pan around slightly.

Simulated Camera DOF In Video with Photoshop CS5.5 29
Simulated Camera DOF In Video with Photoshop CS5.5 30

Convert to a 3D Postcard Layer, tilt it back and scale up slightly

Continued on page 2…


Animating the 3D Camera

Now there are a couple ways you can approach this effect – a pan/zoom while racking your DOF/focus or just a straight rack-focus. In this project I’m opting to do a pan-zoom as well so I can focus on the kayaker and then pan-zoom up to the birds. This is all done with the 3D Camera Tool and animating keyframes along the timeline.

First I select the 3D Camera Tool and set the Standard Field Of View to 30. This will zoom in on the kayaker central in the window.

Next, I set the DOF Blur to 6 to create a good shallow DOF effect since I’m moving my focal point such a short distance. I then set the Distance to approximate 0.33 until the kayaker on the plane comes into focus. This is a very subjective process and you have to find that “sweet spot” visually, just as if you were focusing with a real camera and shallow DOF. I also move the Timeline Indicator to the first frame on the Animation Panel and click the Stopwatch next to the 3D Camera Position to set my first keyframe.

Simulated Camera DOF In Video with Photoshop CS5.5 31
Simulated Camera DOF In Video with Photoshop CS5.5 32
Simulated Camera DOF In Video with Photoshop CS5.5 33

Setting the DOF Blur to 6 for a shallower DOF effect and setting the first keyframe

I then move the Timeline Indicator to the last frame in the Animation Panel to set the next keyframe and select the 3D Camera Move Tool move and zoom in slightly on the birds along the shoreline in the foreground.

Simulated Camera DOF In Video with Photoshop CS5.5 34
Simulated Camera DOF In Video with Photoshop CS5.5 35

Moving the camera to focus on the foreground elements and setting the last keyframe

I then adjust the Distance on the 3D Camera to approximately 0.23 to bring the birds and shoreline in the foreground into focus. When I play back my video from the Animation Panel player it renders the effects in a RAM preview and allows me to make any tweaks or changes before rendering the video.

Simulated Camera DOF In Video with Photoshop CS5.5 36

Adjusting the DOF distance on the last frame

The completed video can be viewed below:

This tutorial and many others from this series are available in step-by-step video instruction with Photoshop project files and source images/movies on my Video Training DVD from PhotoshopCAFE, titled: Photoshop CS4/CS5 Video & Animation

psvideo-cs5-6839538

Jeff Foster is a published author of several how-to books and training videos in the motion graphics, animation and video production industries and is an award-winning video producer and artist. Visit his web site to learn more about his training methods, tips & tricks at PixelPainter.com

Support ProVideo Coalition
Shop with Filmtools Logo

You Might Also Like