To pick things up from where we left them at the end of the previous article (Taming Color Management – Part 1) here’s the problem we need to resolve: even with Color Management correctly set up, the results “out of the box” rarely look as good as they do with the equivalent camera LUT. Here’s an example of Log footage from an Arri Alexa camera.
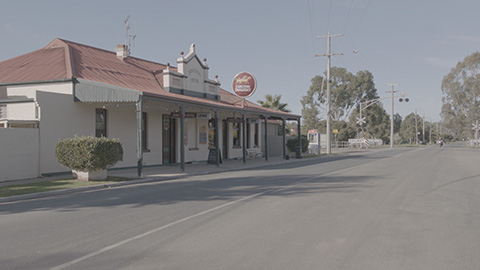
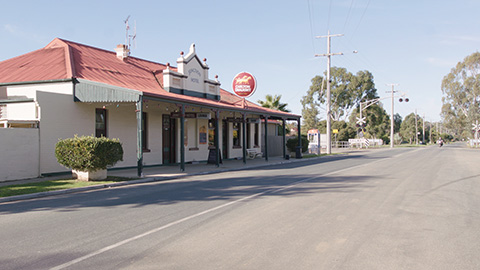
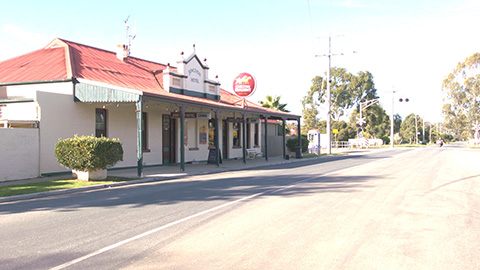
The blown out whites and lifted blacks in the color-managed image are not in fact a mistake. Color Management is doing its job. It’s designed to do what’s called a Color Space Transform. “Transforming” doesn’t mean reducing or adapting a large color space to fit inside a small one, it means matching up whatever’s equivalent. Anything that’s not equivalent, anything that falls outside the limits of the destination color space, is out of range.
In the example above, the highlights captured by Arri Alexa camera go well beyond the limits of the display color space, Rec709 2.4, so they get blown out. They’re not clipped – color management doesn’t clip anything – but you have to adjust them yourself.
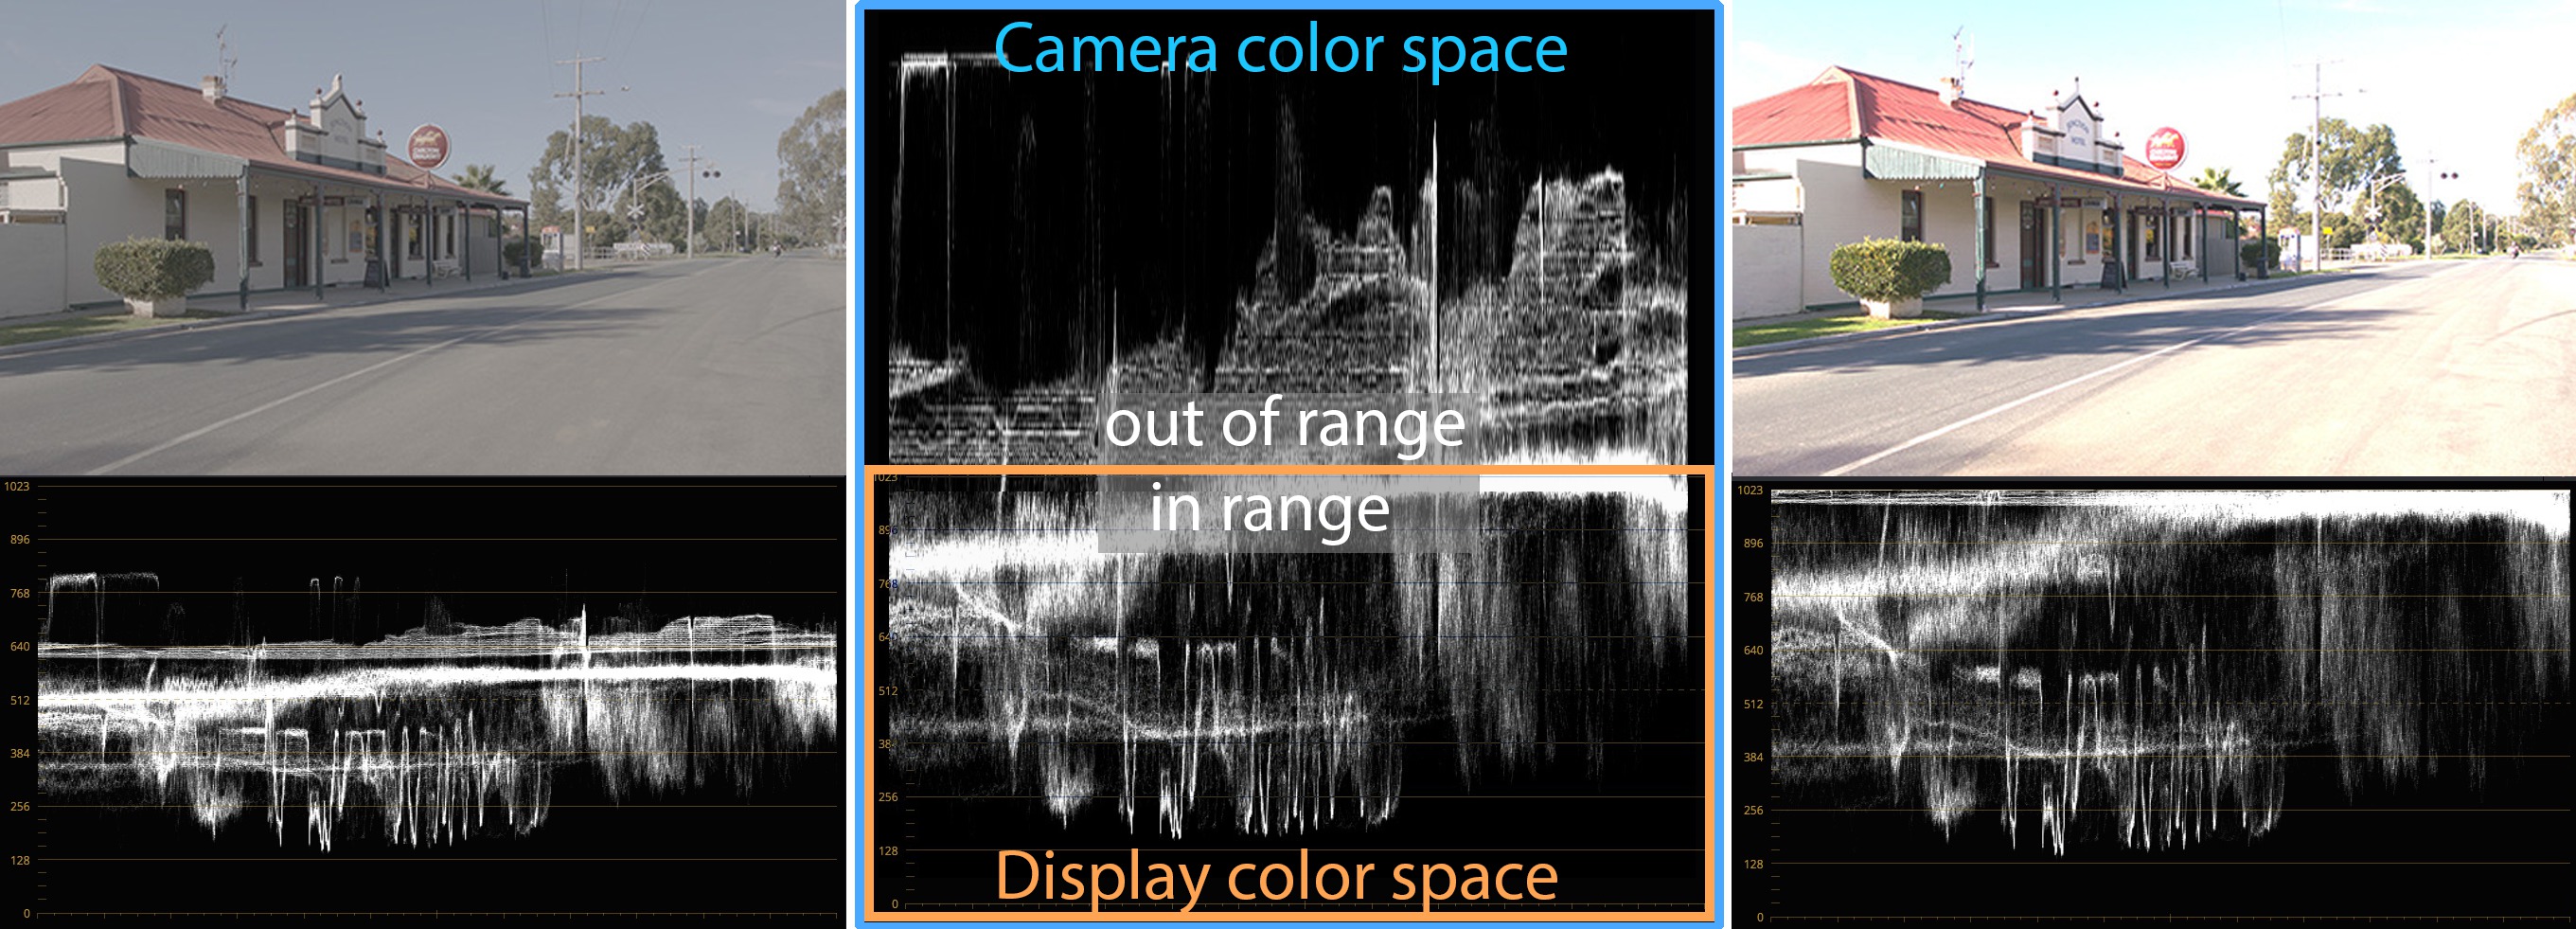
Camera LUTs like the one supplied by Arri don’t just transform the color space, they also reduce and adapt it. It’s called mapping. The camera color space is remapped to fit inside the display color space. Anything that’s out of range is compressed down and some of the in-range signal is compressed as well to make space for it. (Not all camera LUTs do this, by the way. The standard Blackmagic camera LUTs transform but they don’t map.)

For Color Management to produce similar results, it needs to be able to map as well. Starting with version 14, DaVinci Resolve has provided several tools to do exactly that.
Method 1 – Gamut Mapping OFX
The first method uses an OFX called Gamut Mapping. Despite its name, the OFX provides controls not only for out-of-range saturation (“Gamut Mapping”) but also for luminance (“Tone Mapping”). The “Gamma” option lets you choose the color space you want to map the luminance to. Once you’ve applied the OFX to a node, under Tone Mapping Method choose Simple, and … that’s it! No more blown out highlights. That’s all you have to do. Well, almost. The blacks are still too high, but that can be cured by changing the Gamma option to Use Timeline. And while you’re here, it’s a good idea to activate Saturation Compression in Gamut Mapping Method to control any out-of-range saturation as well.
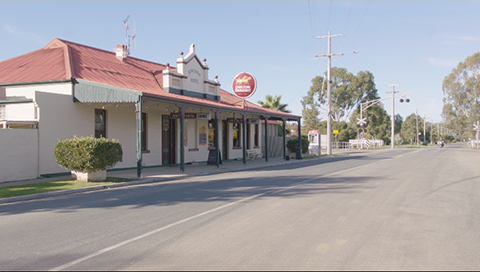
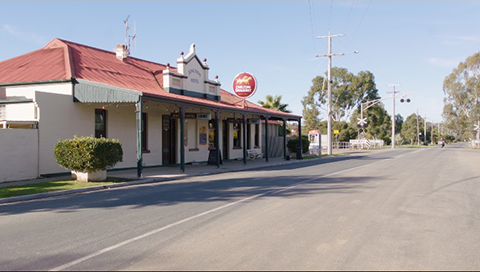
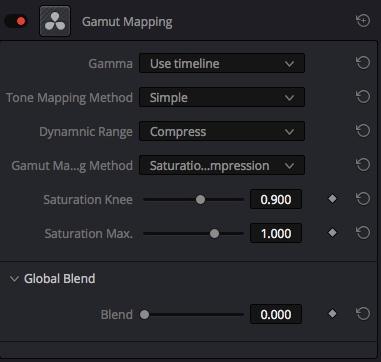
So what’s happening here? The Simple option in Tone Mapping is essentially a contrast curve with an S shape, so it compresses both highlights and shadows. It’s designed, like the Arri LUT, to remap a large color space into a small one.
This contrast curve means that working with the OFX is similar to working with a LUT. Changes to the way the highlights and shadows are compressed should happen before the OFX, normal grading can proceed after it. But unlike LUTs, which are applied as the last operation inside a node, OFX are applied as the first operation, so you have to add a node upstream of the OFX node if you want to tweak the signal feeding into it.
Once you’ve set up the OFX, you can save the grade and copy it to all Log clips in your sequence, whatever the camera (Sony, Blackmagic, Arri, Canon, RED, Panasonic, etc.). You don’t need to readjust the settings each time: one size fits all. That’s because the Color Space Transform for each type of camera is managed by the Input color space you’ve assigned to the footage, as explained in the previous article (Taming Color Management – Part 1). All you’re doing with the Gamut Mapping OFX is to add mapping for anything out of range. You may find footage that doesn’t use the whole tonal range a bit dark, but in that case, just correct the Gain.
If you want more customized control of mapping for certain clips, you can switch the Tone Mapping Method to Luminance Mapping and adjust the Max Input Luminance level. Be aware that you’re setting a maximum input level here, so it will clip anything you leave out of range. Method 2 – Color Space Transform OFX
This method uses another OFX that also contains mapping controls: the Color Space Transform OFX. You can use it just to map the signal, but in that case the results are not quite the same or as efficient as the Gamut Mapping OFX. Where the Color Space Transform OFX shines is when you use it as a stand-alone to do everything, not just mapping.
Using it as a stand-alone means that you don’t assign an Input Color Space to footage with the right-click contextual menu for clips in the Media Pool or in the Color page. Leave all your footage at the default Rec709 2.4.
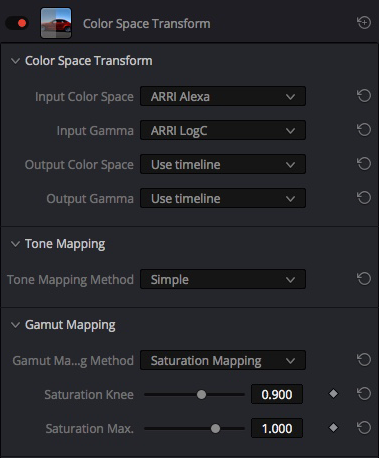
The Input Color Space is assigned inside the Color Space Transform OFX itself. You have to assign both “Color Space” (this is in fact gamut – see the footnote in Part 1 for an explanation) and Gamma. Leave Output Color Space and Gamma on Use Timeline, the default setting.
Change the Tone Mapping Method to Simple and activate Saturation Mapping, and you’re good to go. In terms of workflow, everything is exactly the same as for Method 1, just remember to change the Input Color Space and Input Gamma when you copy the node to clips from a different camera.

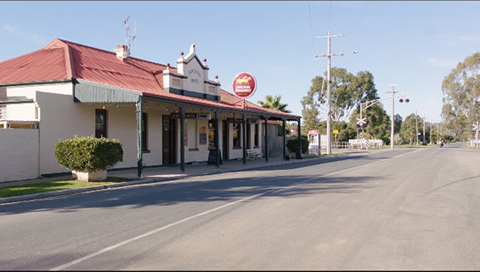
With this stand-alone approach, you don’t even have to activate Color Management in the Project Settings. The OFX will work fine by itself. You only need to activate Color Management if you’re not working in Resolve’s default Rec709 2.4 color space or want to deliver to a different color space. If, for whatever reason, you decide to activate Color Management after you’ve started grading, just remember not to change the Timeline Color Space from its default Rec709 2.4 (See Taming Color Management – Part 1 for an explanation of all this).
Tone and Gamut mapping in the Project Settings
The Project Settings for Color Management also offer mapping tools. They don’t produce exactly the same results as the two methods above, but they’re interesting for an editor because they affect all footage in the project. Clips in the Media Pool will be acceptably mapped, even if they’re not perfectly mapped, and you won’t have to add an OFX every time you add a clip to the timeline.
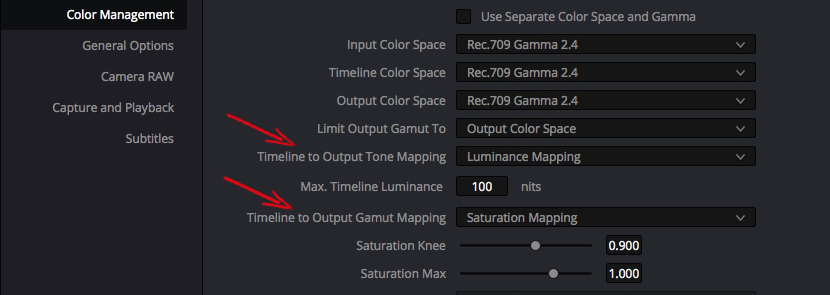
If you want to use Tone Mapping in the Project Settings, you’ll need to experiment with the various options. They won’t work in quite the same way as they do with the OFX. For example, the Simple option depends on the Max Timeline Luminance level. A good starting point for Log footage would be to set this somewhere between 300 and 500 nits and then switch back to Simple. You should also be aware that Tone Mapping in the Project Settings will affect all your footage, including clips that are natively Rec709 2.4.
Avery Peck has made a good video tutorial about a Project based approach to Color Management on YouTube:
Legalizing saturation
Here’s a final tip given to me by colorist Donovan Bush.
The Saturation Mapping function in the Gamut Mapping OFX is invaluable for any project, not just ones that are color managed. It’s takes saturation that exceeds the range of your color space and compresses it down until it’s in range. In other words, it “legalizes” the saturation, compressing the peaks so that they fit into broadcast Rec709 2.4’s limits (or whatever your Output color space is).
This is essential for any grading, not just for Log footage, and I systematically add it as a Timeline node so that it acts on all the clips in the sequence I’m grading. Just add and activate it, that’s all you need to do. The OFX has controls for a maximum level as well as a knee (the point at which the compression begins) but in my experience the default levels don’t need to be touched. This doesn’t mean you no longer have to watch out for illegal saturation – you can still oversaturate, it’s a compressor not a limiter – but the OFX does 95% of the work for you with smoother and cleaner compression than you get with, say, the sat-sat curves.
And that wraps it up for these two articles on Color Management! It’s a powerful tool and I hope all this will help to make it efficient and easy to use in your grading.
_______________________________
A footnote to clarify Rec709 gamma
Rec709 has a confusing number of different gammas. The gamma for camera sensors is around 1.9, a fairly light gamma. This is referred to in Resolve’s Color Management as Rec709 (Scene). For displays there are two possible gammas: 2.2, intended for viewing in a well-lit environment like an office (the same gamma as sRGB); and 2.4, intended for viewing in a darker environment like a living-room in the evening (but not in the dark, like a cinema). The standard for grading broadcast TV is Rec709 2.4, i.e. Rec709 with a 2.4 gamma.
When Resolve’s interface mentions just Rec709 in relation to gamma, it means Rec709 (Scene). If you want Rec709 2.4, make sure you choose the option that says 2.4.
That’s why the Gamma setting in Method 1 had to be changed to Use Timeline (or to 2.4): With the default Rec709 the OFX assumes you want to map the luminance to Rec709 (Scene), so the blacks are too light.
_______________________________
A French version of this article can be found on the author’s website, www.pixelupdate.com at the following link: http://www.pixelupdate.com/color_management_2
Other articles in the series Solutions to Resolve:
- The key to precise sharpening and noise reduction in DaVinci Resolve
- The key to accurate shot match in DaVinci Resolve’s Color Trace
- Unexpected clipping in DaVinci Resolve and how to avoid it
- Full data and video levels in DaVinci Resolve – don’t clip your proxies and transcodes

Filmtools
Filmmakers go-to destination for pre-production, production & post production equipment!
Shop Now