Whether you love it or hate it, 3D Stereography is here for awhile. And if you’re totally into it like I am, you quickly realize that there are few turnkey workflows out there to capture and process 3D Stereo video that’s easy to setup, shoot and edit Stereo pairs. Sure, there are a lot of high-end (expensive to rent) systems for two cameras to shoot, software to sync/mux the footage and rigs you can build to edit it, but GoPro has brought it together with a fun and easy-to-use system that anyone can use.
GoPro 3D Hero System Concept
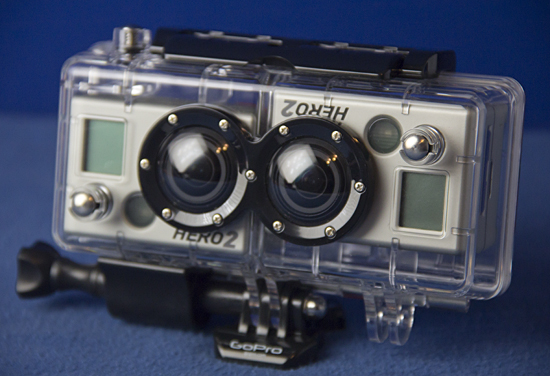
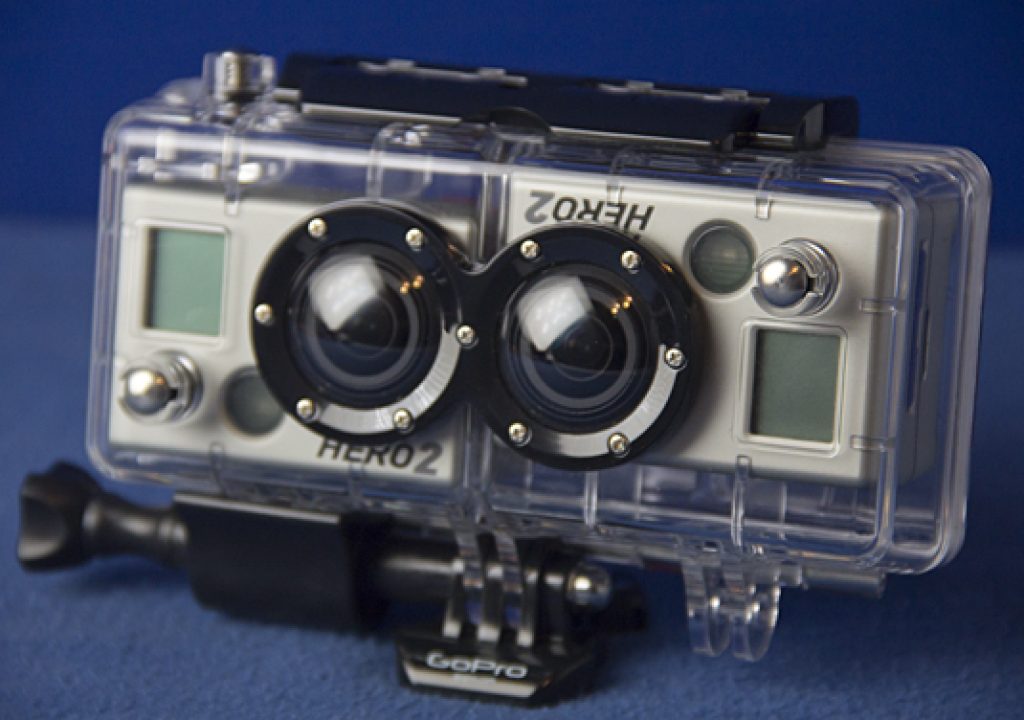
The 3D HERO System allows you to combine two HD HERO cameras, or two HD HERO2 cameras into a single housing to record 3D video and photos while simultaneously recording in 2D. A synchronization cable plugs into the rear HERO Port on both cameras to join them together, enabling both cameras to record video and photos in perfect synchronization.
What’s Included in the Kit?
3D Waterproof Housing • 3D Waterproof Door + Skeleton Door • 3D Hero Sync Cable • 3D Anaglyph Glasses (3 pairs) • Helmet Front Mount • 2 Flat + 2 Curved Adhesive Mounts • Assorted Mounting Hardware
FREE GoPro CineForm Studio software (download)
The GoPro 3D Hero System – just add 2 identical cameras!
The 3D Hero system works with both the original Hero camera and the new Hero2, but you may need to check for a current firmware upgrade to be sure your cameras will function properly. Check the GoPro site for update announcements. (The system is not compatible with the Hero 960 or standard definition cameras.)
I used two HD Hero2 cameras for my tests, you can also use two of the original HD Hero cameras
The cameras must be set to the exact same frame rate and scale but the “Left” camera is inverted into the 3D housing as shown above. You don’t need to set the Left cam to “up-side-down” viewing mode as it will automatically be switched when attaching the sync cable.
Correctly synced cameras.
If your sync cable isn’t connected correctly (you have L&R switched) or the camera settings don’t match, then at least one of the camera LCD screens will be blank after you’ve turned them on. When it’s connected properly and both cameras are set identically, then you will see that the LCD screen will match and the Left cam will be automatically re-oriented.
*Continued on Page 2 –>
Shooting with the GoPro 3D System
If you’ve read my other GoPro reviews/articles here on PVC (links at the end of this article) you’ll see that I’m not one of those guys who will jump off a cliff, ride a gnarly bodacious wave on the pipeline or snowboard down a 60º slope, but I do tend to find some fun and interesting uses for a POV cam right here where I live in beautiful Ojai, CA.
VIRTUAL HORSEBACK RIDE
This first test involved our young horse, where I attached the GoPro 3D Stereo housing to the horn of the saddle while I walked her around an orchard and sent her off running around the workout arena. The curved adhesive clip mount worked perfectly and I can attach any GoPro camera to it. This gives the viewer a simulated experience of a “virtual horseback ride” when viewed in 3D with Red/Cyan anaglyph glasses. I processed this clip in the CineForm software and exported as a Red/Cyan Anaglyph format before uploading to YouTube. (see next page for info on the CineForm software).
The 3D Stereo Housing is easily attached to the saddle horn with a curved adhesive mount
See the finished example in 3D with anaglyph glasses (see link at end of article for information on getting a FREE pair of Red/Cyan anaglyph glasses mailed to you)
3D ROAD TESTS
We have plenty of beautiful curvy country roads here in the Ojai Valley and I like to get the POV from a camera right behind my front driver’s side wheel. Since the GoPro 3D Stereo Housing is pretty big and heavier with two cameras inside, it’s best to use a double suction cup mount setup to keep it steady.
I wanted to keep the camera low on the side body panel, so I added a couple elbows to the brackets to position the camera in just the right spot. The flexibility provided by all the various mounts, extensions and adapters provided lets you mount your GoPro in just about any position you can dream of.
Using two suction cup mounts for the GoPro 3D system
Unfortunately, while the camera was stable the flex in the door panel still gave the camera quite a bit of wobble in the end – most probably due to the weight of the camera. I may run some further mounting tests to see where I can get a similar POV with less wobble.
For this example, I exported the video with the “Side-by-side” method and let YouTube create the Anaglyph so you can compare between the two videos on this page. You can also turn OFF the 3D option and view in 2D using this method (preferable if your viewers may not be able to view in 3D or don’t’ have glasses). See more about using the CineForm software on the next page.
The final movie was exported side-by-side before uploading to YouTube
See the finished example in 3D with anaglyph glasses (see link at end of article for information on getting a FREE pair of Red/Cyan anaglyph glasses mailed to you)
*Continued on Page 3 –>
Using the CineForm Software to Create your 3D Stereo Movie
The Free CineForm software you can download from the GoPro web site (http://gopro.com/3d-cineform-studio-software-download/) streamlines and simplifies the process of doing basic crops/edits to your 3D Stereo footage and lets you tweak the convergence for optimum viewing.
GETTING STARTED
After opening the CineForm software you will need to select your 3D stereo clips. *It’s important that you never rename the files from your data card and be sure to keep them in the same directory hierarchy as they were written on the cards from both cameras!
Simply selecting either the right or left file from a stereo pair, the CineForm software automatically adds the other clip(s) from the opposing camera’s directory. At this point you can select one of the clips from the list and set the in & out points for each clip you wish to convert.
Importing clips into the CineForm software
It’s important to rename your clip to be converted and choose the directory where you want it saved to so it’s easier to find. Then simply add them to the list of files to be converted.
Rename your clips and select the proper directory
Next, you’ll want to convert all the clips you’ve added to the list. This will generate a new file on your hard drive that will contain both the left and right image data (also referred to as “muxing”). Once the conversion is completed, select the “Edit, next step” button and your converted files will automatically be added to the import list on the left.
Converting the selected clips to one “muxed” file
Use the controls on the right side panel to make adjustments to the horizontal and vertical convergence (best if all editing be done in Red/Cyan Anaglyph mode with glasses unless you have a dedicated 3D monitor and shutter goggles available). You can also adjust the zoom/crop and color controls at this point.
Making adjustments to the 3D convergence
Before you export the final movie, be sure to play-back the video entirely to look for any strange convergence issues. If you set the horizontal or vertical convergence incorrectly, then it won’t look right and will cause headaches and eye strain for your viewers. *By default, the CineForm software automatically sets the best convergence guess for you, so rarely will you need to re-adjust your movies anyway.
Playing-back the converted video in CineForm
When you’re ready to export your video(s) select the clip you’d like to export from the left column and choose File>Export .mov from the pull-down menu and select the type of 3D video you’d like to save. *On the previous page, you can see two variations of this option, both resulting in a Red/Cyan Anaglyph.
Select the type of 3D movie you wish to save your clip to
For Thrill-seekers Only!
Okay, if you still need to see some daredevil antics in 3D and aren’t satisfied with my more “grounded” examples, then let me share this video with you from GoPro’s YouTube channel as another example of the 3D Stereo system at work:
Get your FREE 3D Glasses!
American Paper Optics, the leading manufacturer of 3D glasses will be happy to send you one free pair of anaglyph (red/cyan) paper 3D glasses. *NOTE: These are actually better than hard plastic frames w/lenses because they’re film instead of dyed plastic that can vary in manufacturing.
Please follow these instructions to ensure your delivery:
Send them a Self Addressed Stamped Envelope “SASE” with First Class postage for one ounce (Current First Class Stamp)
American Paper Optics, LLC – 2995 Appling Road, Suite 106 – Bartlett, TN 38133
Links to my other GoPro Articles/Reviews here on ProVideo Coalition:
The GoPro HD Hero2: A Real-World Wide-Angle View
Slo-Mo with the GoPro HD Hero2
Jeff Foster is a published author of several how-to books and training videos in the motion graphics, animation and video production industries and is an award-winning video producer and artist. Visit his web site to learn more about his training methods, tips & tricks at PixelPainter.com


