We have a quick video guide (under 8 minutes) of the installation and execution of the script on moviola.com, but if you prefer to read your words rather than watch them, here’s the rub:
Install into an Anaconda environment

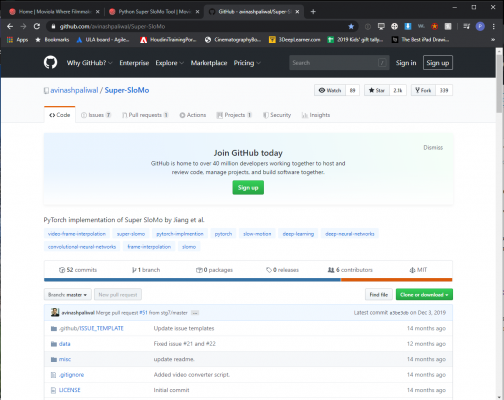
Just head to: https://github.com/avinashpaliwal/Super-SloMo (the repository for the slow motion script) and click the ‘Clone or download’ button at right to download a zip of everything.
You’ll also want to download the pre-trained ML model from here.
Then create a new Anaconda environment. Check out our previous article for the specific steps for this.
There are just a few dependencies you need to have installed to get the slow motion conversion to work. In Anaconda these can be installed with the following commands:
conda install torchvision -c pytorch
conda install -c conda-forge tqdm
conda install -c conda-forge ffmpeg
Run the ‘Super SloMo’ script

Make sure you’re in the same folder as the ‘video_to_slomo.py’ file (on Windows type ‘cd’ and then the path to the folder), and that you’ve copied the SuperSloMo.ckpt file you downloaded separately into the same folder. Then you can type:
python video_to_slomo.py --video [sourceFile] --sf [Speed] --checkpoint .\SuperSloMo.ckpt --fps [fr] --output [outputFile]
Replace the text in brackets (replace the brackets as well) with the following:
[sourceFile] <- The full file path to the source clip, e.g. C:\Users\micro\Documents\myVideo.mp4
[Speed] <- The slowdown multiplier. E.g. for quarter speed this would be 4
[fr] <- The source clip frame rate. E.g. for 24 fps footage, enter 24
[outputFile] <- The full file path and name of the slow motion file you want to create. NOTE: This needs to end in ‘.mkv’ since that’s the format the script’s designed to export to.
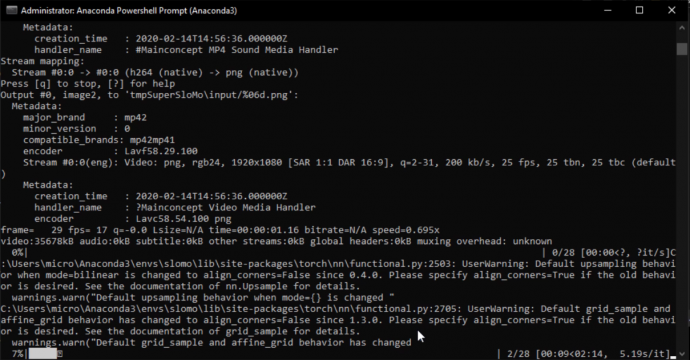
You may see some warnings when you run the command; check out the video for more details.
Convert the MKV to a standard format
If you’re wondering what an MKV file is, then you’re not a Blu-ray pirate. OK, that’s a little unfair; there are legitimate reasons for using MKV. It’s a media container in the way that QuickTime and MP4 are containers. Developed in Russia and open-sourced, it’s become a popular format for ripping Blu-ray media to digital files.
Never fear: VLC Player can convert it to a format your NLE will be able to work with. In VLC just choose Media > Convert/Save, locate the MKV to convert, pick a profile, then click the settings button (the wrench icon) to modify individual codec settings. Finally choose a destination file name and location and click ‘Start.’ Done.
You’ll find that this slow motion tool will work better in most cases than standard optical flow alone. In some cases it will be marginally worse. In an upcoming article I’ll actually walk through the process of fixing retimes when the optical flow and the AI fail you and you’re left with a bubbly mess. (No shot is truly impossible, it’s just a matter of how much money/time you have to throw at it.)

