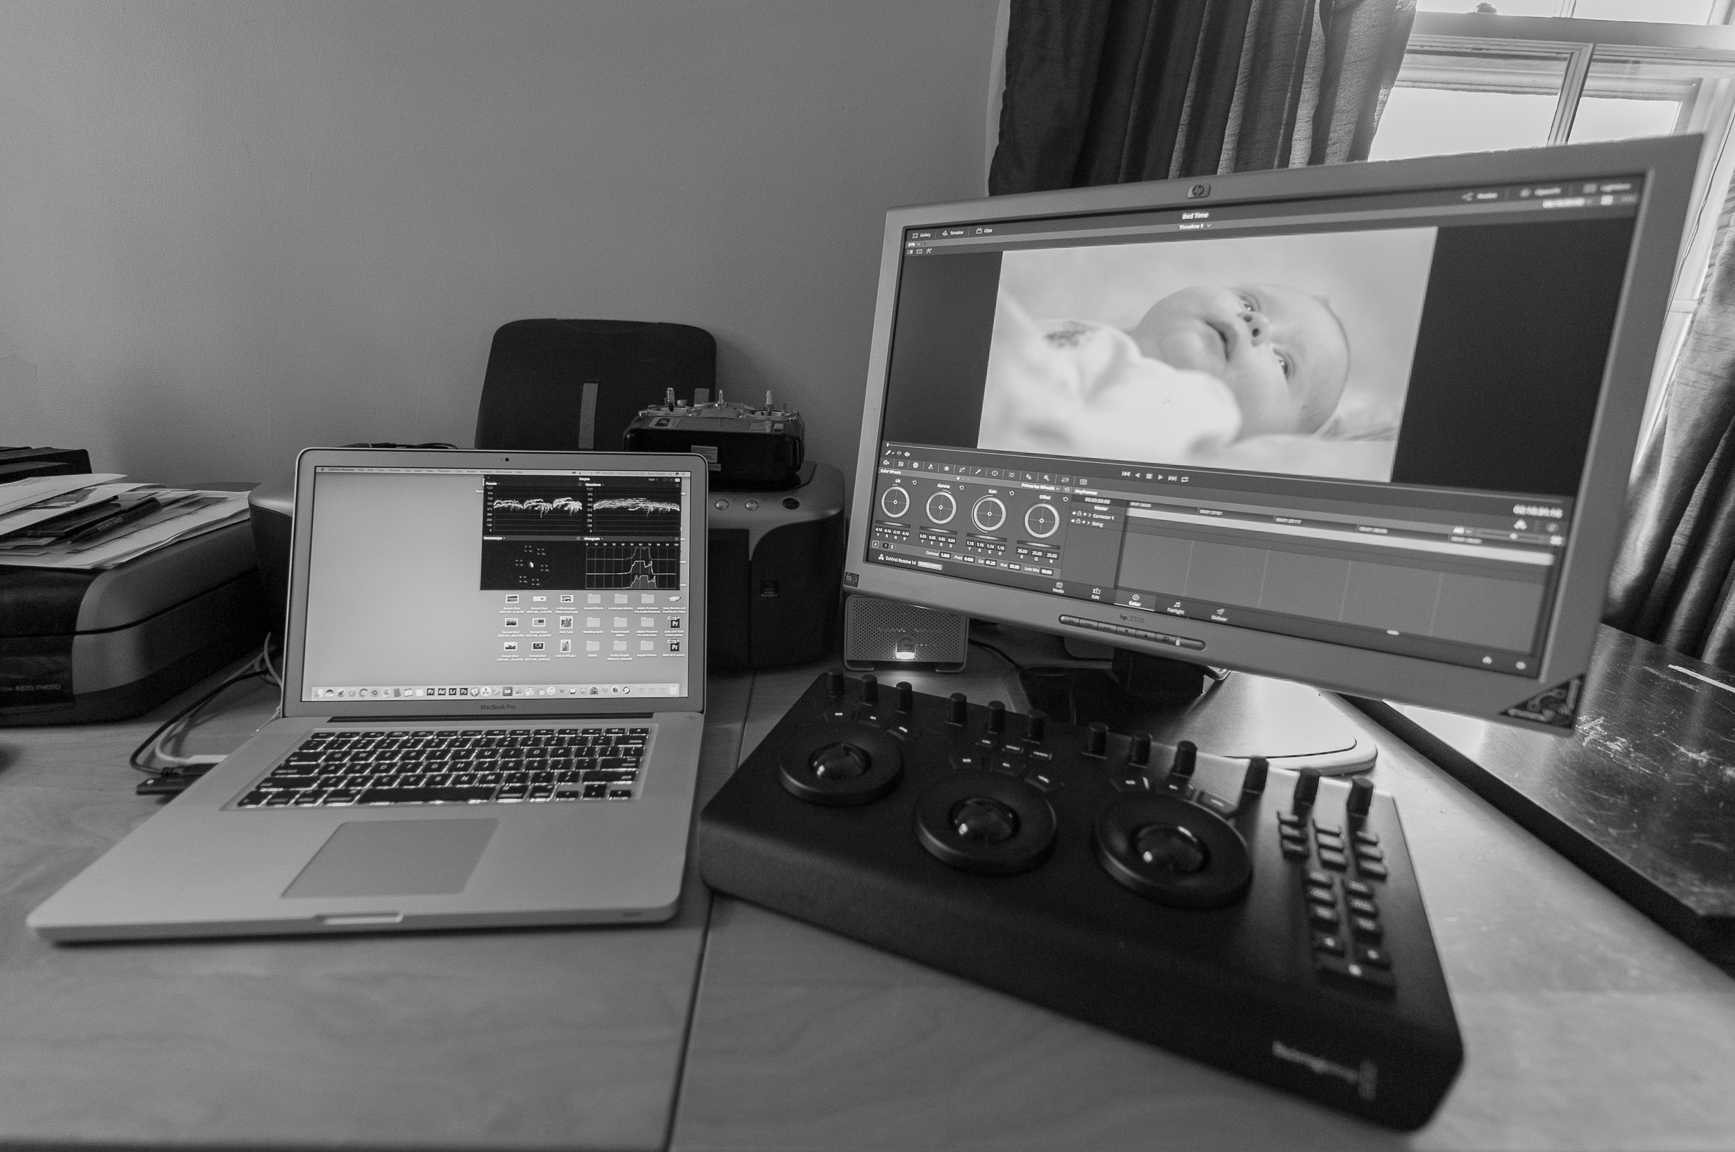
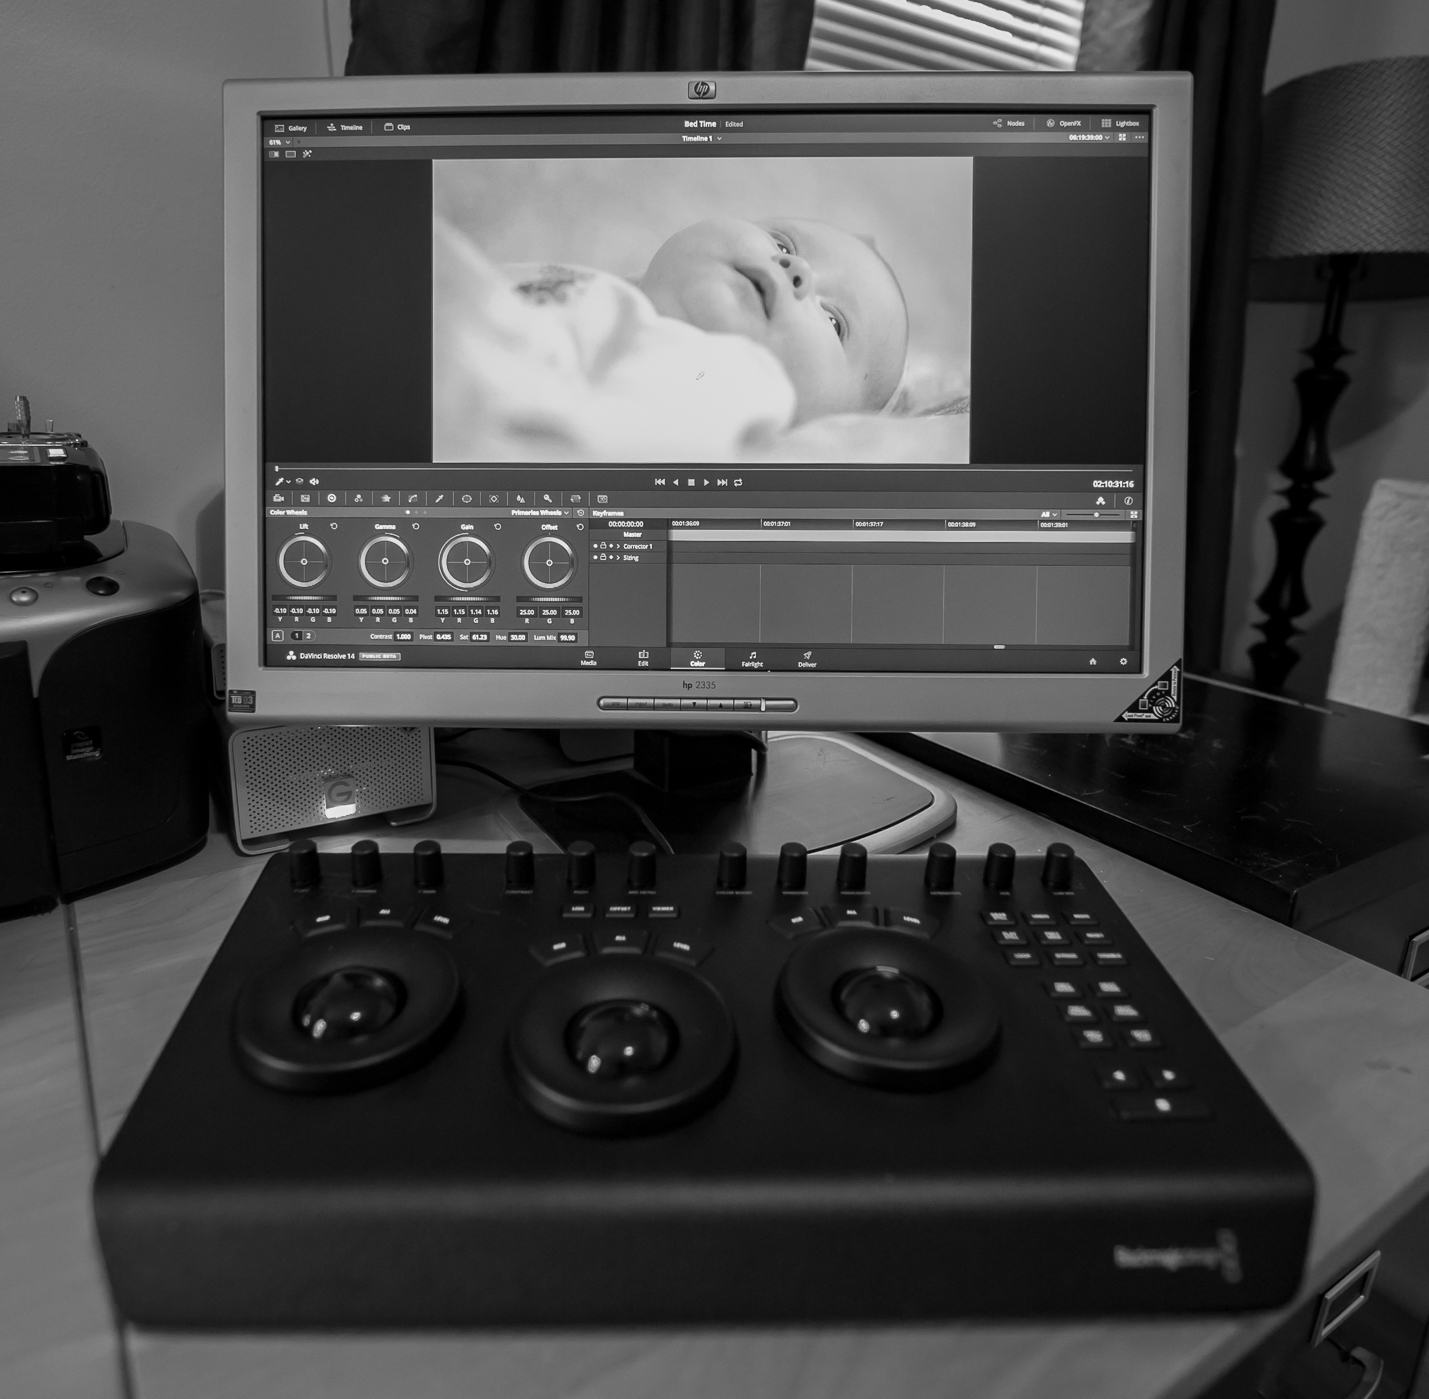
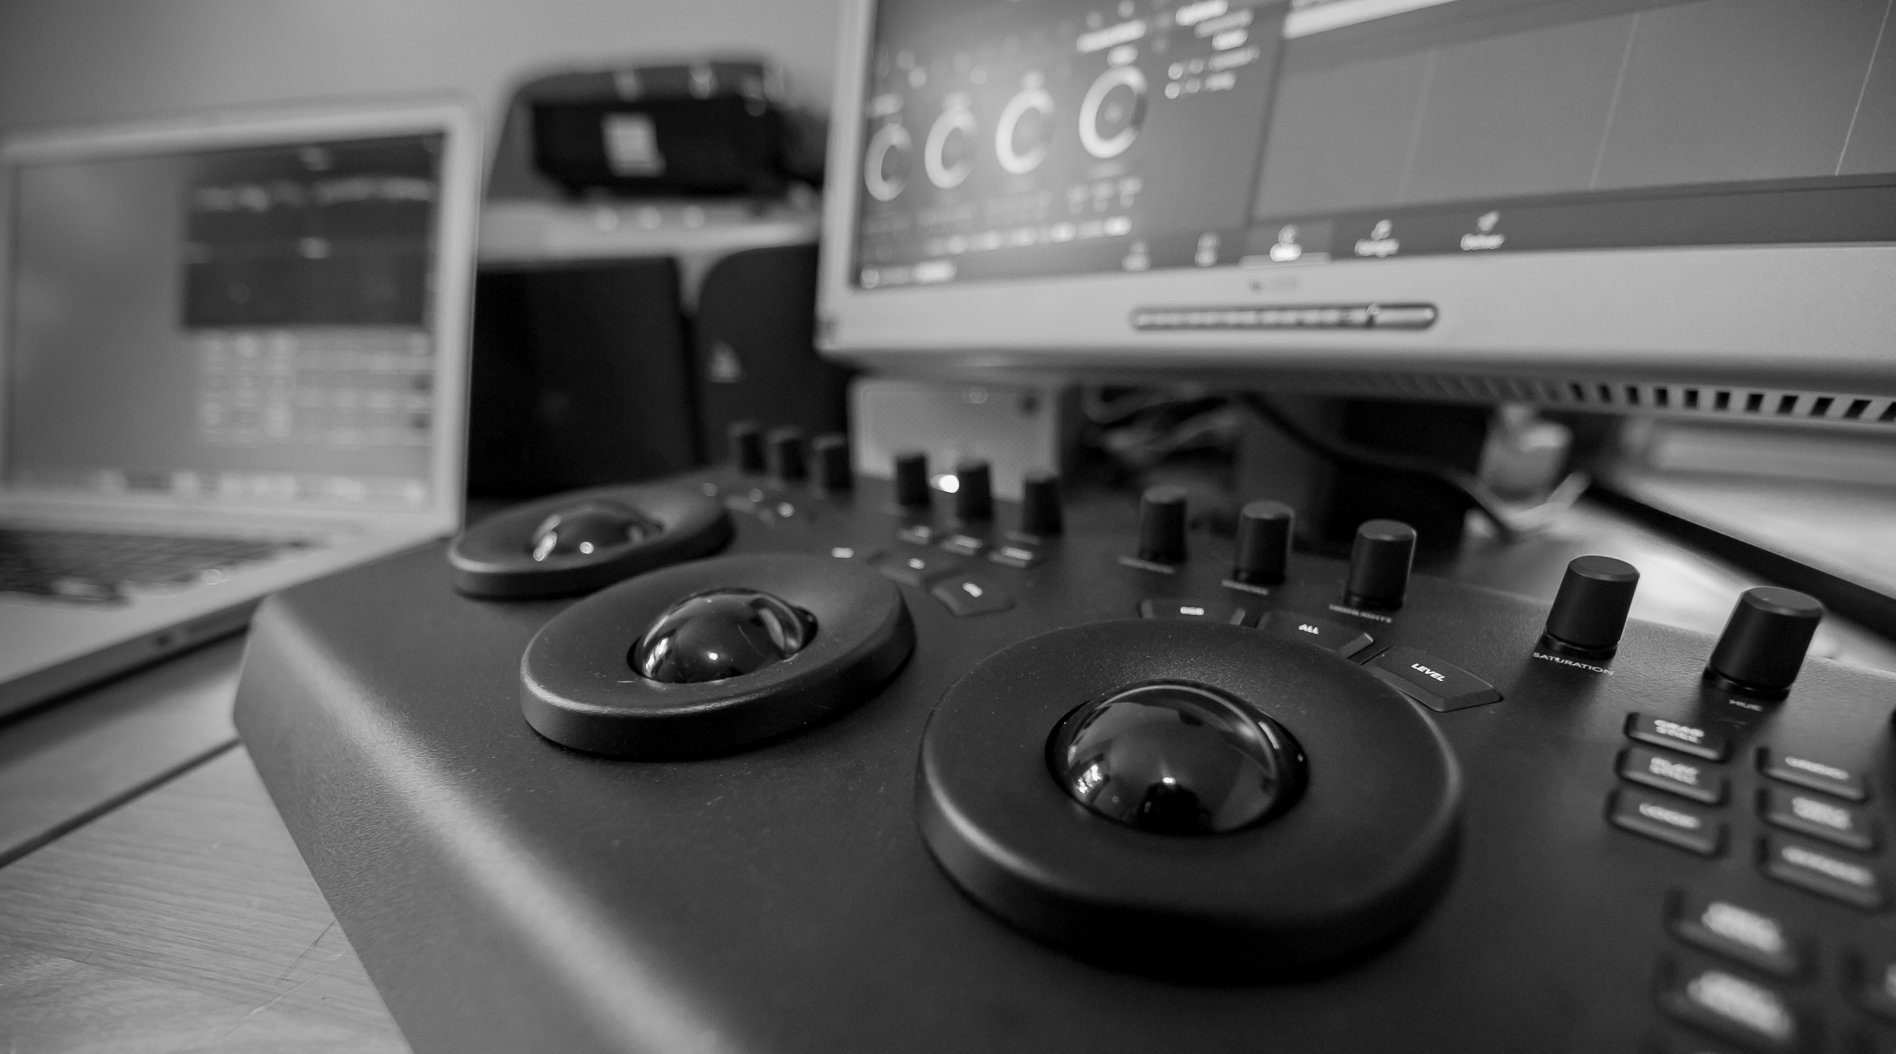
The Olympics motto is Citius, Atlius, Fortius, when translated from Latin the motto means Faster, Higher, Stronger. The motto does not imply the competition between athletes but the competition within an athlete. After using Blackmagic Design’s DaVinci Resolve Micro Panel I feel like this old world motto can be applied again without losing its meaning. The track balls and knobs of the Micro Panel help a colorist or DIT be faster, reach a higher quality of color, and end up a stronger colorist in the end. 
Faster
I counted myself as pretty quick when color correcting on my MacBook Pro by using the trackpad or by using a mouse on the dedicated DaVinci Resolve desktop I use at work. I was wrong. Way wrong. In my first moments, I learned the DaVinci Resolve Micro Panel was going to speed up my process. Being able to work in the Primary Color Controls with the three Track Balls nearly exclusively meant I was able to set my shadows at the same time as my highlights. I am talking about dialing in the highlights and shadows to near perfectly quickly.
After a little bit of time muscle memory takes over on the placement of the smooth Track Balls, knobs, and buttons. I could stare at the screen without ever taking my eyes off as I color corrected my footage. This muscle memory also meant I could bounce my video to full screen on my laptop to see a larger picture as I fine-tuned the image.
Higher
There is only so much detail a mouse or a finger on a trackpad can produce. When using the Track Balls I saw how fine I could dial in my exposure and color. I felt like the area on the color wheel suddenly became bigger when using the Track Balls, whereas the color wheel feels smaller when using a mouse. It is almost as if the unit of measurements are different between a mouse and the Track Balls. For example, the mouse might be using centimeters whereas the Track Balls are using millimeters. When trying to find just the right hue of blue these differences can be pretty monumental. Will a viewer notice? I do not know, but I felt like I reached a higher quality of color correction when using the DaVinci Resolve Micro Panel.
Stronger
I almost think Blackmagic’s intent was to help those using DaVinci Resolve to become a little bit better of a colorist by forcing them to work in the Primary Tools a little longer. Maybe my hunch is off the mark. I can say the Micro Panel helped me stay within the primary palette longer meaning I did not dive into the secondary color correction as often. Is that good or bad? I kind of think my secondary color correction might have been my coloring with training wheels. After using the Micro Panel I feel like I learned how to reach a little be more professional looks without jumping into secondaries.
Micro Panel +s and -s
The Micro Panel is built like a tank. Could it take a fall off a DIT cart onto asphalt and still work perfectly? Yes, I think it could but let’s hope no one finds this out the hard way. This panel is not too expensive either with a $995 price. The track balls and knobs are butter smooth with a slight amount of tension so you can feel the changes you are making. It also worked as soon as I plugged it into my laptop. USB-C cord included and no need to power the panel with wall power.
After making Primary Color changes one feels like the panel should offer a few secondary color controls, but I guess that is why Blackmagic Design built the larger Mini Panel. I wish there was an Add Node Button. Will this panel travel well for DITs? It will likely take its own hard case which adds to luggage costs, but this is minor. DaVinci Resolve only for this panel. No Lightroom, Premiere, or any other software will work with the DaVinci Resolve Micro Panel. This is a one program panel only. I also wish there were some editing features on the panel, but I have no idea how it would be implemented or used.
Conclusion
In the end, Blackmagic Design loaned me the DaVinci Resolve Micro Panel for two weeks. I did not need the full fourteen days to fall in love with the panel. In a matter of hours, I found the less than $1,000 panel made my color correcting process faster, the quality of my grades reached a higher quality, and I developed a stronger level of color correction savvy I might not have reached if I was only working with a slower process.
DaVinci Resolve Micro Panel
- Small enough to take with you, so you can bring it to any Resolve system (12.5.5 or later)
- Shares basic layout with Mini and Advanced Panels
- Interfaces with and controls software
- Three track balls with outer control rings
- Log and Offset color-correction selection buttons
- Custom control knobs with 4096 steps per rotation and push-button reset
Luminance
- Y lift Control: Adjust the contrast of the image in the darker areas, specifically in the Y (luminance) channel only. This adjustment allows changing the black point without changing saturation.
- Y Gamma Control: Adjust the contrast of the image in the mid-tone areas, specifically in the Y (luminance) channel only. This control helps add depth and extra vibrancy to shots.
- Contrast
- Contrast Control: Increase contrast to make the blacks darker and the whites brighter, or decrease contrast to do the opposite.
- Pivot: Change the center of tonality about which dark and bright parts of the image are stretched or narrowed during a contrast adjustment.
- Mid-Tone Detail: Affect the contrast of regions of the image with high edge detail to increase or decrease the perception of image sharpness and definition. Often used for softening facial features making it popular for beauty shots.
- Detail
- Color Boost Control: Raise the saturation in regions of the image with low saturation while leaving properly saturated areas alone. Also known as a vibrance operation, this is useful for adding color without oversaturating the image.
- Shadow Control: Selectively lighten or darken shadow detail without affecting your images mid-tones.
- Highlight Control: Enable retrieving blown out highlight detail in high dynamic range media by lowering this parameter. This allows you to achieve a smooth blend between the retrieved highlights and unadjusted mid tones for a natural-looking image.
- Saturation
- Increases or decreases overall image saturation, you can turn your color image into a grayscale image with this control.
- Hue Control: Rotate all hues of the image around 360° of the color wheel. The default setting is 50, which retains the original distribution of hues.
- Luminance Mix Control: Control the balance between the YRGB adjustments and Y only adjustments made using the Y channel lift, gamma, and gain controls.


