Introduction
If you ever have to incorporate what’s happening on a device into one of your videos, you’ll need to source that screen recording. At one end of the difficulty scale, you might fake it all, and engage a team of motion graphics artists to recreate a screen from scratch. At the other, you might just hit the big red button in QuickTime Player. Here, I’ll take you through several of the tools you can use to capture what’s happening on a computer or mobile device — there are more ways to do this than you might have thought.
Screen recording a Mac or PC with software
This is probably the most obvious option, and there are many potential candidates.
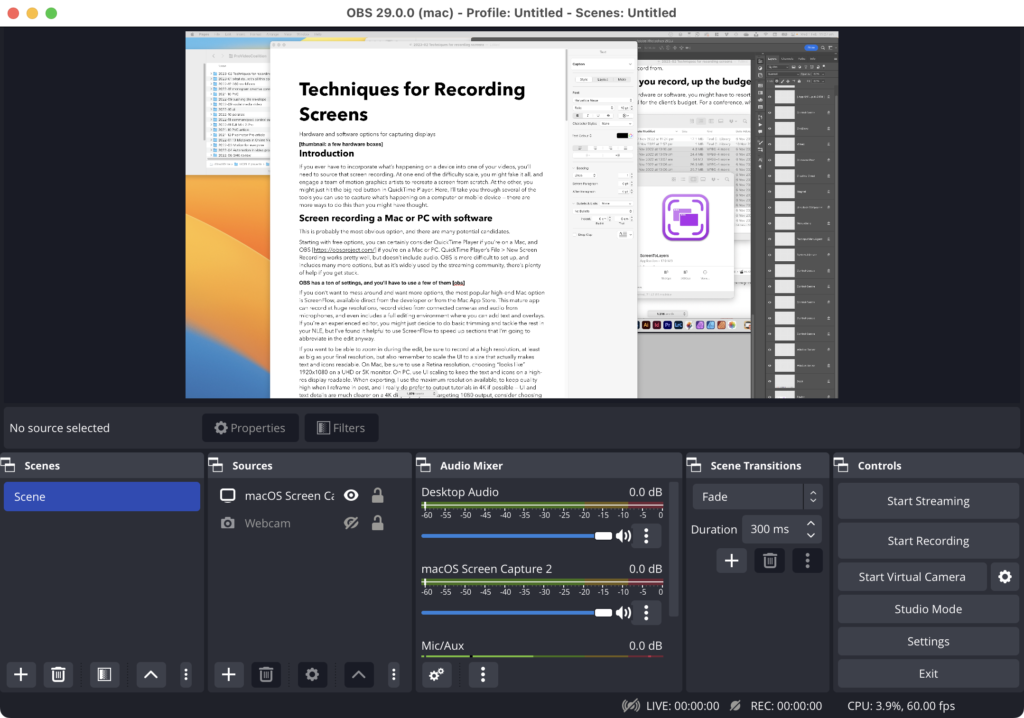
Starting with free options, you can certainly consider QuickTime Player if you’re on a Mac, and OBS if you’re on a Mac or PC. QuickTime Player’s File > New Screen Recording works pretty well, but doesn’t include audio. OBS is more difficult to set up, and includes many more options, but as it’s widely used by the streaming community, there’s plenty of help if you get stuck.
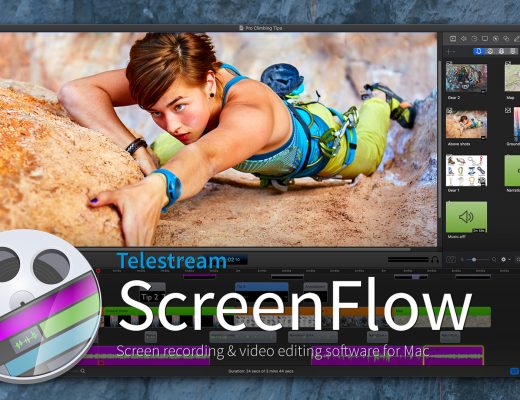
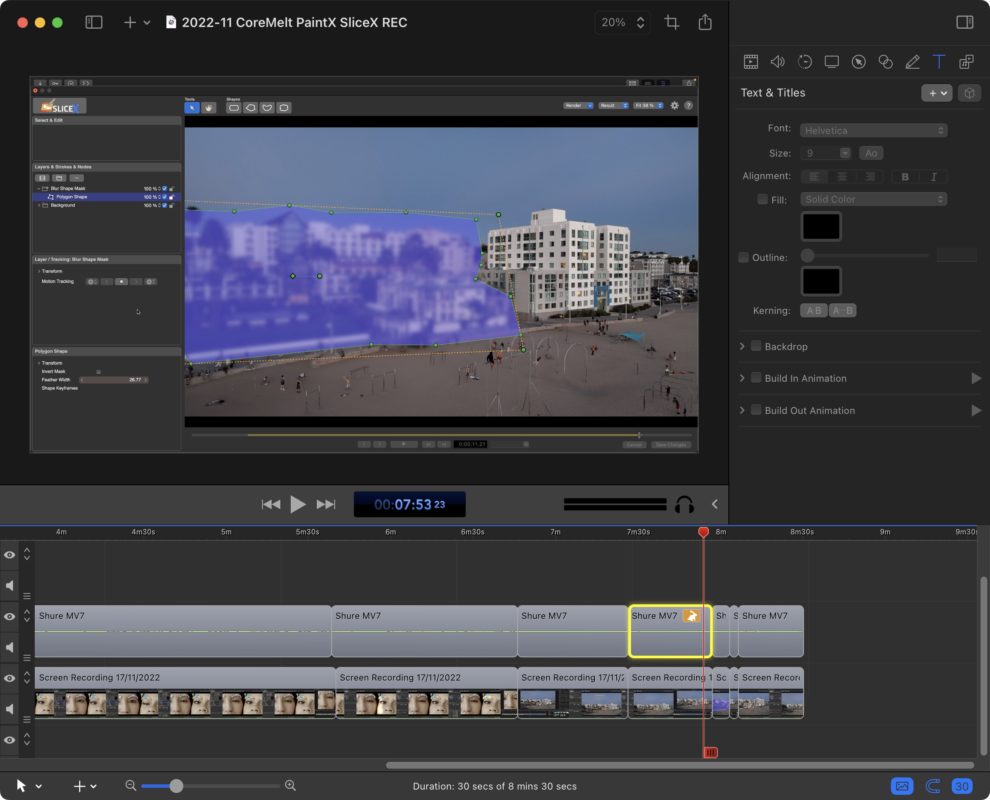
If you don’t want to mess around and want more options, the most popular high-end Mac option is ScreenFlow, available direct from the developer or from the Mac App Store. This mature app can record at huge resolutions, record video from connected cameras and audio from microphones, and even includes a full editing environment where you can add text and overlays. If you’re an experienced editor, you might just decide to do basic trimming and tackle the rest in your NLE, but I’ve found it helpful to use ScreenFlow to speed up sections that I’m going to abbreviate in the edit anyway.
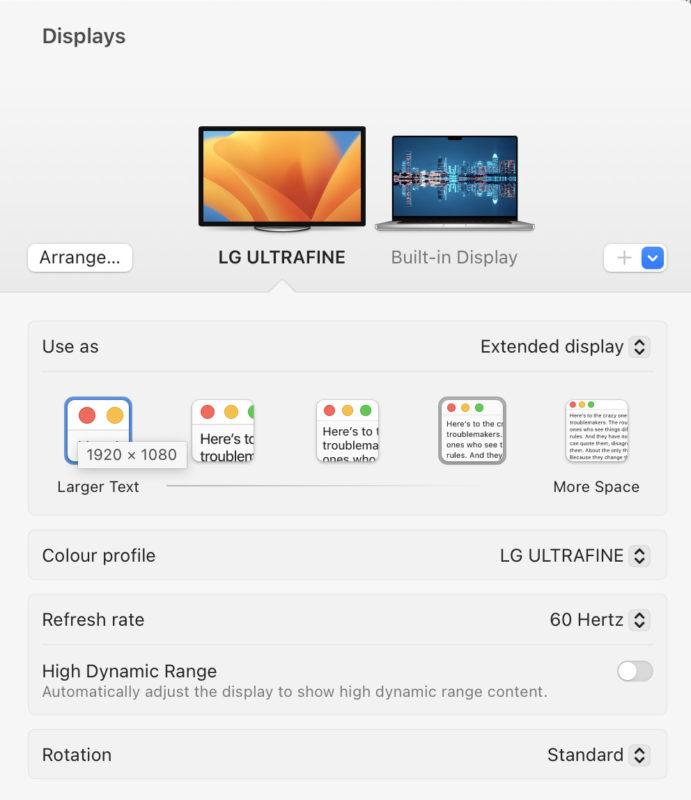
If you want to be able to zoom in during the edit, be sure to record at a high resolution, at least as big as your final resolution, but also remember to scale the UI to a size that actually makes text and icons readable. On Mac, be sure to use a Retina resolution, choosing “looks like” 1920×1080 on a UHD or 5K monitor. On PC, use UI scaling to keep the text and icons on a high-res display readable. When exporting, I use the maximum resolution available, to keep quality high when I reframe in post, and I really do prefer to output tutorials in 4K if possible — UI and text details are much clearer on a 4K display. If you’re targeting 1080 output, consider choosing an even lower UI resolution (“looks like” 720p) or zooming in a lot.
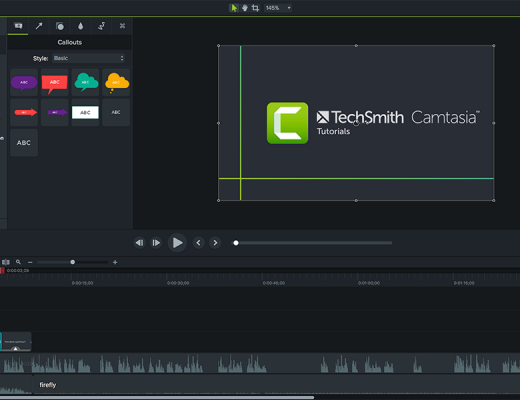
ScreenFlow has been my tool of choice for recording hundreds of tutorial videos and screen recordings for YouTube videos over the years, and it’s been reliable for me. If it doesn’t work for you, or you’re on PC, consider Camtasia instead — it’s a broadly similar app.
One quick note. If your job is to edit a video conference, don’t rely on the recording feature of that software to do the job. Audio and video quality will be poor, with low frame rate and resolution, and you can do much better with one of the options discussed above.
Screen recording an iOS device with software
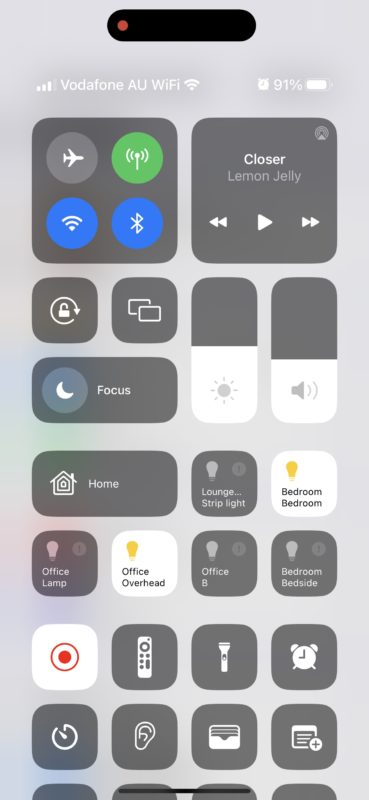
Recording an iOS device is pretty straightforward. In most circumstances, it’s easiest to swipe down from the top right corner, press the record button in the Control Center, wait for the countdown, and then do whatever you need to. (Note: if you don’t see this icon in your Control Center, add it in Settings > Control Center.) Repeat these steps to stop when you’re finished, then find the recording in your photo library. The steps are similar on Android, but you’ll need to swipe down twice from the top to start.
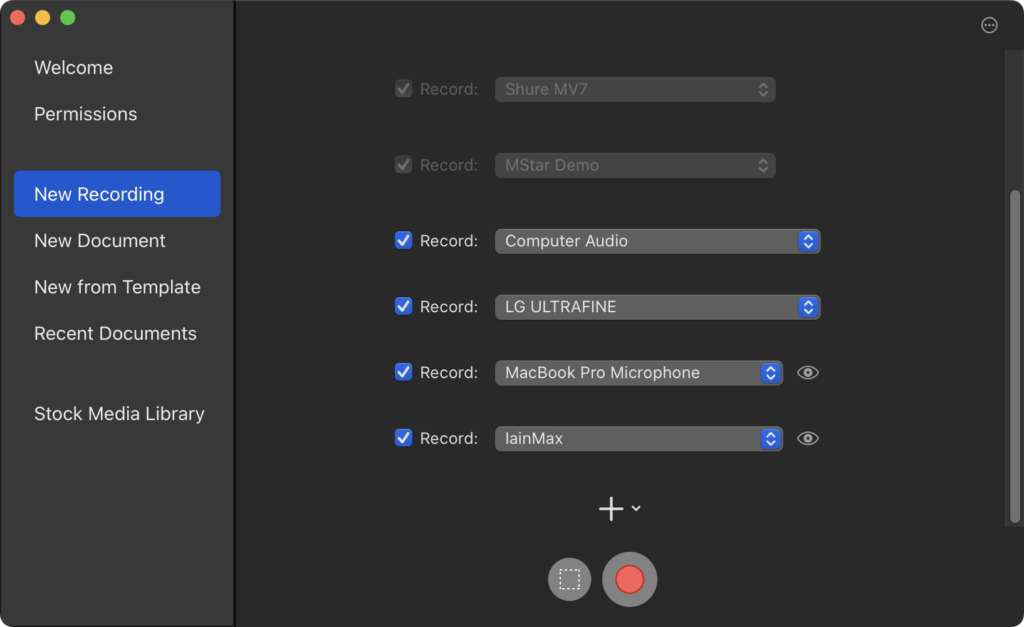
Alternatively, you can connect an iOS device to a Mac, then use QuickTime Player or ScreenFlow to record that connected device. QuickTime Player works through File > New Movie Recording, and then picking the iOS device as a source from the drop-down menu next to the record button. (Avoid feedback by leaving the volume control at 0.) In ScreenFlow, you can add the iOS device as a source from the big Plus button at the bottom of the New Recording window.
So far, this all seems to work pretty well for recording your own screen, but… what if you need to record someone else’s screen, and you can’t install anything on their computer? What if you need maximum performance for the apps you’re trying to record, and the overhead of recording on that same computer is noticeable? There’s also a question of rock-solid reliability — could it fail? While most of my recordings have been trouble-free, I’ve experienced crashes when the display resolution changed, and audio loss when someone connected Bluetooth headphones and changed the audio output pipeline. There are a few ways to mess things up, so you might want to consider recording with an external device.
Recording with hardware
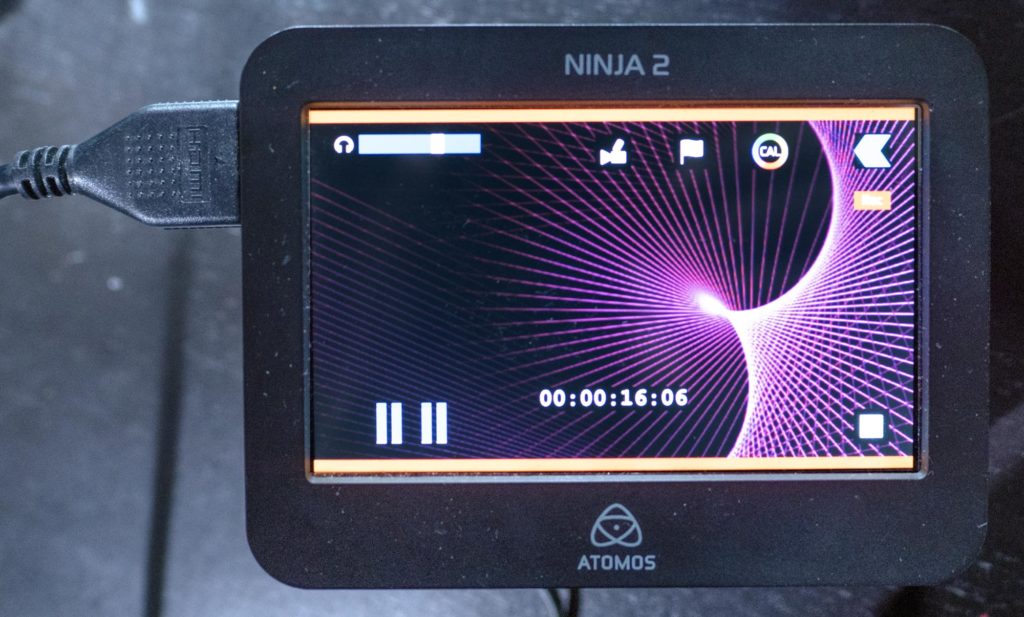
The handy thing about being in video production is that you tend to collect useful equipment, and if you’ve experimented with external recording for your cameras, you might already own an Atomos or Blackmagic recorder. If you plug your Mac or PC into one of these with an HDMI cable, you’ll be able to record that display without any problems at all. Be sure to mirror that external recording device with one of your existing screens if you want to be able to see what you’re doing, send audio out to HDMI if it’s important, and double-check that the refresh rate is suitable for your finished project too. Older recorders like the Atomos Ninja 2 are limited on this front (1080p30 is as high as it gets) and if you can’t control the source device properties, you might be out of luck. Newer hardware recorders like the Ninja V and V+ are more capable.
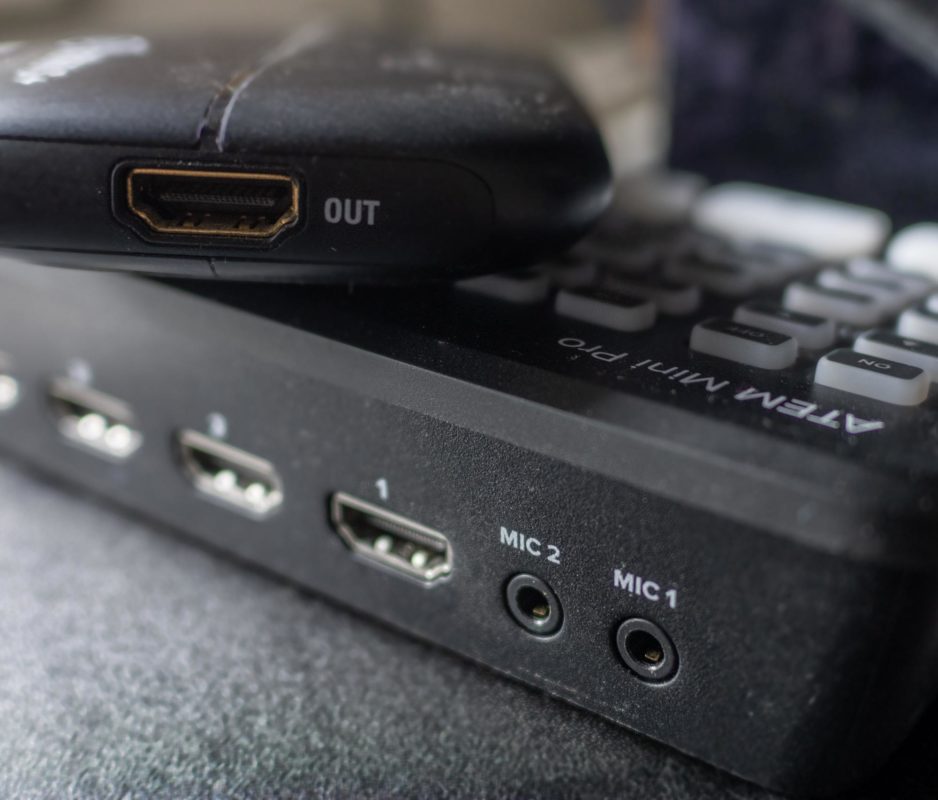
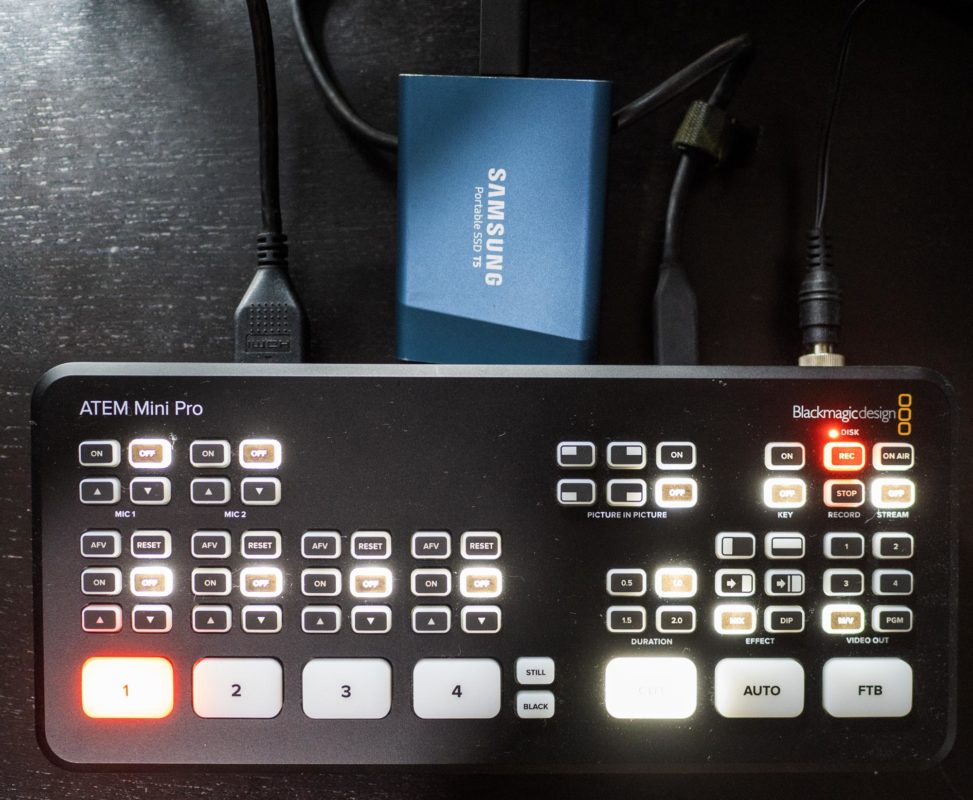
These recorders aren’t cheap, but another box you might own is the ATEM Mini Pro, which can take an HDMI input and record it in moderately compressed 1080p to a connected USB SSD. You can finesse the data rate with software, but if you need a higher resolution (or pristine ProRes recordings) then this is not the box you’re looking for. Still, if you need to record an entire day’s worth of PowerPoint presentations, it’ll do the job just fine. Plug the computer into input 1, make sure it’s selected, plug the SSD into the USB-C port, hit record, and don’t touch anything else. (Note: the ATEM Mini Pro ISO can record all four inputs at once, but 1080p is still the maximum resolution possible.)
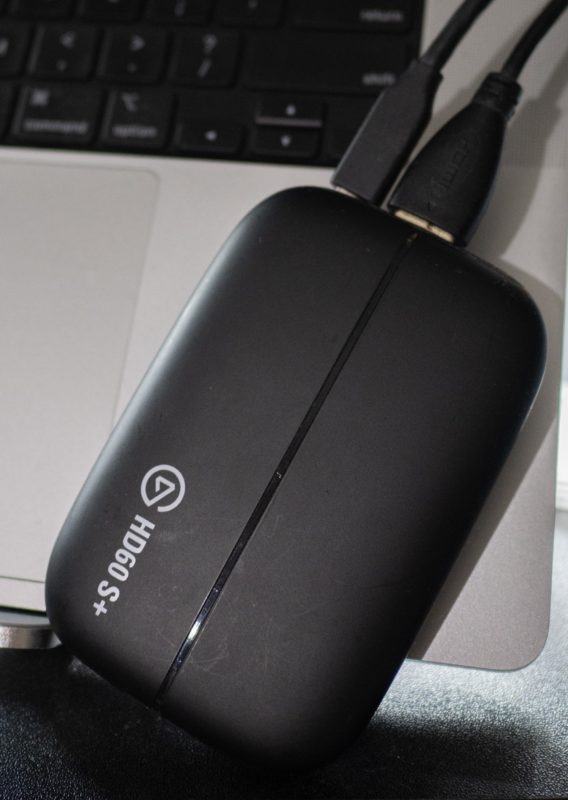
Alternatively, a less convenient but more flexible option is to use an HDMI input device like an Elgato HD60 S+ with ScreenFlow or even QuickTime Player on a second computer. While this introduces more points of failure, it allows recording of multiple sources at once in a more configurable way. No matter which recording option you go with, it’s a good idea to record an audio feed along with the presentation. This is not only a good backup, it’ll make it easy to sync your screen recording up with real video in a multicam later. Test early, and bring options.
But hang on! If your plan involves placing your recording device in the signal path between the presenter and a projector, you can expect some push-back from the in-house AV team. Even though most recorders include a pass-through, the AV team will bear the blame if you unplug the wrong cable, press the wrong button or suffer equipment failure.
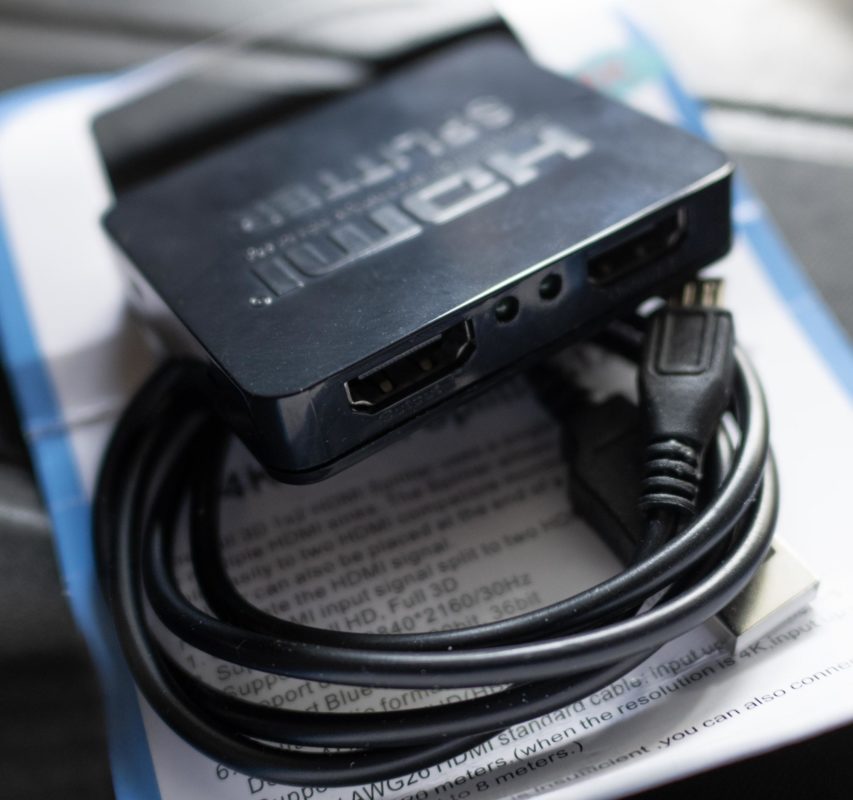
To keep everyone happy, I’d suggest purchasing an HDMI splitter for next to nothing from eBay. These tiny, button-free boxes take in one signal and put out two, keeping the AV team happy while giving you a clean option to record from. They’re cheap, so bring a spare.
One other note if you’re recording a screen at a live event: record a wider angle that includes the presenter alongside the projected presentation you’re recording — even if the exposure is compromised for the presenter, the screen, or both. That shot gives you a master source for syncing all angles, and if the presenter physically moves to the screen to point at something, you can switch to the wide angle if you need to. Ideally, your presenters should be using the mouse cursor to highlight items, not pointing at a physical screen that the streaming audience can’t see, but not every presenter will remember in the moment.
If the client won’t let you record, charge more
If it’s not possible to record the screen with hardware or software, you might have to resort to alternatives that are painful for you and for the client’s budget. For a conference, where two days of presentations weren’t recorded live, I’ve had to export the original PowerPoint and Keynote decks into still images or videos, then place hundreds of slides correctly in time to match the live video. This is, as you can imagine, a horrible, tedious process, made worse by the fact that I was given outdated versions of some of these slide decks and had to recreate some missing slides.
For sanity’s sake, if at all possible, record the presenter’s computer directly. It’s the only way to guarantee that your finished video matches what was shown on the day.
Fancy options
Sometimes, you need to show something fancier than a full screen recording. If your project involves creating an animated version of a screen, with a mouse pointer clicking and moving windows around, you might find it easier to animate it rather than recording it live — especially if you’re working with unfinished assets.
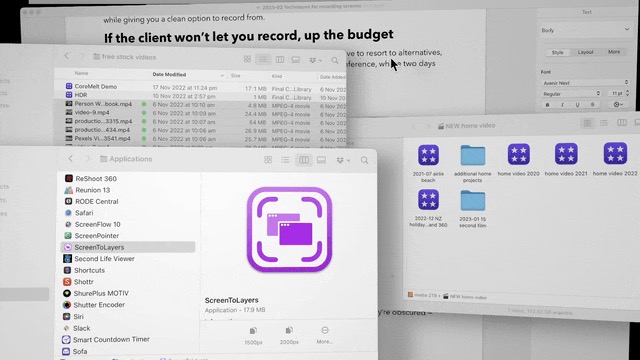
A spectacular tool for separately capturing everything on a screen — even if obscured — is the free app ScreenToLayers. When triggered, it doesn’t just capture a flat image, but captures every item separately into a layered Photoshop document. Separated items include the cursor, every individual menubar icon, your dock, your wallpaper, and every window in every application that’s visible.
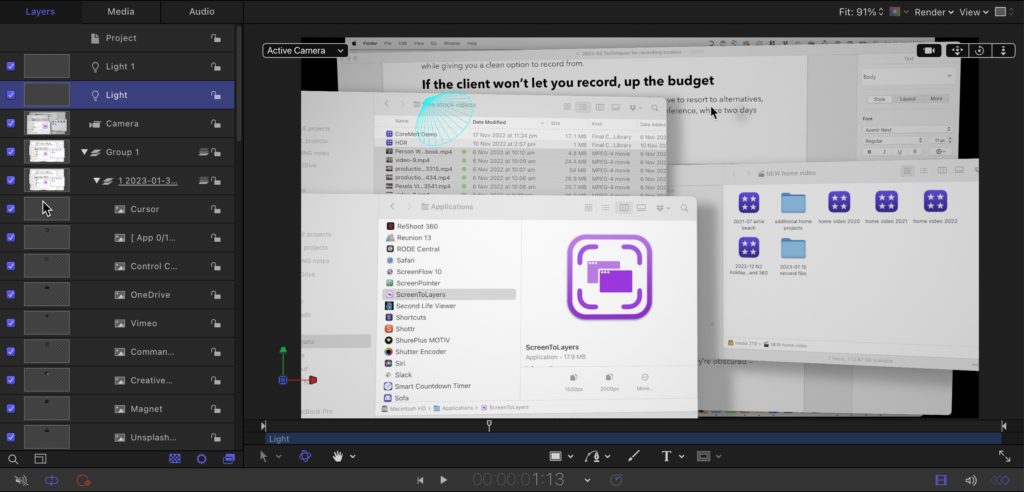
A layered PSD is perfect for importing into Motion or After Effects and controlling every part of a fake screen recording. You can hide all those menubar icons and your dock, then keyframe the perfect mouse movements. But you can take it further — lift and rotate your windows into 3D and fly through them, add lighting and shadows, or use Motion’s simulation behaviors to create complex animations without fuss. It’s great.
Conclusion
If you need to show someone how to fill in a digital form, record live presentations alongside real video, or want to teach people software skills, screen recording is an important part of the process. If you don’t do it, you’ll have to go with using a camera to record a screen (which never looks good) or static slideshows that require a lot more effort. If you have the right hardware then recording is painless, but make sure you’re not causing anyone else any problems. Software recording is great on your own gear, but can be tricky on anyone else’s. If you need to record a screen as part of a professional shoot, hardware recording is the way to go. Just remember to bring a few extra cables, chargers, and HDMI splitters.

Filmtools
Filmmakers go-to destination for pre-production, production & post production equipment!
Shop Now