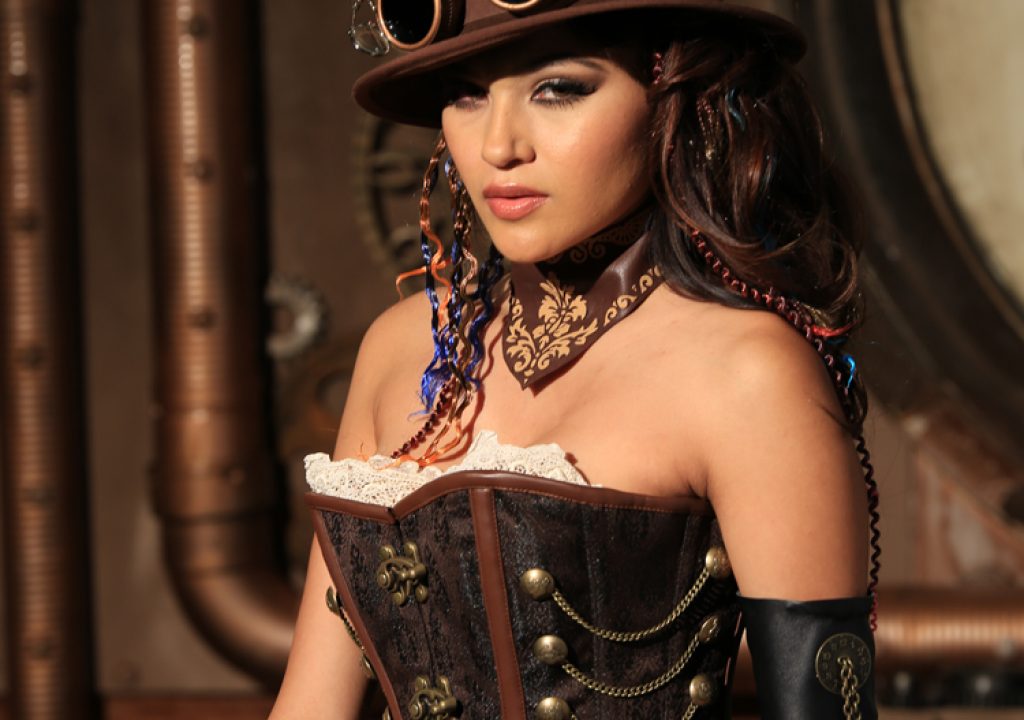
Today on the Slanted Lens we are going to take a look at different diffusion materials Rosco makes. We will see how soft and how hard different diffusion materials are and how they wrap around the human face and effect the background as well. Diffusion has been a critical part of lighting in the Movie and Video world for years. In the beginning it was sheets or shower curtains. Lights needed to be softened and shaped in a way that only diffusion could do. We moved away from the hard light of the 50's to a softer look which demanded diffusion. On a steampunk set with beautiful Cynthia Chavez we will shoot diffusion tests and then do some fun Steam punk photos. Rosco makes one of the best lines of diffusion in the industry. For our test we have set up a 2K aimed directly at our talent. It's very bright and needs to be diffused. Let's look at how different diffusion effects to a human face. I hope this test will give you good information and practical examples to make your decision on what to use. It is crucial when working with continuous lighting that we have good diffusion. Select your favorite and keep them in your lighting kit.
1. Here is our first shot with just 2K and no diffusion.
We first added a Rosco 1/2 white diffusion 3027. We have lost one full stop with the addition of this diffusion. The shadows on her face are more open. The BG is more open as this diffusion has spread the light on set acting like a softbox. Similar characteristics to Tough White Diffusion, but less dense.
2. We then changed to a Rosco 1/4th white diffusion 3028. It's less dense and allows for a stronger highlight. It's not as soft as the 1/2 white. We only lost 2/3rds of a stop. Very pretty look. Similar characteristics to Tough 1/2 White Diffusion, but less dense. Tough, heat resistant base.
3. We then changed to a Rosco full white diffusion 3026. It's a dense diffusion and creates a very soft look. We lost one full stop. Very pretty look. A moderate diffuser with properties similar to tracing paper. Creates an even field of soft light with minimal color temperature shift. Tough, heat resistant base.
We then changed to a Rosco grid cloth. We lost two full stops. Look at the transition on her arms. It's very soft and open, the most so far. It's a great diffusion that can be sewn and grommeted and can be used as a tenting material. It is a large area diffusion. It's similar to the material that is used on flags.
4. We then changed to a Rosco light grid cloth. We lost 1.5 stops. There is now more shadow on her arms. It is still very open giving us a soft look. This can also be sewn and grommeted and be used as a tenting material.
5. We then changed to a Rosco Opal Frost. We lost one and one third stops. This is the most popular medium diffuser Rosco makes. It's not too soft. We see shadow on her arm and face. This is one of my favorites.
We then changed to a Rosco silent 1/4 grid cloth. We lost one stop. Very similar to the 1/4 Grid Cloth (#3034), but quiet when used outdoors in windy conditions. Can be sewn or grommeted. Extra wide 60 in. (60″ x 20' rolls)
6. We then changed to a Rosco silent grid cloth. We lost one and 2/3rds stops. A reinforced, woven diffusion material. Similar properties to Light Grid Cloth (#3032), but quiet when used outdoors in windy conditions. Can be sewn and grommetted. (60″ x 20' rolls)
7. We then changed to a Tough Rolux. We lost one and 2/3rds stops. It is a dense diffuser that creates an even field of soft, “shadowless” light. Excellent for combining multiple lighting fixtures into a single, large area source. Tough, heat resistant base.
8. We then changed to a Velvet Frost. A very light diffusion. We lost only 1/3 stop. It is an engineered diffusion. The embossed surface disperses the beam completely. Without the whitening effect of other frosts, there is less effect on color temperature and more light output. Tough, heat resistant base.
9. Now we are going to light Cynthia. Our first light is a beauty dish with a grid on her face. It's very controlled keeping the light off the dress. I don't want a frontal light on the dress. I want a side light to give it texture and interest.
10. We will now add a strong rim light from behind on camera left. It's one and 1/3 stop hotter than the key light. There is also a mirror on the camera right side creating the highlight on her left arm.This light will rim all the elements of the set and open up the BG just a little bit. I Iove the look of the mirror on her arm.
11. We then added a mirror on her legs from camera left. It will pick up the rim light and reflect it back onto her legs.
12. At this point we added a silver p22 reflector placed on the camera right side reflecting the rim light back into her dress.
13. We then added a small pool of blue light coming through the fan on the camera left side. It's better seen when we shot horizontals.
14. Finally we added a Rosco tough diffusion to the light on the camera left side aimed at the wall to open up the clocks.
15. Here is one of our final shots after it was color corrected in Nik Software. Keep those cameras rolling and keep on clickn'.
Thanks to our sponsors.

