For April 2019 Adobe has another NAB timed release of updates to the entire video-focused Creative Cloud apps. While Adobe Premiere Pro is always my focus as an editor you can get an idea of what else is to come in this little overview video. And lots of features. Some big, some little.
https://www.youtube.com/watch?v=DFSz_HJWeyM&feature=youtu.be
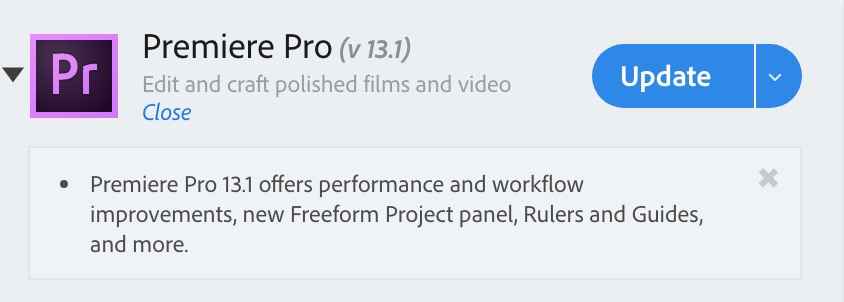
This PPro (and all the new video updates) should be showing up in your Creative Cloud app as you read this. Remember to update with caution and never, never update in the middle of a project (but for those that will anyway use these best practices for updating in the middle of a project).

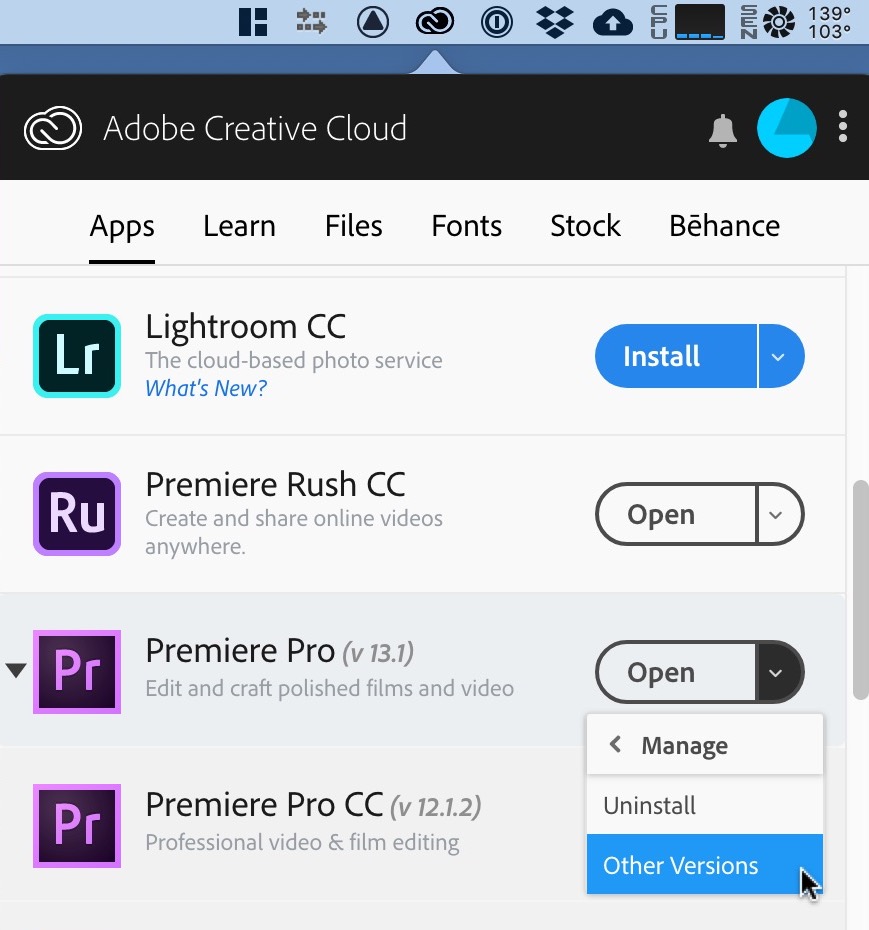
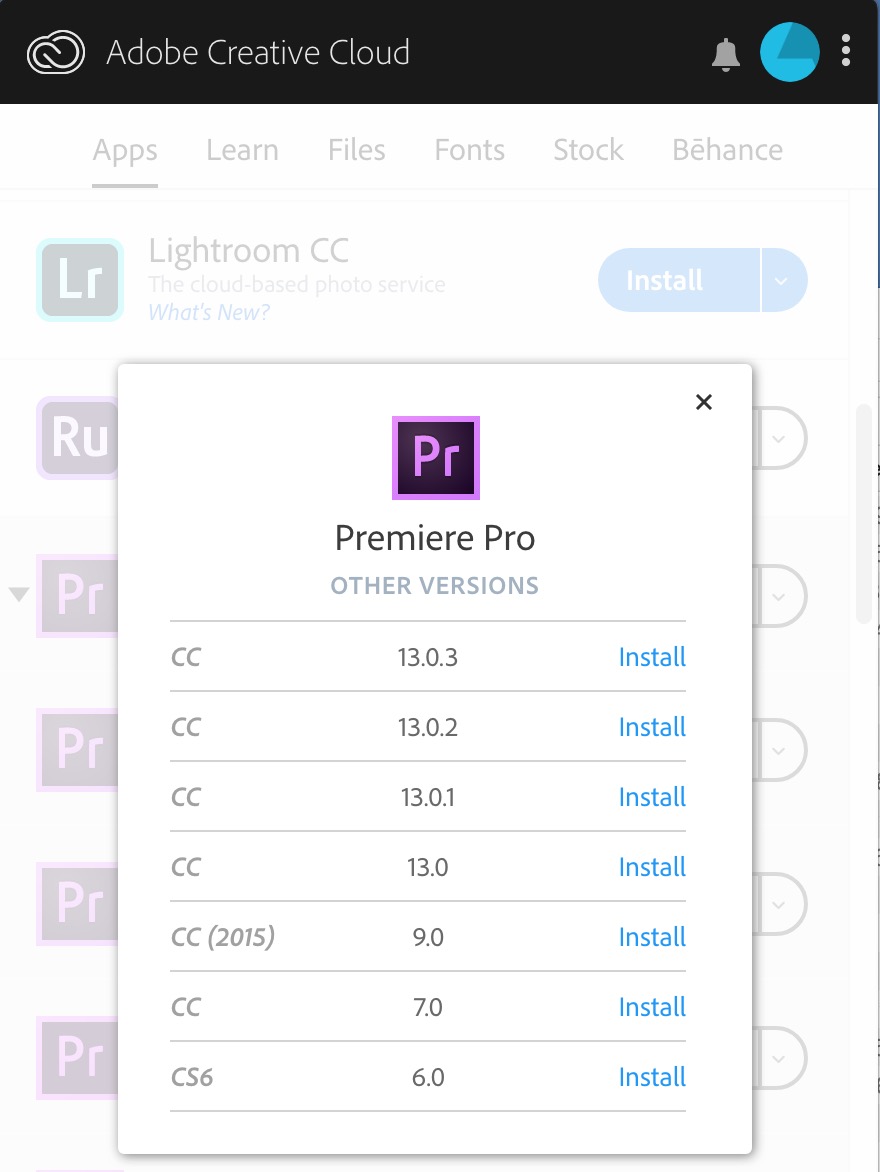
And this seems like as good a place as any to remind editors that in the Creative Cloud app you can install older versions of Premiere.

One nice thing that Adobe has done is keep a lot of older versions of their software available for download.

PVC has an interview with PPro product manager Patrick Palmer as well. Now that that is out of the way … on to what’s new in Premiere!
Copy and Paste (well, dragging copy really) of effects in the Track Mixer
Why start off with this seemingly small addition? Because it’s something editors have been requesting for years. Years I tell you!! While it’s technically not a copy/paste in the Edit > Copy/Paste menu it’s now possible to drag and copy effects from one place in the Audio Track Mixer effects rack to another, be it in the same track or another one.
Dragging effects around the Audio Track Mixer will move them. CMD+dragging within a track will copy an effect. OPTION+dragging an effect between track will copy an effect between tracks. When you’ve got the copy modifier pressed properly you’ll see a little + by the little drag hand. It’s not presets and it’s not being able to save these parameters for use in other projects but its’ a start.
Freeform View
There are more things to manage with the Freeform View including the size of clips, how they are stacked and where they are placed. I can tell you the ~ tilde key to take a bin full screen and/or a large second monitor is going to be your best friend if you want to make the most of Freeform View. Laptop only editors will struggle the most to make good use of this new tool. Freeform view will give assistant editors a new task though!
With new things like Freeform view comes new options and there is a Freeform View Options item under the bin “hamburger” menu. The most important thing it allows is to choose what two types of metadata you can view in the two lines of text under the icons. Setting them both to None doesn’t give you more icons as it’ll just be blank space.
With new power comes new ways to make sense of that power and layouts are the key. These Layouts can be saved, managed and recalled and will be the key to effective Freeform View usage.
You’ll need to be careful where you right+click when working in Freeform view as noted in the picture captions above. Those menus are grayed out when not applicable. They seem to be project specific which makes sense as your freeform viewing desires will change greatly depending on the media available.
I like it. I’m sure I’ll use it a lot more on some projects than I will on others and I think it should be noted it will take some time set up good Freeform Views and you’ll probably be constantly modifying them. Thankfully you can update an old layout without having manually rename it like with bin column views. While this new Freeform View isn’t exactly what editor Alan Bell was envisioning it’s at least a step closer.
https://youtu.be/CpM6T1ggmcM
Layout presets
If you are an editor who makes use of different metadata column views and have a ton of saved List View column layouts you’ve set up via the Metadata panel you’ll like the addition of new View Presets options under the project panel hamburger menu in a bin tab.
Previously these saved metadata views have been buried within the Metadata Display menu and it was way, way, way too many clicks to change from one saved view to another. Now they can be accessed both by the panel menu and by keyboard shortcuts.
This is a good change and another one of those non-flashy features that won’t get mentioned in the marketing materials but will be very important to working editors.
And now for a little gif of this in action because I didn’t think we’d ever see this.
Notice that in addition to remembering one of my presets has the thumbnails turned on things like column width and the sort columns are remembered as well. While you use the Metadata Display to set the desired columns up all of those presets you’ve got saved under the Metadata Display won’t be available under these new view options so you’ll have to set them up again.
A new View menu
Speaking of view there is a brand new View menu in your menu bar that places a number of useful things from around the interface into one place. This was probably a necessity with the new Rulers and Guides as they needed a central location to be accessed and saved.
Many of these options are still available under the Source or Program wrench menu. This just gives a more central place to access them and provides a place for lots of new options for Rulers and Guides.
Rulers and Guides
Snapping to the guides can be toggled on and off and as you can see in the gif above there’s some visual feedback provided in the Program monitor as you snap around. The Snap in Program Monitor keyboard shortcut is separate from all the other new Rulers and Guides keyboard shortcuts since it lives in the new View menu. Take note of that as you’ll probably want a fast way to toggle that program monitor snapping on and off.
You can also export guide layouts out of After Effects and bring those into PPro so there isn’t any question of how the motion graphics artist wanted the design to look when handing the work over to an editor. Who could ever imagine an editor changing the look of predesigned graphics?
https://youtu.be/xlbXGRR20jM
Content Aware fill for video in After Effects
Remember Project Cloak? It’s now in After Effects as Content Aware Fill. This has been an amazing thing in Photoshop for years (and since Facebook purchased Fayteq and seems to have killed their similar technology) we’ve been waiting for this since it was previewed at Adobe MAX. I don’t do a ton of AE work but I was wondering how easy it would be to quickly use the new tool after just watching on quick demo. So I tried it a locked off shot.
The above image had 5 things I wanted to be removed. Yes since it’s a lock-off you could make your fills in Photoshop. I did one mask at a time and let Content Aware Fill generate new fill layers with video generated from pixels in the entire clip. I don’t know if you can do more than one at a time or not. Perhaps some study would help before I use it on anything more difficult.
This is a cool new feature of the new After Effects.
https://youtu.be/25ltIoHtiO4
A few other things of note:
System Compatibility Report
Adobe engineers have a big task in supporting many different hardware configurations. With this release, there is a System Compatibility Report under the Help menu. It also might report issues during installation.
Better dual GPU support and faster mask tracking
Faster systems overall bring performance improvements with things like mask tracking, heavy codecs, and effects. During the press briefing on these updates, the question was asked if a Blackmagic eGPU would be supported and the answer was “you will definitely be able to use external GPUs to gain performance in Dual GPU scenarios.” I take that as a yes.
https://youtu.be/XOIL-T9LmVA
Essential Graphics improvements
Look for the new ability to add multiple strokes to text as well as different options for masks and fills and the grouping of elements in the EG panel.
Decoding error will use adjacent frames
If you’ve ever been hit with the dreaded red frames you’ll be glad to hear that, depending on the situation and where the frames are, Premiere Pro will use adjacent frames or in some cases black frames instead of red. Repeating a frame is a much better idea than a flash of red. You’ll want to check your Events panel for a long of any decode errors and what may have happened.
Auto Ducking for Ambience
You can now duck audio you’ve designated as Ambience in the Essential Sound panel. Whoo hoo, I suppose.
https://youtu.be/4qUMjpZ-xps
Consolidate Duplicates works for folders too
I haven’t tried this one but I hear that the Edit > Consolidate Duplicates command that has been around for a while now works with folders/bins if they are at the same level in the project.
Overall this is a pretty good looking Adobe Premiere Pro release with some good stuff. There’s lot of bug fixes in there and I hope for better stability overall. Remember to check out Adobe’s User Voice to let your voice be heard on what should happen in future versions of Premiere Pro and other Adobe apps.

