I’m heading to a shoot and my phone rings. It’s Jake, my senior producer.
“Boss, I think we’ve been hacked.”
And with that starts a loooong week of recovery, troubleshooting, and formatting. Our QNAP actually had been hacked.
Quick background. I have a small video production company that produces commercials, brand films, and TV programming.
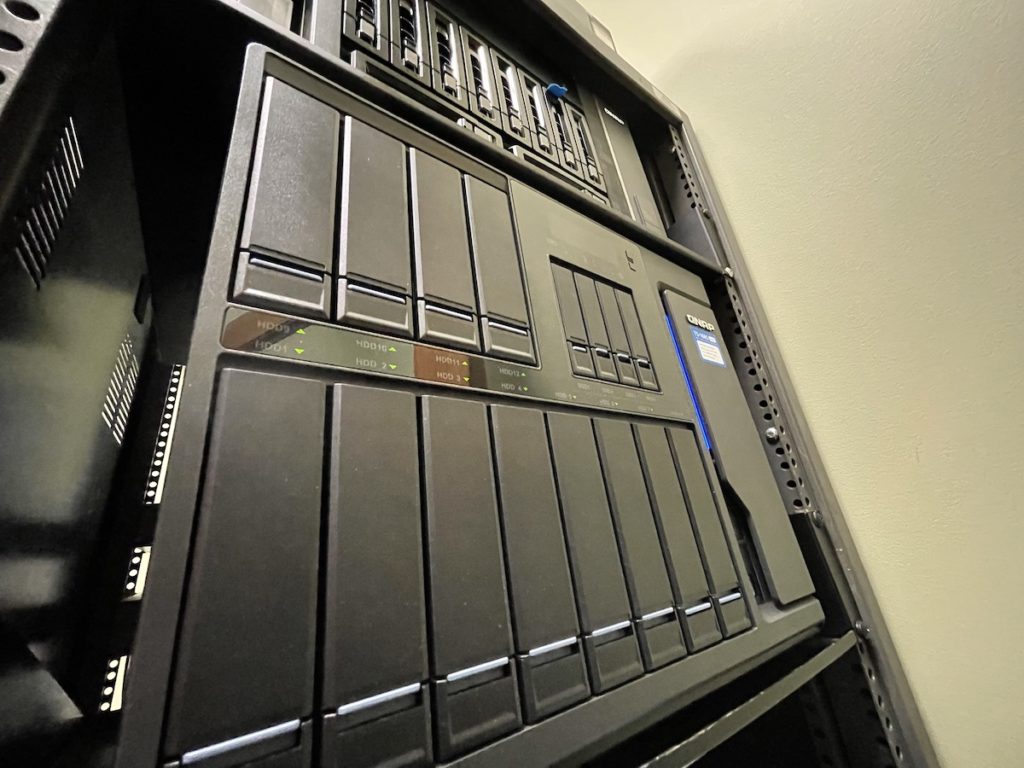
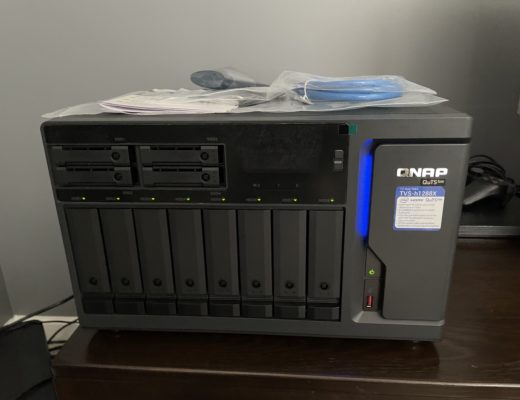
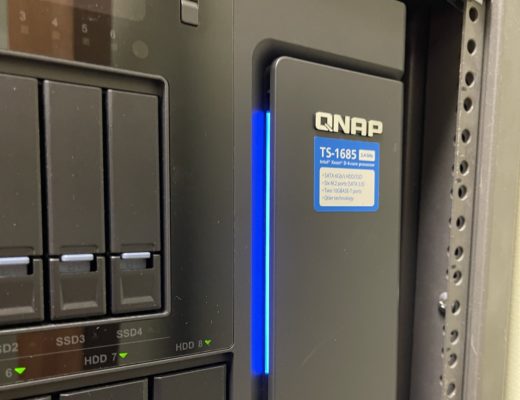
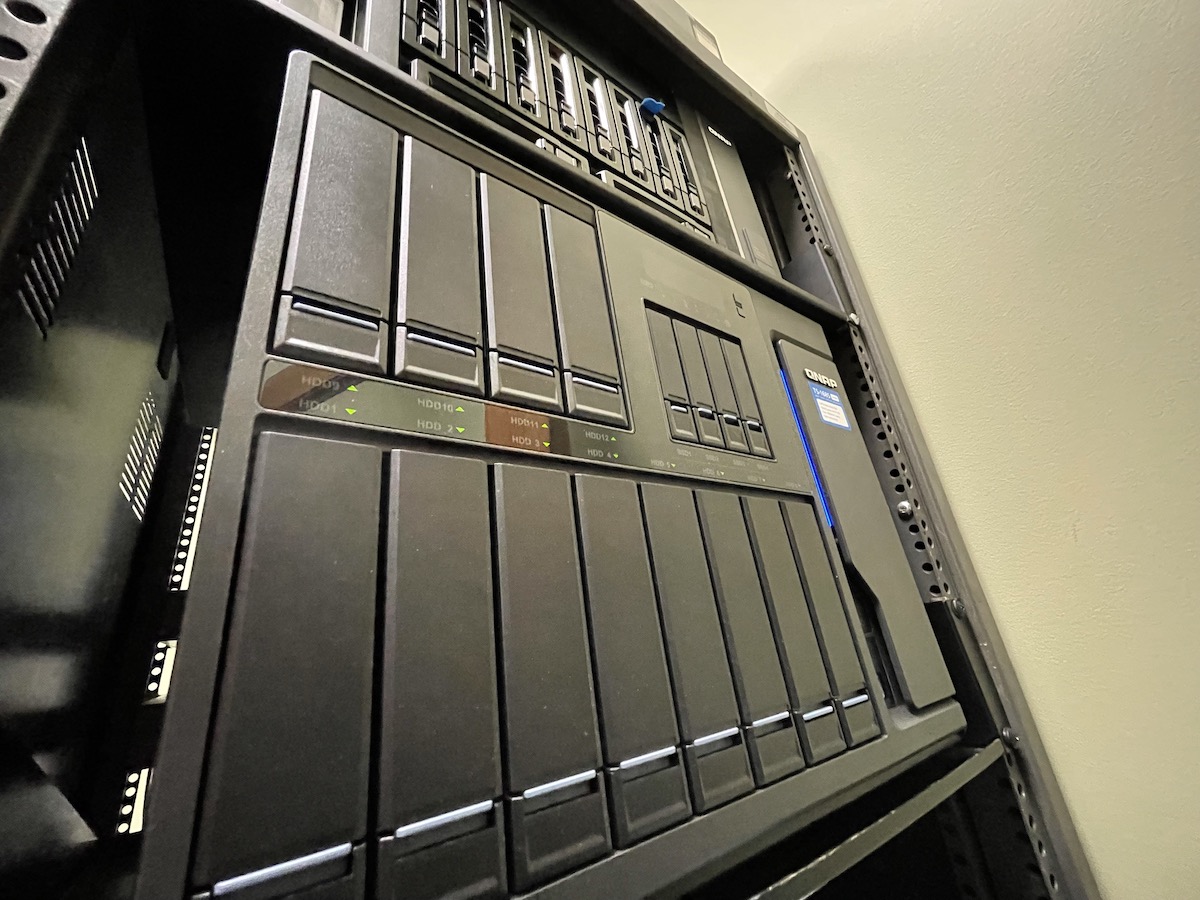
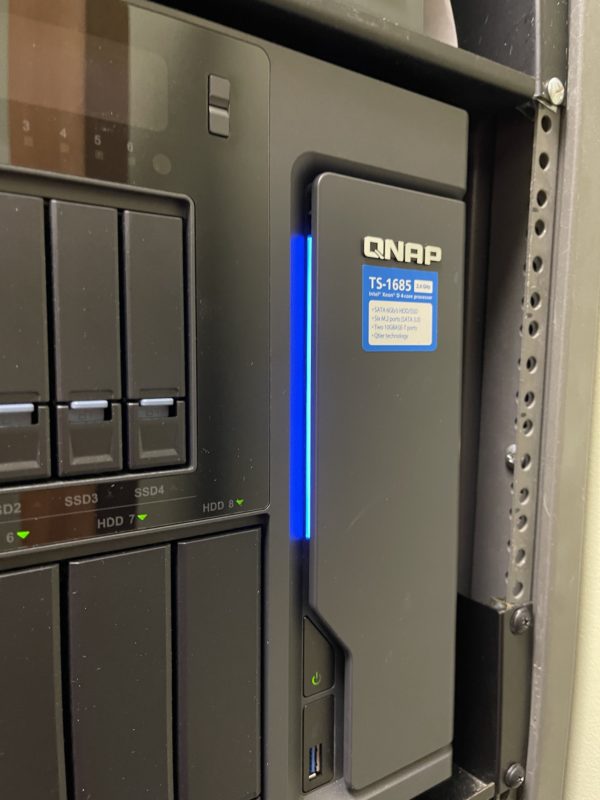
We are a PC-based shop, with all machines connected to 48TB NAS via a closed 10 gig ethernet network. The NAS, a QNAP TS1685, is stocked with 4TB drives and striped into a RAID 6 configuration. That gives us 40 TB of usable space with the safety net of being able to survive 2 drive failures. The QNAP services four edit suites and a few other computers for browsing and offloading
The QNAP has four 1-gig ethernet ports and a single 10-gig Ethernet port. The 10-gig port services the edit suites. One of the single gig ports connected to our traditional network and was outward-facing to the internet. That was part of the problem.
THE ATTACK
We fell prey to the nasty QLocker attack that hit QNAP owners around the world in mid-April. Hackers were able to get into our system via an unplugged hole in one of the system apps. The attacker encoded all files under 20 MB into a 7-zipped file that needed a password to unlock. The hackers demanded a ransom to provide the password.
We didn’t pay it, and we managed to reconstruct what was ransomed from backups, but not without a significant cost in man-hours. We were among the lucky ones.
OUR PREVIOUS BACKUP STRATEGY
Up until now, my backup strategy was based around the idea that a hardware failure was the most likely — and dangerous — problem we would face.
Typically, we have at least four copies of all footage shot.
We burn footage cards on an iMac via ShotPut Pro to a bare hard drive (copy 1) along with a copy to a locally attached RAID 5 (copy 2). Then, the footage is loaded into an active project folder on the NAS (copy 3). Once the bare drive (copy 1) reaches capacity, we make an LTO copy (copy 4). When the project is complete, we archive to another bare drive (copy 5) for mastered projects. When that drive is full, it gets an LTO copy (copy 6). The RAID 5 and NAS copies get deleted once everything is mastered off.
We make a Chronsync backup of the NAS every night using an older RAID system to give a near-line-identical copy. Technically, that would be the seventh temporary copy. In this case, 7 wasn’t our lucky number.
The Chrosync backup was made after the hack had occurred, so the ransomed files copied over the last known good copy. And we didn’t have archiving on.
So if you are keeping score at home, that’s a bunch of copies of the footage, but only one copy of projects, image, animation, and music files — all typically smaller than 20 MB. That was our Achilles heel.
The Golden Rule for data backup is the 3-2-1 strategy.
The 3-2-1 backup strategy simply states that you should have three copies of your data (your production data and two backups) on two different media types (disk and tape) with one copy off-site for disaster recovery.
I had implemented my version of this with the bare drive/RAID5/LTO approach. My greatest fear was losing footage that couldn’t be recreated easily, and our procedure protected against that.
Once we were attacked, I realized I needed to add in a way to backup and protect the project files and all other production elements that weren’t shot. And I needed to provide a way to keep a rolling backup, if possible, to give us some type of look-back period to retrieve versions a few days old.
Plus, I had not provided an off-site backup copy anywhere.
WHAT WE DID
I broke my action plan into these steps:
- Secure the QNAP.
- Restore footage files from the drive library.
- Rebuild lost projects.
- Implement a local backup strategy for all files under 200 MB.
- Implement a cloud backup strategy for the under 200 meg files.
First, I took all our QNAPs off the outward-facing, 1-gig network to take away any external attack vectors. I downloaded the latest firmware for my models on another computer with Internet access, then applied the latest patched firmware to each unit manually.
Once I did that, I reattached each unit one at a time to gather all app updates.
I shut down or uninstalled any non-used app on the QNAP, then followed the manufacturer’s suggested best practices to mitigate any security risks:
https://www.qnap.com/en/how-to/faq/article/what-is-the-best-practice-for-enhancing-nas-security
The thing I should have done immediately when I installed the QNAP was to create a new administrator-level user with a relatively complex name and password, log into it and disable the default QNAP admin account. I had changed the default admin password when I set up my units, but by disabling the user named “admin” and changing it to another complex name, I removed a common attack vector for hackers.
That procedure will be SOP for any device with an “admin” user going forward.
(I wish that QNAP would allow the default admin user to be completely deleted. At this point, you can’t delete it. Hopefully QNAP will allow this in some future updates.)
I also did the following as additional measures based upon advice from Eric Darling, a colleague from eThree Media iN Savannah, GA.
Shut down the following apps:
Hybrid Backup Sync
MyQNAP Cloud
QSync
Help Desk
Multimedia Console
Installed QuFirewall.
Installed (or updated) QNAP Malware scanner and ran it.
Since I don’t run this unit as a web or FTP server I also:
Turned off UPnP (Control Panel >Network/File> Service Directory) and(Network & Virtual Switch>Auto Router Configuration).
Turned off FTP (Control Panel >Network/File> FTP).
Turned off HTTP Compression (Control Panel > General> Sys Admin) and (Control Panel >Applications>Web Server)
As an additional measure, I changed both the System Port (Control Panel > General> Sys Admin) and SSH Port (Control Panel >Network/File> Telnet/SSH) to other port numbers.
WARNING: Make sure you document the new port numbers and keep them in a safe place you can remember. If you change the SSH port and lose the new port number, you (nor QNAP) will be able to access your machine via SSH.
 With the QNAP secured, we reverted it back to default and recreated our RAID partition. We then began loading and recreating the affected projects. It took about a week, but we were able to get back up and running fairly quickly.
The next thing I did was turn my attention to the biggest problem — not having a backup of the smaller files more than 24 hours old.
We have a new Apple M1 Mac Mini set up as a digitizing station for analog tapes. We digitize old professional formats like BetaSP, DVCam and DVCPro to ProRes MOVs for clients. The Mac Mini is perfect for that type of work.
My idea was to put the Mini on the 10-gig network and set up Chronosync to copy over all files on the NAS that were under 200 megs to a local SSD. Chronosync does a great job of setting up that type of backup easily.
I set the schedule to happen overnight every day. I also turned on the archive feature so that I had backup copies of all changed files. In Chronosync, you can define the look-back period as well as specific criteria that triggers an archive. Think of it as a kind of customizable Time Machine. It’s a powerful, Mac-only program.
So now I had steps 1-4 of my plan in place. Next, I needed an offsite backup service.
MOVING OUT OF HOUSE
There is a lot of nice options for cloud backup. Google Drive. DropBox. Amazon’s S3 service. The one that I have used is the one I think is the best and easiest to use — Backblaze.
Backblaze is a pretty cost-effective backup service. But beyond price, they offer an almost bulletproof process that allows users to restore files within a 30-day look-back window.
I bought a Backblaze license for the Mac mini. I specified the boot drive and attached SSD with the backed-up files as the only items to be pushed to BackBlaze.
BackBlaze also has a commercial-grade service that can interface directly with the QNAP to backup the entire NAS volume to the cloud. It’s a viable alternative if you want a complete archive of your NAS.
We have gig fiber service in the office, which is a technological miracle in and of itself. It took less than 24 hours for the initial backup to BackBlaze’s servers. After the initial backup, the service runs in the background and determines the best times to upload.
So now we have the selected files (under 200 MB in size) from the QNAP backed up to a local computer via Chronosync with archive enabled. We have the local computer with selected files backup to the cloud with BackBlaze. Plus we have the large pieces of data – – raw footage from the camera — backed up to at least three different media. I feel a lot better about the safety of our work product and our ability to restore it from failure or hack.
One of the things I also learned from this process was that my business insurance policy does not have a cyberattack rider. At my last visit with my insurance agent, I waived the insurance rider that would have covered the losses and work incurred by the attack. That is something I will revisit during my next insurance review.
I wouldn’t wish what we had to go through on anybody. Fortunately, we had enough of a backup plan in place to be able to recover. Some people were not as fortunate, and they had to pay the ransom in order to resume business.
We’ve seen ransomware affect oil, beef, and any number of commercial sectors. This crime will continue to grow. Now is the time to create a backup plan to protect your data as much as possible until the next threat arises.
Editor’s Note: PVC and Robbie take no responsibility for any hacking, ransomware or loss of data on your storage system. This was one production’s company story told to hopefully help others avoid a similar loss of time and data. It’s recommended users of shared storage contact and work with a network administrator to secure your system from similar circumstances as well as deploying an effective backup plan.

Filmtools
Filmmakers go-to destination for pre-production, production & post production equipment!
Shop Now