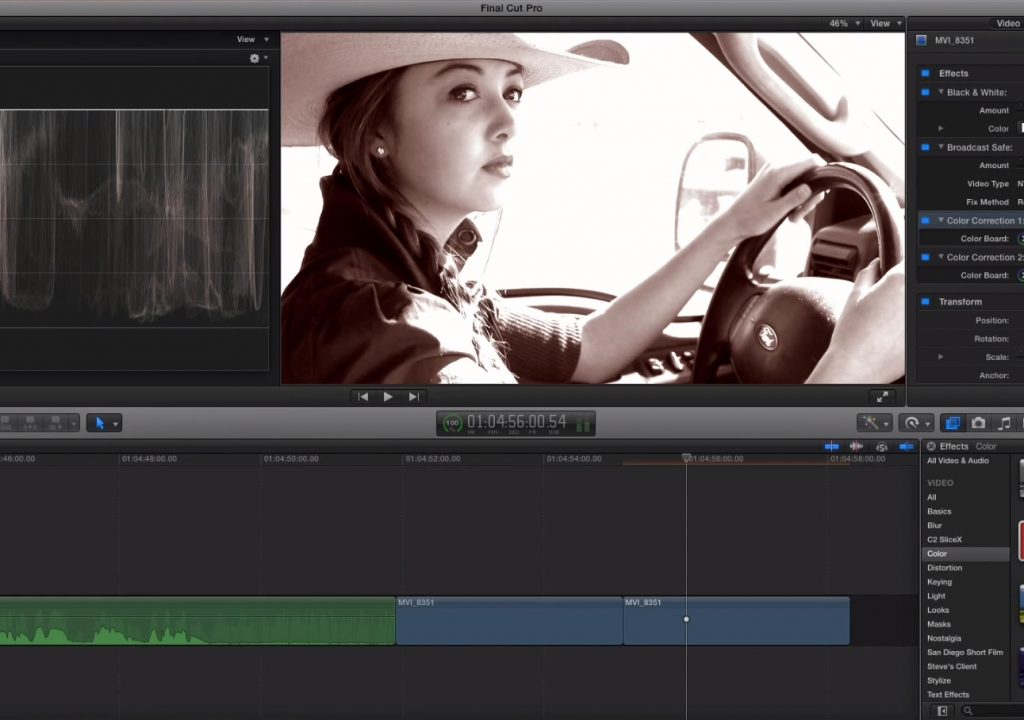
This week on MacBreak Studio, Steve Martin from Ripple Training explains how color correction works now that it is an effect in Final Cut Pro 10.2.
Some folks were confused, concerned, and even angry when they updated to Final Cut version 10.2 and discovered that the color board had disappeared from the Inspector and was now located in the Effects Browser, in the Color category. At first, it seems this change required more steps to apply a correction than it had previously – after all, before it was already in the Inspector, ready to go, and now you have to open the Effects Browser, select the appropriate category, and drag the Color Correction effect onto a clip before you can go to the Inspector. What the heck?
First, there was sound logic behind this change. By making color correction an effect, you can now change the order in which a correction is applied when combined with other effects – this is the effects processing pipeline. For example, before 10.2, you couldn’t apply the Broadcast Safe effect after color correcting – it was always applied before – so you couldn’t properly manage your white levels. Now you can.
Second, you don’t even need to go through all those hoops to apply the color correction effect. With the playhead over the clip you want to correct, simply pressing Command-6 will take you to the Color Board in the Inspector, as it had in earlier versions. Then, making any changes in the Color Board will automatically apply the effect to the clip. So really it’s just as fast as before – and, with the Color Board still open, if you move the playhead over another clip, you are all set to grade that clip, as any changes you make will now affect the new clip.
In the video above, Steve demonstrates how you can make an “effects sandwich” by combining multiple color corrections and multiple effects. He has full control over the processing order because he can re-order effects simply by dragging; and he can even save his “sandwich” as an effects preset to use on other clips. Good stuff.


