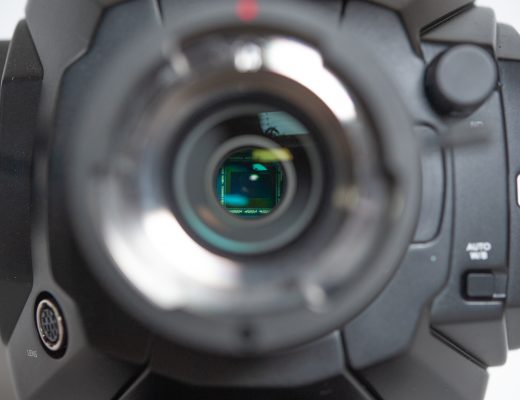
While testing the Sony F35 recently at Chater Camera I performed my usual IR test and stacked a bunch of ND filters in the matte box while shooting a sunny day exterior. The image turned bright magenta/red, and it wasn’t IR contamination because we were able to white balance the color cast away.
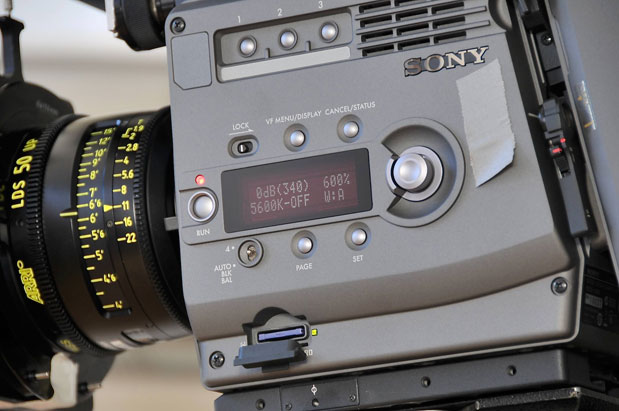
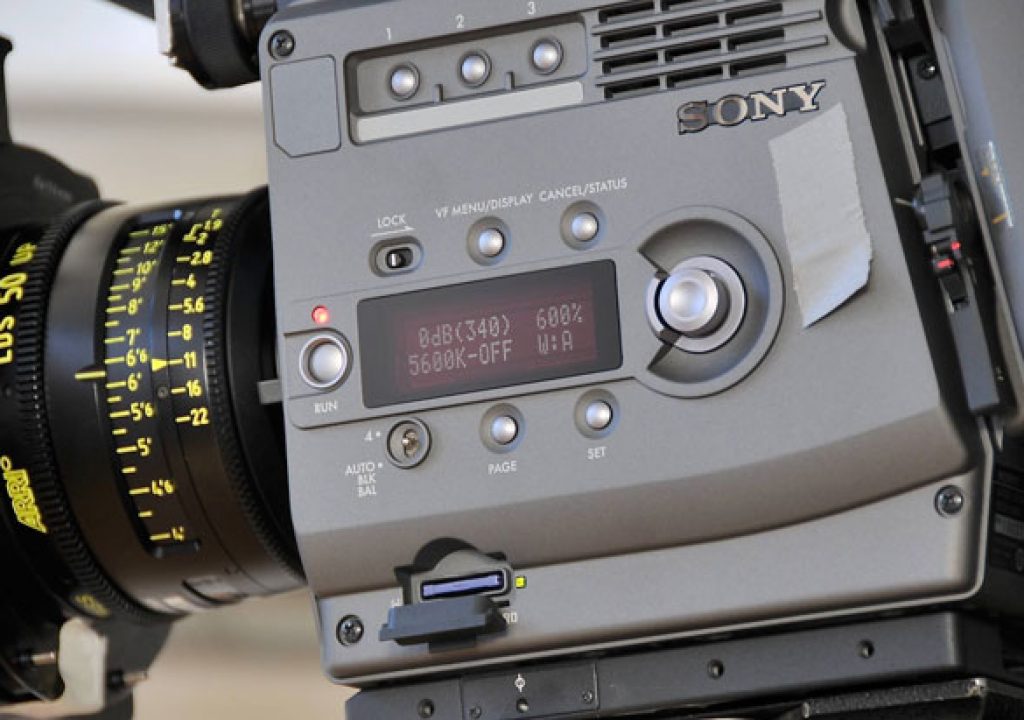
At the same time we were wondering an aspect of the camera menu. On the side of the camera there’s a scrollable display that offers a lot of information about what the camera is doing depending on what page you’re looking at, and one simply says “ND:1”. Or ND 2-5, depending on how you set that parameter. The camera doesn’t have an internal filter wheel, so what does that mean?
The manual says that ND:1 is a “reference” slot, meant to offset settings 2-5. Okay, that makes sense. NOT. What does THAT mean?
Thanks to a couple of conversations with both Sony and BandPro I now have the answer. And it’s pretty simple.
This first part is my theory: the camera has such a wide gamut that it sees things no other camera can see, even in Rec 709 mode. I don’t know if it’s seeing the full S-Gamut and compressing that into Rec 709 or if it’s simply clipping out a subset of the S-Gamut that conforms to Rec 709. (S-Gamut encompasses EVERY color the camera can see, and it’s HUGE.) I just know that this camera sees things differently. (And it sees them very, very well indeed.)
The problem is that very few neutral density filters are truly neutral, because as you get into the stronger densities it becomes harder and harder to make a dark dye that is truly neutral and devoid of color casts. Some shift red, some shift green, but very few are completely gray in every way. That’s why we saw so much warmth when stacking seven stops of ND in the matte box: the filters were slightly warm, and as we cut more visible light the hue shifts become more dramatic. And while most cameras won’t see that difference so dramatically, the F35–with its vastly extended color gamut–will.
The first ND slot is essentially a white balance offset slot for a particular lens. Even though there are lens files built in to the camera, some lenses are better color matched than others–so one zoom may or may not match another zoom, even though they are the same make and made by the same manufacturer. The lens file provides overall correction in order to make that lens look neutral based on general ideas about how that series of lens behaves. If you then white balance with the ND setting at “ND: 1” you will add a further offset that will correctly cause that particular lens to appear perfectly neutral. In theory, if you are going to do this, you should do it for every lens you use.
I’m sure we’ll all have plenty of time to do that on set after every lens change. Er, maybe not.
If you think your lenses are matched well enough (and you really should look at them all during prep because the camera MAY see a difference that you don’t) then skip ND1 and leave that empty.
The additional ND slots 2-5 are now offsets of that first slot, and you’re supposed to use them to correct color casts in your individual ND filters. Based on what I read in the manual and learned from two different discussions, the general process is this:
Clear your camera’s reference file so you are starting from scratch. If you want to create a white balance offset for a certain lens, put it on. Insert your heaviest ND in the matte box and set white exposure on a grayscale chart at between 70-80%. Write down that value and pull out the filter. You’re just setting an exposure value that you can hit exactly as you store values for each lens or filter.
If you want to balance the camera for a reference lens, aim it at the chart, set the exposure to match what you did in the previous step, and white balance. You’ve now set your lens white balance offset for THAT ONE LENS (or, perhaps, for a series of well-matched lenses). If you don’t want to balance for a particular lens, and you’ve cleared your reference file, don’t do anything and the effective setting of ND:1 will be “off”.
Now put your first ND filter in the matte box. Set the exposure to the exact same value you saw previously through your heaviest ND, set the ND display to ND: 2, and white balance. Repeat until you run out of slots (you have four, labeled 2-5) or filters, or filter combinations.
Then, when you put that filter in the matte box during the shoot, you need to make sure you select the proper ND slot on the camera’s display.
It’s not a perfect system but it seems to work. This should only be necessary if you don’t have a video engineer/DIT on set to paint your camera as they usually spot these problems and fix them before you even notice.
Thanks to Dhanendra Patel of Sony and Michael Bravin of BandPro for talking to me about this procedure. And thanks to Adam Wilt for the snazzy picture.

Filmtools
Filmmakers go-to destination for pre-production, production & post production equipment!
Shop Now


