TLDR: Even if you know nothing about After Effects, it’s possible to open up Mogrt, make adjustments, and create a new Mogrt. For example, you can open a Mogrt, adjust the controls, including font, and republish.
I’m going to stress you don’t have to know how to use After Effects to use this technique.

One of the beautiful things about the world of Mogrts is the variety of accessible, well-done animations. Making us faster creators.
If you’ve never checked it out, http://www.stock.adobe.com has a whole bunch of free content, including over 100 free Mogrts.

Obligatory note: There are two types of mogrts: Mogrts created in Premiere Pro and Mogrts created in After Effects. If you bring a mogrt onto the timeline and it’s yellow, it’s a Premiere Pro mogrt. Red? It’s an After Effects Mogrt.
This tip is specifically for modifying After Effects Mogrts.
Mogrts that are created in After Effects show only those controls that are intentionally published. For example, if you built an animation and put a blur effect but didn’t publish the amount of the blur effect, Premiere can’t adjust the blur.
There are so many great Mogrts in various places, particularly for text animations.
BUT…these are never built using the clients’ font. Frequently, a Mogrt is built, and the animator intentionally or unintentionally prevents changing the font.

—————-
Here’s how you adjust a Mogrt:
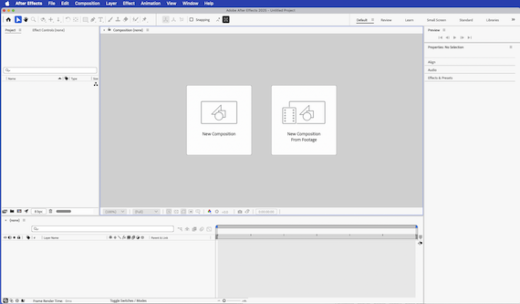
- Open After Effects.
- File menu > Open Project… and navigate to your Mogrt.
You’ll be asked where to extract the project. Pick somewhere sensible, please. This is also a great chance to rename it if you want.
Under the Composition menu is a choice for “Open in Essential Graphics.” This opens the composition adjustments in the Essential Graphics panel.
There’s a button third from the top called “Solo Supported Properties.“
These solo (limit) the After Effects timeline to show only items you can publish as part of the Motion Graphics template.
3. Right-click any property you want to be able to change/animate in Premiere and choose “Add to Essential Graphics“.
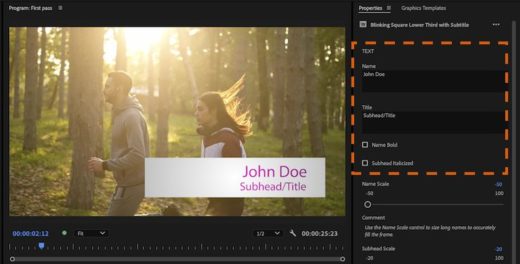
In the case of my Lower Third:
There are two text properties already published in that screenshot..
I want to add the ability to change the font and size. Since the text is, by default, changeable as part of a template, I don’t have to “add” anything from the timeline area. Instead, I need to Edit the Properties.
4. For any text layers, I’ll click on the ‘Edit Properties‘ button, and then all I have to do is enable custom font selection and font size adjustment.
Let’s make it a Mogrt again.
Important note: I like changing the name of the Mogrt in this panel and adding my initials or other critical information like the client’s name.
The last step is at the bottom of the Essential Graphics panel with a button that says “Export Motion Graphics Template.” It’ll warn you that you need to save the project, of course!
I recommend adding keywords such as “title, lower thirds,” and anything else you feel is important.
This will allow you to search for specific Mogrts in Premiere quickly. Putting a client name here also in the keywords would be a great idea.
This Mogrt will automatically get published to your local Library.
Last note: Some mogrts are sophisticated. You may need to dig through multiple nested compositions to make the correct adjustment. It’s safe for you to play and experiment. After all, you’re not damaging or touching the original Mogrt.
Good luck!
This series is courtesy of Adobe.

