Welcome to Tool Tip Tuesday for Adobe Premiere Pro on ProVideo Coalition. Every week, we will share a new tooltip to save time when working in Adobe Premiere Pro.

Every now and then, a minor update comes to Adobe Premiere Pro that many editors don’t realize adds a very useful new feature. I’ve recently seen questions asked in several forums where the poster didn’t know about a great new feature that was added a couple of years ago: Click and Drag to select multiple track targets in Premiere Pro. But it’s not just the track targets that can be easily toggled with this technique, but all “track header” items like track locks, audio track solo and mute, video track sync locks and track output eyeballs.
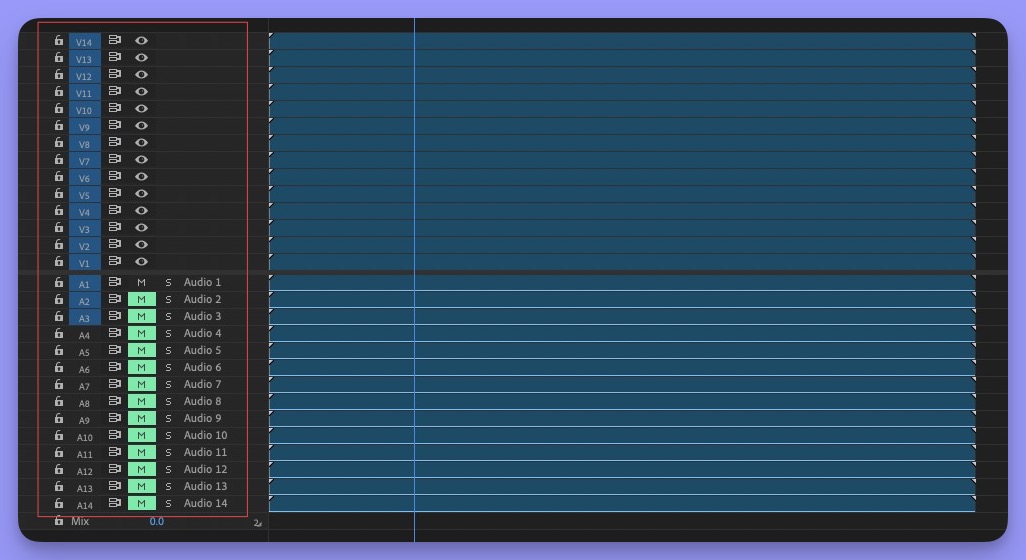
What are those “track header” items again? They are all of the various controls available for managing video and audio tracks.

Now, imagine you have a lot of video and/or audio tracks and that’s where new techniques to manage the state of track header items comes in handy.

While you’ve always been able to shift+click to toggle the stage of all of these track header items, it was an update back in 2022 that added the ability to swipe over the different track header items to selectively toggle them.

You can toggle their current stage by holding down the COMMAND key and click+dragging the mouse (CTRL key on PC) vertically over any of the track header items. What’s nice and fast about this technique is you can begin that swipe while in the middle of the tracks, so you can quickly toggle just a few in the middle without having to start at the top or bottom. This technique sure beats clicking many of those items over and over.
This series is courtesy of Adobe.

