Welcome to Tool Tip Tuesday for Adobe Premiere Pro on ProVideo Coalition.
Every week, we will share a new tooltip to save time when working in Adobe Premiere Pro.

Now and then, I see some YouTubers use the term “Premiere hack” when they’re literally just describing some little-known shortcut or newly learned editing technique. And I hate it when I hear it. But this tip might be considered a hack, and I’ll say this upfront:
I don’t think this is officially sanctioned by Adobe, so use at your own risk.
That said, I do use this little hack technique a good bit and I haven’t had any issues with it other than one bit of weirdness I’ll point out at the end.
Let’s say you’ve used Remix, and no matter how you tweak the Segments and Variations in the Essential Sound panel, you can’t get it right. When this happens, I like to music edit the Remix myself. With this little trick, you can access just what the Remix AI has done.
First, enable Premiere Pro AI music editing magic, known as Remix and have it edit a music track.

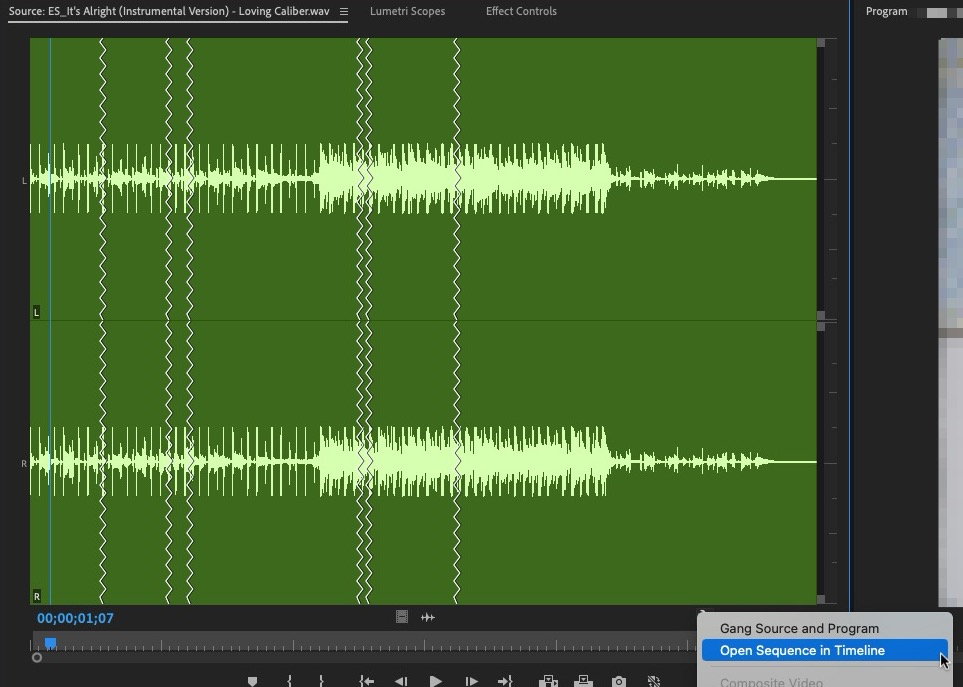
Second, Match Frame the Remix from the timeline into the Source monitor and go under the Source wrench menu and choose Open Sequence in Timeline.

Third, behold the Remix edit right there before your eyes.
What I like to do is then copy and paste the edited remix into my timeline against the actual Remix clip. You don’t have to do this but I prefer to see them side-by-side as I finesse and edit the music even more.
Now, you don’t have to do the Match Frame and Source monitor wrench dance. You can just use the Reveal Nested Sequence keyboard shortcut and that’ll get you there faster.
What’s that weirdness I was talking about? (See update below). When you copy and paste the remixed edit back into your sequence, these clips don’t have audio-level rubber bands for audio-level keyframing. They also don’t respond to changes in the Audio Clip Mixer. But they do allow changing of the Audio Gain. I’m not sure why this would be the case and that’s what leads me to think that Adobe might not officially support this. So then, how do you mix music in this remixed Remix case? Use track mixing on this single music track.
UPDATE 8/27/24: I posted this tip in the Facebook group Adobe Premiere Pro Editors, and James chimed in one of those “why didn’t I think of that” moments. If you match frame the Remix sequence and then just edit the Remix Source sequence into the edit with the Nest or not nest button toggled off, then you get the Remix editing into the timeline with full volume rubber banding control intact. That makes perfect sense! Don’t know about Source sequence editing? Then watch this video I made years ago on Pancake Editing and you’ll have a valuable new PPro editing skill.
James makes a good point in his Facebook comment that having a flatten Remix command would be great, as that would make this easier. It’s worth noting that a Remix will export correctly in an AAF you might be sending to mix but something about flattening/hacking that Remix gives me peace of mind.
This series is courtesy of Adobe.

