Welcome to Tool Tip Tuesday for Adobe Premiere Pro on ProVideo Coalition.
Every week, we will share a new tooltip to save time when working in Adobe Premiere Pro.
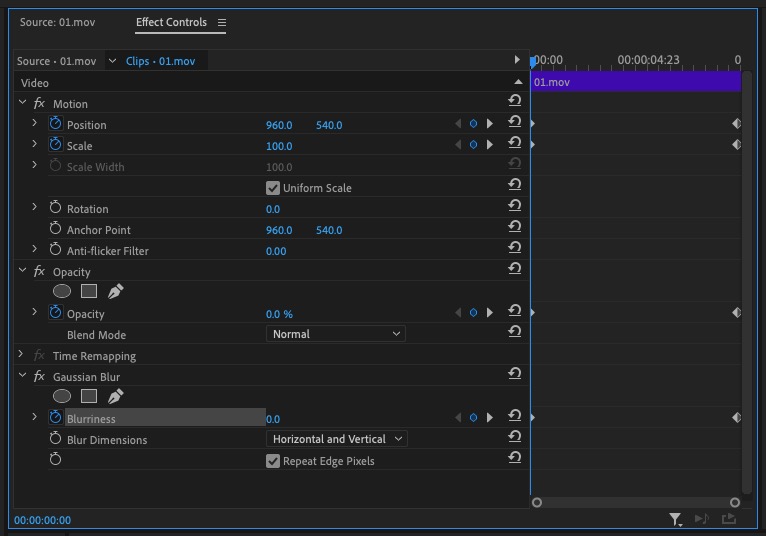
If you spend a lot of time animating effects or motion parameters in the Premiere Effect Controls panel, you probably set a lot of key frames at the first and very last frame of the clip.

Have you ever noticed that when moving Effect Controls playhead to the end of the selected clip you want to animate Premiere appears to move on to the first frame of the next clip?

In the gif above any method of moving the playhead to the end of the selected 01.mov clip in the timeline results in the playhead moving to the first frame of the second clip, 02.mov. Those methods are by the Go To Previous/Next Edit Point keyboard shortcuts, using the Step Forward/Back 1 Frame keys or just dragging the playhead.
Premiere doesn’t actually move the off of the originally selected clip even though it would appear from the Program monitor that it has. If you were to look at the Source monitor you’d see, in the example above, the 01.mov clip is still selected for keyframing.
Since my Source monitor panel and Effect Controls panel are often docked, I find this a bit frustrating and it takes extra time to reorient the playhead to the last frame of the clip.
There’s an easy way to quickly move the playhead to the first frame and/or the last frame of a selected clip in the Effect Controls panel. That is to use the HOME and END keys on an extended keyboard.
When the Effect Controls panel is the panel in focus (meaning you can see the thin blue outline around that panel), then the HOME and END keys will move the playhead to the first frame and last frame, respectively. This leave the Program monitor still viewing the last frame of the clip that is selected to be animated. It’s a simple thing but something that makes a common Premiere animation operation fast and easy. It’s also another reason to use an extended keyboard!
This series is courtesy of Adobe.

