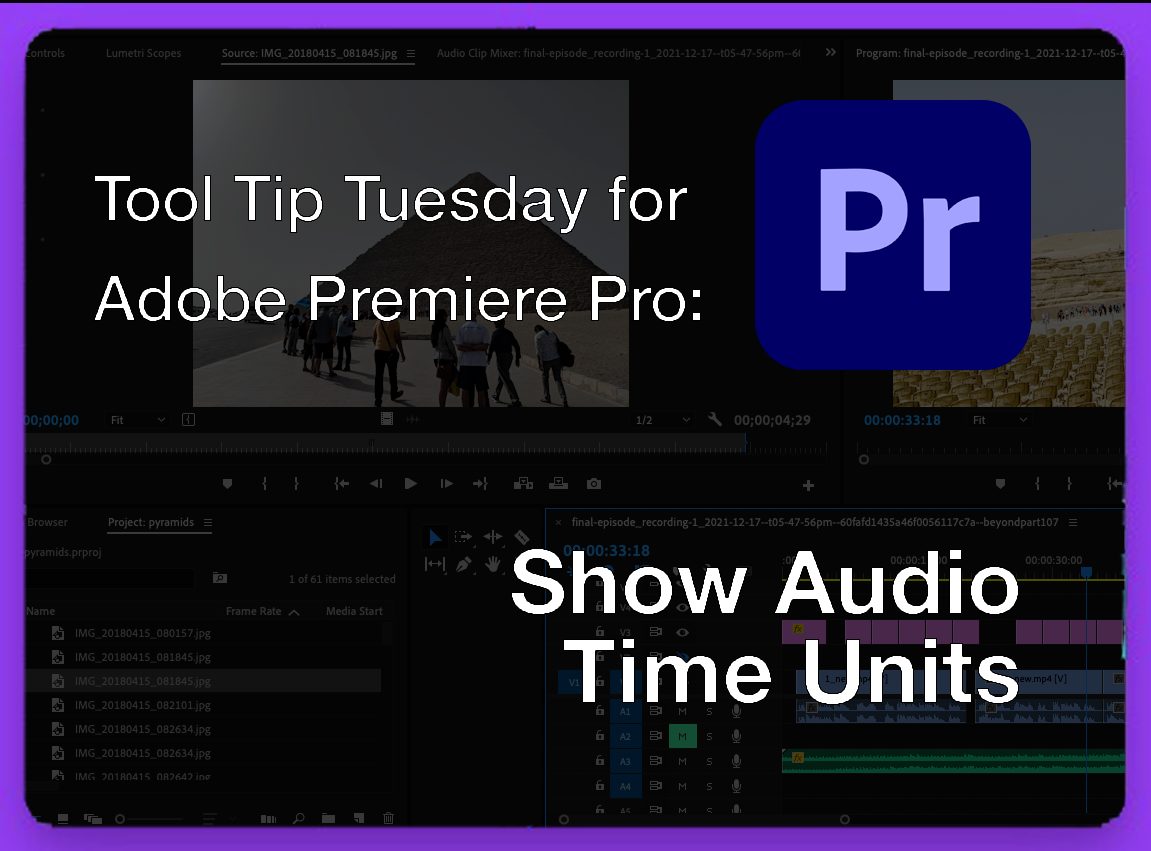
Welcome to Tool Tip Tuesday for Adobe Premiere Pro on ProVideo Coalition. Every week, we will share a new tooltip to save time when working in Adobe Premiere Pro.
When working with video, you work at a set frame rate, like 30 frames per second or even 23.976 fps for certain broadcast applications. You’re also locked to a certain frame rate when working in an Adobe Premiere Pro timeline.
However, audio is different because it runs at samples instead of frames. There are many more audio samples in one second of audio than there are in one second of video and Adobe Premiere Pro can edit audio at that sample level by turning on Show Audio Time Units.
You can change an Adobe Premiere timeline to work at a sample level, which means you can do much more detailed work when it comes to audio editing. Things like cutting between words or fading out on a syllable become much easier as you have more “room” to work at an audio sample level than at a video frame level.
To use this audio editing magic, head to the Program monitor wrench menu or the Timeline panel menu and choose Show Audio Time Units. This will change the timeline’s timecode display to show samples instead of frames.
You might not notice much difference until you zoom far into the timeline for detailed audio work. Then, it will be immediately noticeable how much more detail is available for things such as cutting an audio clip or pen tool keyframing operations. If it’s not working for you, make sure you don’t have video linked or selected along with your audio, as Show Audio Time Units won’t work if you have video selected along with your audio.
Handy tip: Turn on audio scrubbing as you can hear the difference when scrubbing audio.
If you delete some media after turning on Show Audio Time Units and your ending result looks like the image above, it’s because Premiere is removing the audio at the sample level and video at the frame level. Turn off Show Audio Time Units to get them even again.
This series is courtesy of Adobe.
