I am not a web geek. I am a video professional who realizes how important the web is to video professionals. I wish I had the time to master one more skillset to make my own cool Flash video sites, but I don’t. If you can relate, then I have a cool solution to turn you into a web geek in only about 30 minutes with skills you probably already have.

I am embarrassed that I don’t follow my own advice about hiring professionals to do what they’re good at instead of trying to do everything yourself. I should have hired a webmaster to simply make a great website, but the economy is tight and my website is not really something with which I usually promote myself.
So, I was left looking for a simple and elegant solution to deliver lots of short demos to potential clients. I didn’t want to make a compilation reel because I wanted to direct some people to specific spots or videos that related to their specific needs. So I needed some nice navigation elements and some good-looking web video. Basically, I wanted to be able to deliver a DVD with several levels of menus to my clients instantaneously. Enter Encore’s ability to turn DVD projects into Flash-based web pages.
Creating the Demo Reel pages of my website was as easy as authoring a simple DVD. To some, that may not seem simple, but if you’ve used Encore, you know that making a six button menu linked to six short videos can be done while you’re waiting for an Avid or FCP render to finish. You can check out this project at www.veralith.com and click on the Demo Reel button to the left.
Here’s a quick tutorial from beginning to end. (You must be at least somewhat familiar with Encore to follow along.):
Collect your uncompressed videos, or at least know where they are.
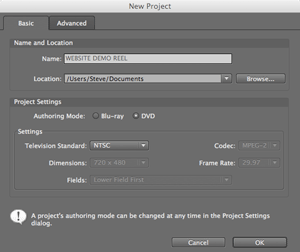
Launch Adobe Encore CS4. Then create a new project.

With a new project started, you can proceed in a few different ways. For now, let’s create a menu that will link us to four other menus that contain the videos.
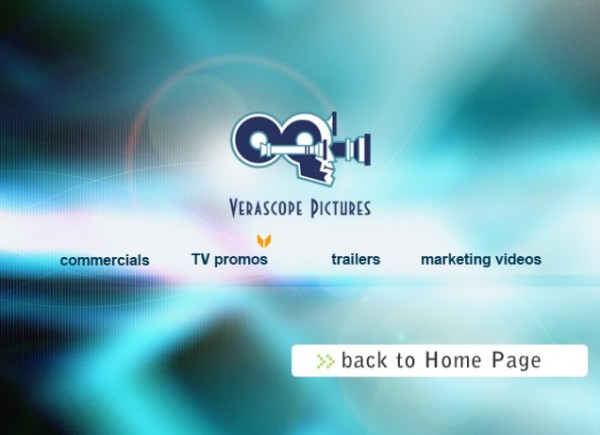
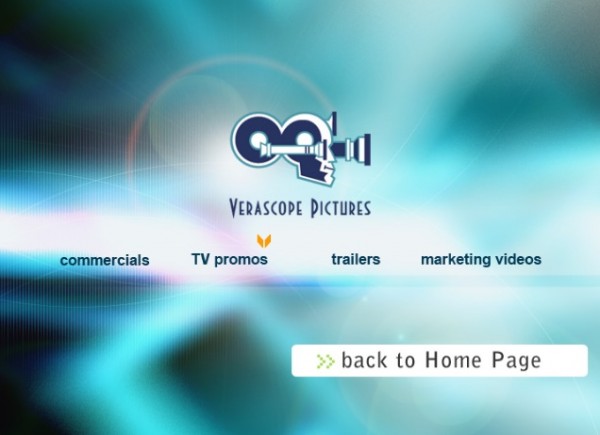
You can create a menu in Encore using a pre-made template or build one from scratch inside Encore or in Photoshop. We’ll go the simple route and use a pre-made template. I chose “Blue Flare Menu” from the Corporate menu library that comes with Encore. I chose to edit the menu in Photoshop, but most of the items in the menu can be easily edited right in Encore. Each button in Encore becomes a layer in Photoshop. I added my company logo to replace the generic company text and changed the names of the buttons. When I saved the file in Photoshop, the image automatically updated – courtesy of Dynamic Link – in Encore. No need to export and import.
Then I used the “Blue Flare Submenu” template to create and revise four more menus and renamed them for the four buttons on the menu I just revised in Photoshop.
Now, the best way to import video into Encore is to import them as Timelines, so that you don’t have to go to the additional step of creating the timelines if you import them as assets. Import all 12 of your videos as Timelines. (shift-command-T on a Mac).
Rename the buttons in the main menu and link them to the appropriate submenus. You can also choose Enable Weblink for Flash in the Encore Properties Tab and link buttons to URLs instead of DVD assets, which is really cool. I used this to link a button back to the home page of my website.
Rename the buttons in the submenu and link them to the appropriate timelines.
Also, link the forward and backward arrows and the “return to main menu” button to the appropriate buttons. Encore is also capable of linking any of these buttons to URLs so you can link to other external web resources or to other pages on your own website that were not created with Encore.
When you’ve finished building your menu set and linking it to the video files, test it to make sure all of the links are valid and correct.
Now, you’re finished with your work in Encore. In Adobe Dreamweaver, if you didn’t build your project directly to your local website folder, you’ll need to copy it into that folder or ftp it directly to your website server. I then used the Put button to put the demo file folder up on the site. If you placed it in the site’s local folder, you’ll need to go into Dreamweaver and Put the folder up on the remote server.
Now, the only thing left for me to do was to change my homepage to link to the new demo page. I selected the button for Demo Reel on my homepage and changed the link to reflect the new .htm file that Encore created. Encore always names this .htm file “index,” which is the name normally reserved for home pages, so rename the file to something like “demoreelchoice.”
Save your home page with the new links and synchronize everything with your remote server. The next time you browse to your website, the new Flash functionality will be up and running!


