https://www.youtube.com/watch?v=s13PZB7Fkpc
This week on MacBreak Studio, Steve Martin from Ripple Training shows us a two useful and quite different uses for the graduated mask effect in Final Cut Pro X.
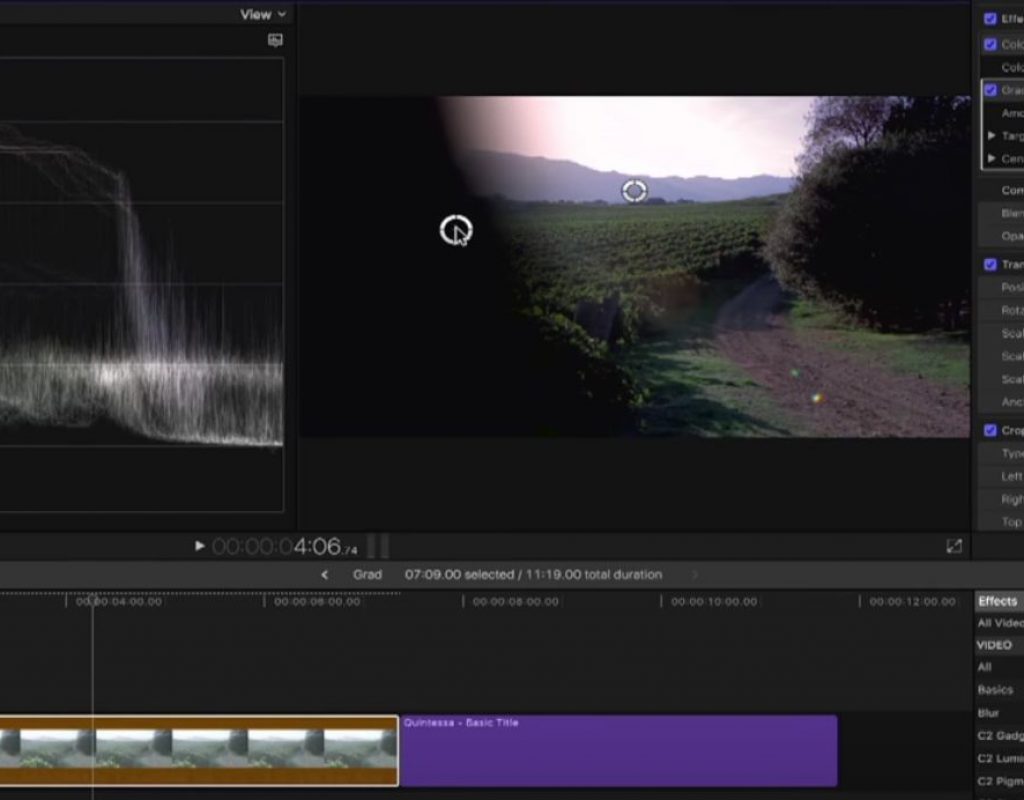
Introduced in version 10.2, yet overshadowed by other new features, the graduated mask effect adds a feathered transition line from transparency into black on top of any content in your project. You can adjust the angle of the transition, its position, and amount of feathering all with the two on-screen controls, or by changing the Target and Center parameters in the Inspector. The only other parameter, Amount, adjusts the transparency of the black from opaque to fully transparent.
In Steve’s first example, he has a shot in a vineyard in which the sky is over-exposed. With the Waveform monitor, he shows how pulling down on the highlights puck in the Color board’s exposure pane affects not just the highlights but the full dynamic range of the shot, bring down midtones and even losing some shadow detail. By applying the graduated mask, he is able to lower just the highlights at the top of the shot without affecting midtones or shadows at all.
The second example is completely different: he uses the same graduated mask effect to reveal a title by keyframing mask to move across the letters, slowly transitioning from black across a soft feathered line, creating a very classy reveal. The key to pulling this off is starting off with a title that is over black.
If you haven’t used any of the 5 different mask effects in the Mask category, definitely try them out as they are all useful and can save you a trip to Motion!
Check it all out above. If want to learn more about how to create effects in Final Pro X, check out this tutorial.


