Introduction
Though real-world conferences, training courses and events are returning, the online versions of these interpersonal meetings are still going strong too. Hybrid work is a reality for many of us, and Zoom, Teams and so on are likely to remain part of the mix for some time. The biggest problem is that most people’s webcams make them look bad, just as their microphones make them sound bad. The second big problem is that the eyelines are all wrong — when people are looking at their screen, they’re not looking at their audience.
While some computers do have decent cameras and microphones built in (the MacBook Pro 14” and 16” do pretty well) the vast majority do not, and… they’re still small-sensor webcams, positioned off-center. If we’re video professionals, can’t we do better, without spending thousands on new, dedicated gear?

Yes. Yes we can. While the specs of most videoconferencing setups are pretty poor, with relatively low resolutions and data rates, all you need to do to impress people is crank up the background blur by using a real lens with the fastest aperture you can manage. A blur made in-camera will impress even the least tech-savvy audience, and you’ll look better than everyone else. And yes, you can sound better too. So how to start?
Not the way: using an iPhone as a camera
A recent software upgrade called Continuity Camera allows you to use an iPhone’s back camera as a webcam, and if you have a recent iPhone but an older Mac, this can be a noticeable upgrade.
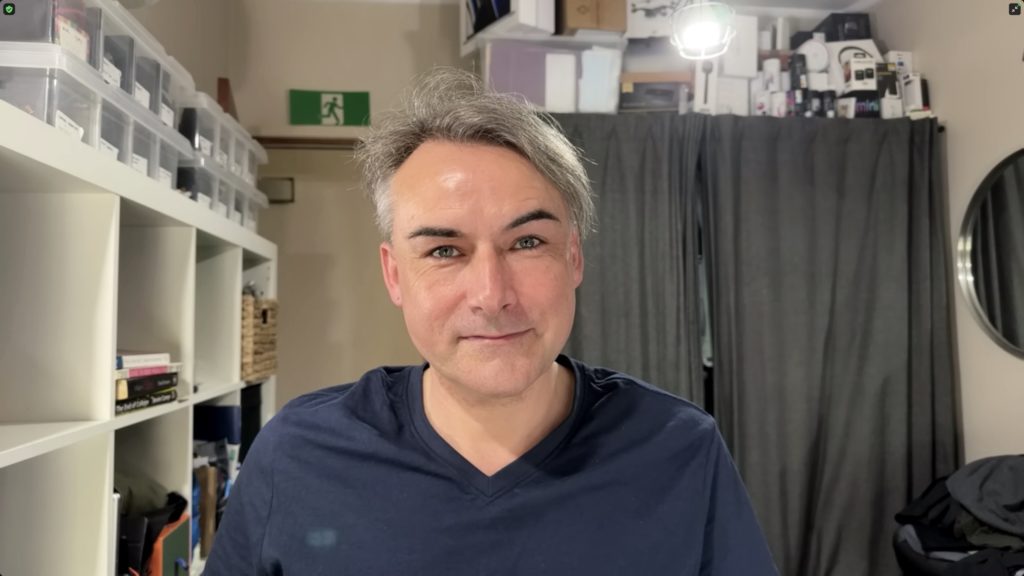
The latest iPhone 14 Pro and Pro Max camera has a larger sensor than prior models, and the background will be slightly blurred out before any software trickery becomes involved. This is quick and easy, but may not be enough.
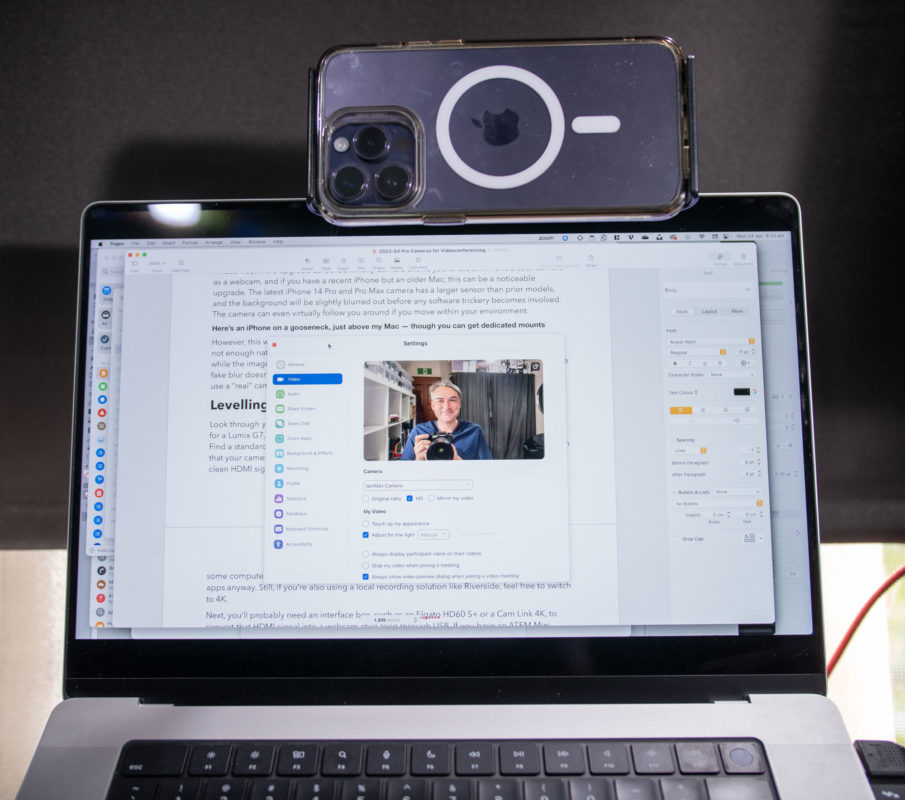
While the iPhone does offer excellent dynamic range, there’s not enough natural blur here to really satisfy bokeh enthusiasts or impress casual viewers, and while the image is crisp and clear, this will be largely obliterated by heavy compression. Because fake blur doesn’t look quite right, for an image that survives heavy compression you’ll have to use a “real” camera.
Levelling up the video
Look through your cupboards to find an older camera that you’re not using any more — I went for a Lumix G7, long since superseded for GH5 and GH6, but any brand of camera can work. Find a standard, fast prime, like the 50mm f/1.8 EF “nifty fifty” or a 25mm f/1.7 MFT lens. Confirm that your camera has HDMI-out of some variety, and find a cable. Make sure you’re outputting a clean HDMI signal (with no overlays), and you may also want to explicitly choose 1080p. For some computers, live 4K can be too much, and it can’t be sent through most videoconferencing apps anyway. Still, if you’re also using a local recording solution like Riverside, feel free to switch to 4K.
Next, you’ll probably need an interface box, such as an Elgato HD60 S+ or a Cam Link 4K, to convert that HDMI signal into a webcam-style feed through USB. If you have an ATEM Mini handy, that’ll do the job too, and this is the way you want to go if you’re using a Blackmagic camera. But maybe you’re lucky — some cameras do offer USB webcam functionality directly, and if you have one of these cameras spare, you can skip the interface boxes.
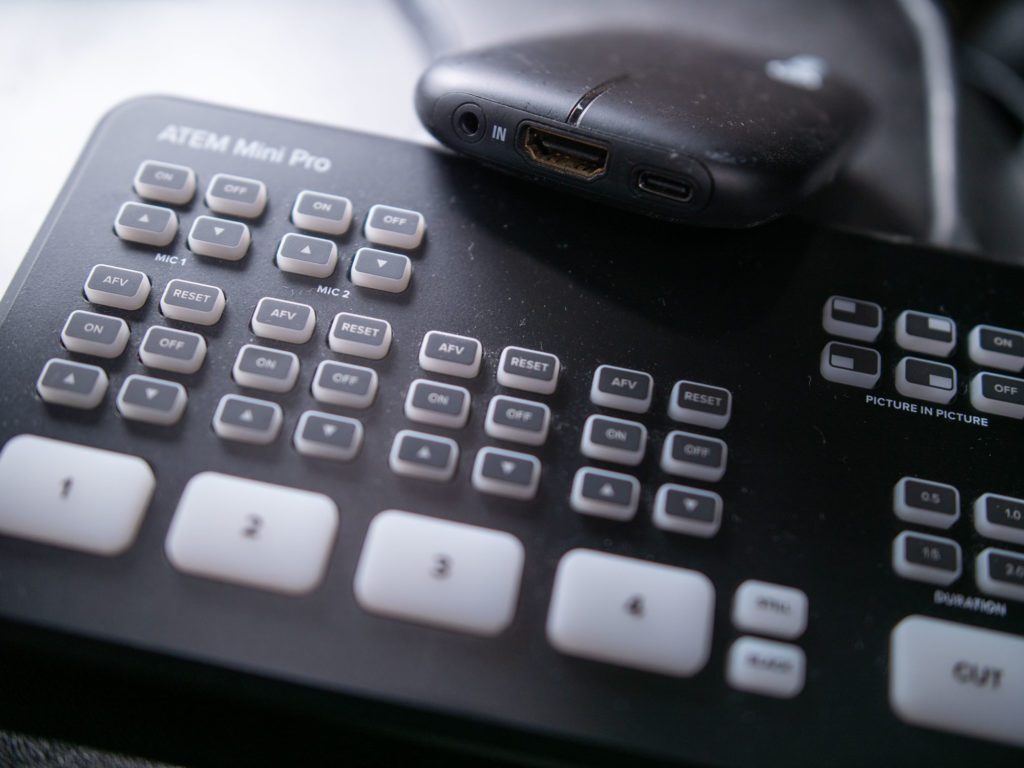
For now, point the camera at yourself, with the fastest lens you can muster, and either lock the focus where you’re going to be, or use autofocus if you can trust it. If you’re lucky enough to have an app to control your camera, terrific; that will make focusing, fixing white balance and everything else far easier if the camera screen is now facing a wall. Turn it all on, plug it all in, and make sure you can use mains power for the camera. Fire up Zoom (or your tool of choice) and tweak those settings to make sure it looks good. If you can’t nail camera positioning with a prime, you can fall back on a zoom lens, but a kit lens probably won’t cut it. On the other hand, if you have a super-fast zoom like the Sigma 18-35 f/1.8, you’ll be set.

Lighting is a key area which most non-video people overlook. Even if you’re not a lighting technician, if you work in video you likely know the basics already: don’t sit with your back to a window, and light up your face. Try to set up three-point lighting if you can, though of course this is tricky in a more cramped environment. Avoid ring lights, as they’ll flatten you out too much, and if you need to buy additional lights, go for flat, soft LEDs that can be mains powered and ideally remote controlled. Alternatively, app-controlled color-changing light bulbs can do well here, and I’ve set up LIFX lights in my office so I can control the color environment and brightness remotely. There’s no flicker, and I can rock a vibrant blue and red background anytime I feel those gaming vibes coming on.
Now that you’re in focus and the background is blurred, how can you sound better?
Levelling up the audio
There are many great USB mics available, but for reasons that will become apparent, you might not be able to make use of them all. When I’m recording tutorials, I use a Shure MV7, but it’s large, and like many podcasting mics, needs to be placed quite close to the speaker’s mouth. While this mic sounds great, I can only use it for a video call if my audience doesn’t mind seeing it in the video.
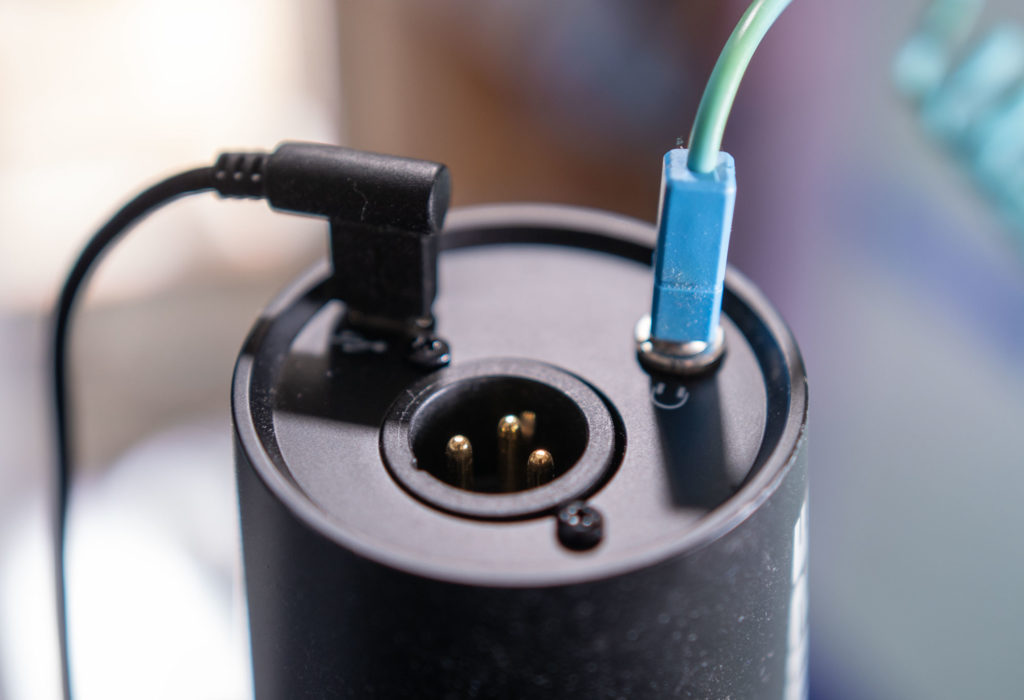
For off-screen positioning, I’ve used shotgun and other XLR mics instead, hooked into my Mac through some kind of USB interface: a Scarlett Solo, or a RØDECaster Pro. The sound from these solutions can be great too, and it can be worthwhile for local recordings, but unfortunately it still may not be worth your time for videoconferencing. Why?
First, the audio compression in a video chat can be pretty heavy, and even if you switch all the dials and knobs to improve audio quality and compress it as little as possible, output from the nicest mic can still fall short of “great”. Second, and far more problematic, is that your camera will probably suffer from a noticeable delay on HDMI outputs, and that can mean that audio delivered direct through USB is out of sync, running ahead of your video. People can forgive this for a short time, and will likely blame the videoconferencing platform, but eventually it’ll become quite distracting. So how to fix it?
Levelling up both together
The simplest solution is to fall back on a microphone that works with your camera, rather than using a USB microphone. If you bring the audio over the HDMI cable along with the video, they’re guaranteed to be in sync. Unfortunately very few cameras can accept USB mic input, but if XLR is an option on your mic and cam, that’s a great way forward that will work with several good traditional desk mics.
If you’ve considered using a simple 3.5mm-3.5mm cable to connect your mic’s headphone monitoring port to the camera directly, nice thought, but there’s an issue. The camera is probably expecting mic-level, while your mic is outputting headphone-level, and there’s a good chance that the audio signal will be distorted, or too quiet. So, if your camera can’t take XLR, here are a few solutions:
- Use a lapel microphone instead of a USB desk mic. You can go wired if you’re careful, but using a wireless lapel like the RØDE Wireless Go II or DJI Mic will stop the whole setup being yanked over when you inevitably spin your chair around.
- Use a regular desk microphone, then connect it to a wireless lapel mic, and feed the receiver into your camera as usual. This can get past issues with mismatched levels, but you do have an extra link in the chain that could run out of battery. Note that if you use a USB power adapter to power your lapel microphones, unpleasant buzzing and interference can be introduced, so go for a big battery pack instead.
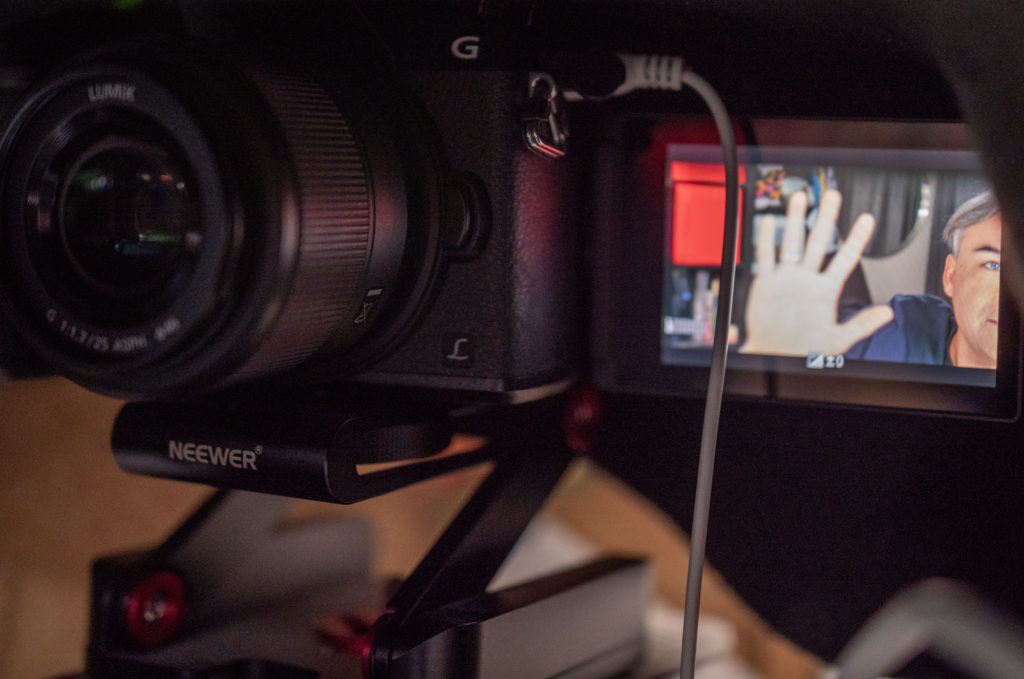
- Use an interface that lets you connect an external microphone with controllable delay. The ATEM Mini can do this, but it’s a rare trick. OBS can also do this, but that’s only helpful if you want to use that platform.
OK! You’ve found an audio solution that works with your video. What next?
Fixing the eyeline problem
To actually look at the people you’re talking to, there’s one really important extra step to help you look straight down the camera. You’ll need a teleprompter, or at least the physical glass part of it. Your camera goes behind it, a cloth draped over the camera minimizes reflections and light inside, and you’ll need a small video monitor to place in front and reflect into your eyes. Hopefully you’ve got a 5” or 7” on-camera monitor you can repurpose, because you’ll need to flip the image around (a common feature of these screens) so you can see it in the teleprompter. (While Apple’s Sidecar feature lets you use an iPad as a monitor, there’s no easy way to flip its image around to make it work on a teleprompter. If you only want to see people and don’t care about reading, this might just work.)
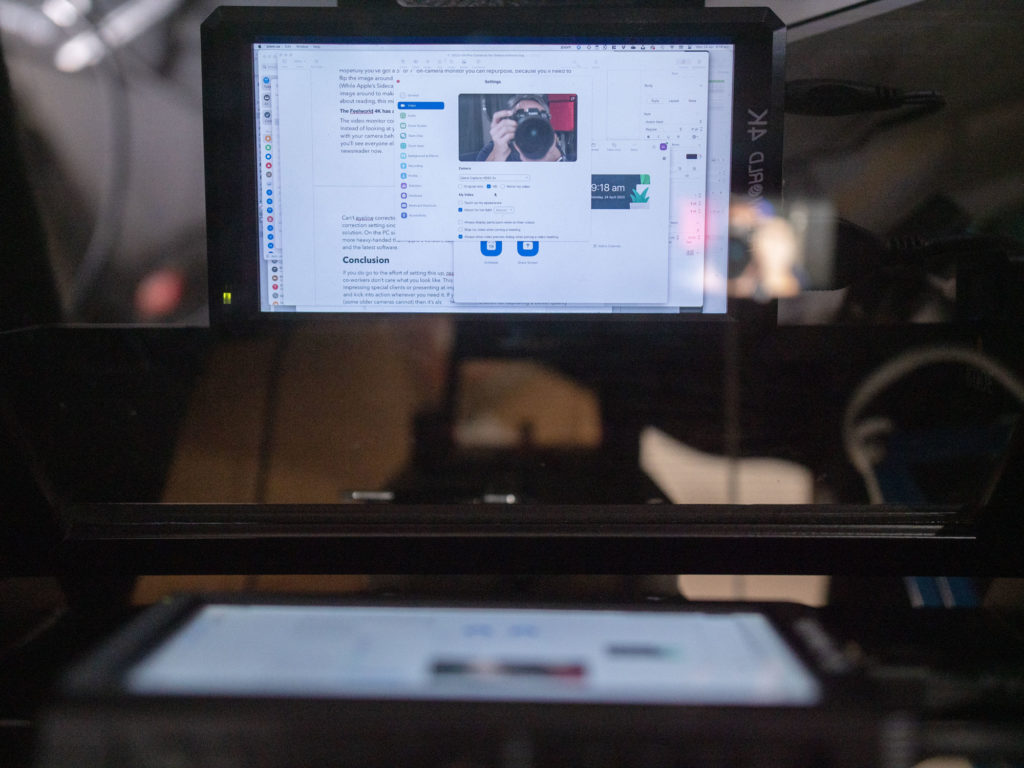
The video monitor connects to your computer, and it should be set to mirror your main screen. Instead of looking at your regular monitor, you’ll be looking straight down the teleprompter, with your camera behind. As you present, you’ll be seeing your presentation, and as you chat, you’ll see everyone else’s faces. Either way, they’ll see you, looking right back at them. You’re a newsreader now.
Can’t eyeline correction be done in software? Sort of; Apple have included a live eyeline correction setting since 2020, but it only works in FaceTime, and therefore isn’t a general solution. On the PC side, Nvidia have added a solution recently. Though this can work, it’s a bit more heavy-handed than Apple’s version, can look a little odd, and it requires an Nvidia card and the latest software.
Conclusion
If you do go to the effort of setting this up, realize that you won’t use it every time, because your co-workers don’t care what you look like. This setup, inconvenient though it may be, is gold for impressing special clients or presenting at important meetings or conferences. Keep it in place, and kick into action for special occasions. If your camera can record while it outputs to HDMI (note that some older cameras cannot) then it’s also an excellent solution for capturing a better quality version of your side of the presentation for later editing, should you need it. You can also record the camera directly to your computer using something like ScreenFlow: a whole new world of tutorial-making awaits you.
Whatever you end up using it for, be ready to impress on your next videochat. Enjoy!

Filmtools
Filmmakers go-to destination for pre-production, production & post production equipment!
Shop Now


