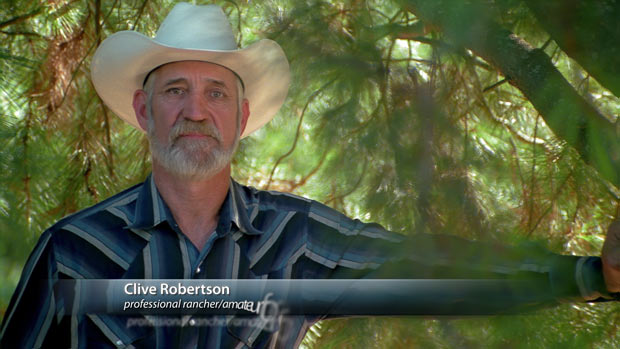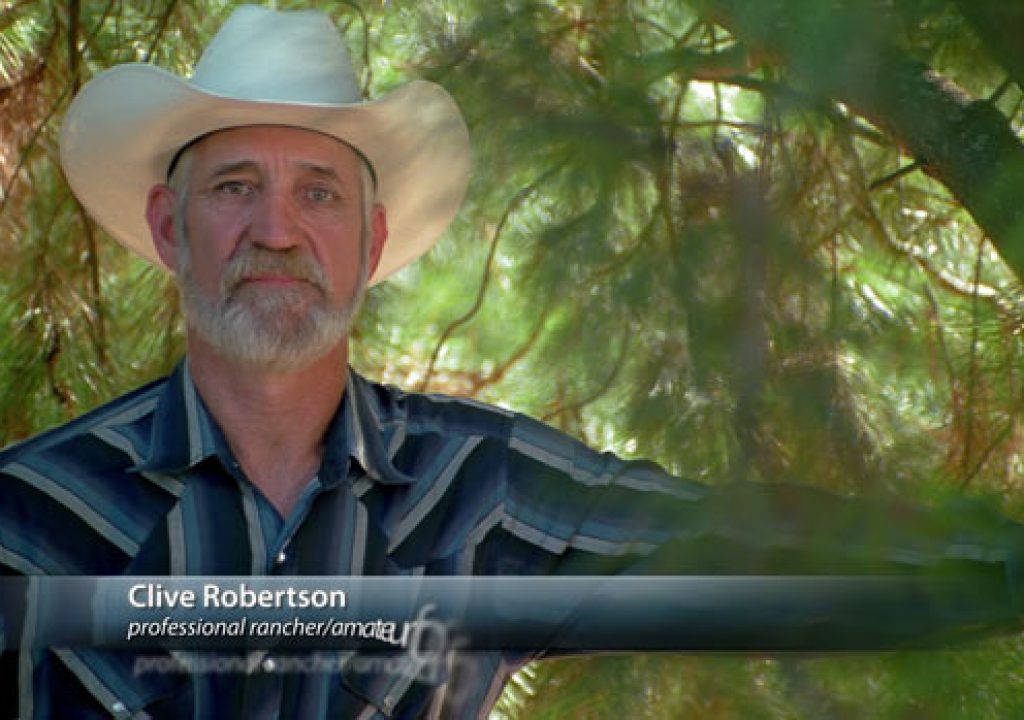
Adobe Premiere Pro has a robust titler built in, including the ability to create title rolls and crawls. However, Adobe After Effects has even more advanced tools, including hundreds of Animation Presets for type, Shape Layers to build additional graphic elements such as lower third bars, and a combination of Layer Styles and Effects to further enhance the final look. If you have either the Production Premium or Master Collection suites, Premiere Pro and After Effects can talk to each other using Adobe Dynamic Link, which makes this process more fluid. In this article below I’ll explain the general process of using After Effects to create refined lower thirds for Premiere Pro. (This information is also covered in our course on Lynda.com and LinkedIn Learning, Premiere Pro and After Effects: Creating Title Graphics.)
By the way, fellow PVC writer and After Effects expert Mark Christiansen has written an excellent article on using Dynamic Link to exploit After Effects tools such as the Warp Stabilizer inside a Premiere Pro project – I recommend reading it. Given that, I’m going to focus on a slightly different workflow than Mark, in the name of sharing multiple approaches with you so that you can choose which is best for your particular task.
Getting a Reference Clip Into After Effects
If you’ve already locked the edit in Premiere Pro, the easiest way to get a clip you want to add a title to into After Effects is to right-click it in the Premiere Pro sequence and select Replace With After Effects Composition (this is the workflow Mark covers in his article). However, this may require additional trips back into After Effects if you need to change the edit.
The above approach works great if you only needed to perform straightforward trimming to the source clips in the Premiere Pro sequence. If each original clip contains multiple scenes, you may be better off selecting the already-edited clip in the Premiere Pro sequence, Copying, creating a blank composition in After Effects that has the same dimensions and frame rate as your clip and a few seconds more than the duration you expect to need for your lower third (it’s always great to have extra handle), Pasting (which will keep your edit times and trim points), and then pressing Option+Home on Mac (Opt+Home on Windows) to slide the clip to the start of the After Effects comp. All of this is demonstrated in the first movie on the next page.
Creating the Lower Third in After Effects
After that, I prefer to add the text inside After Effects, as I can then also take advantage of its powerful type animation engine. We demonstrate creating custom text animations in both of our books.
Once you have a lower third bar and text design that you like, select these layers, copy, bring up the After Effects composition for the next clip that needs titling, and paste. You can then just double-click the text and change it as needed, with the animation and any additional effects applied still intact. If you like, rename each composition to better reflect the underlying clip; if nothing else, it’s good to add an identifier such as “LT” (for “lower third”) to the composition name to remind you what it contains. This is demonstrated in the sixth movie.
Save your After Effects project; this project file will need to exist on your drive before Premiere Pro can link to it.
Bringing the Lower Thirds Back Into Premiere Pro
Drag each of these After Effects “clips” into the Premiere Pro sequence above their respective clips. At this point, you can trim and transition them just as you would any other clip – especially handy if the edit points change. If it turns out your client does not like an animation you may have added to the text, use the Slip Tool in Premiere Pro (shortcut = Y) to trim out the animation. By adding the fade in and out transitions in Premiere Pro instead of in After Effects, you can slip edit the After Effects type animation without losing the fades.
If later on you find you need to edit the lower third, right-click on the After Effects “clip” in either the Premiere Pro Project or Sequence panel and select Edit Original. This will open the underlying composition back in After Effects. Make your changes, switch back to Premiere Pro, and your changes will automatically appear thanks to Dynamic Link. These steps and results are demonstrated in the final movie below.
FTC Disclosure: The creation of this article was partially subsidized by Adobe. Although they approved the general subject, they had no control over its editorial content.

